Over the years I have made various hot rolls, bread, and doughnuts for Halloween night. Cheddar Cheese rolls just are a family favorite and pair very well with a bowl of hot soup.
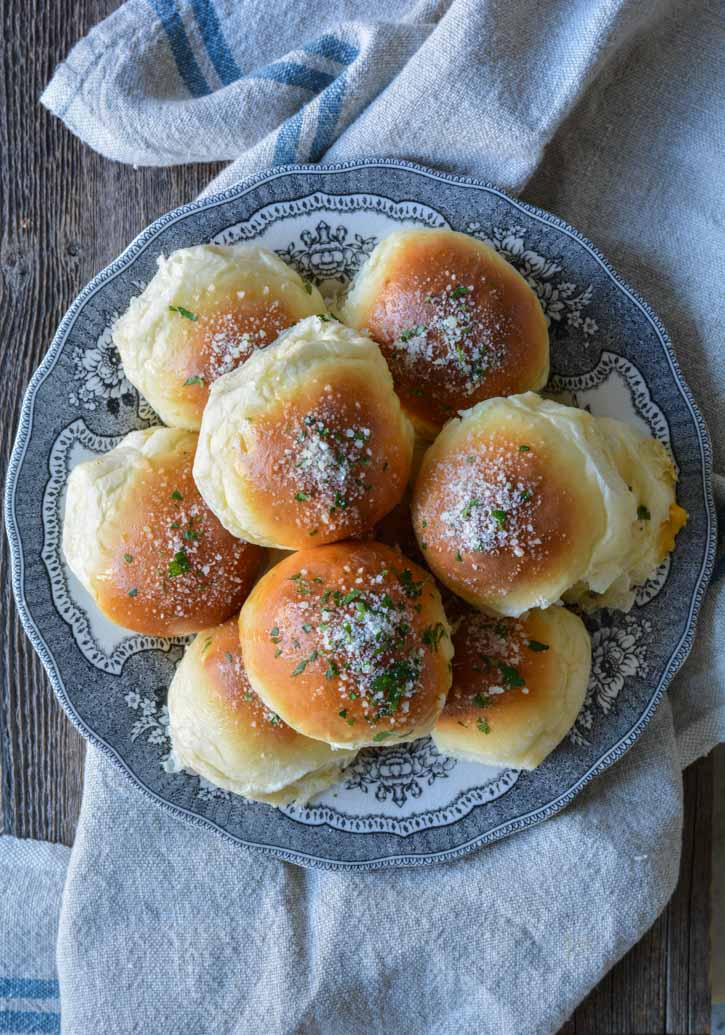
Cheddar cheese rolls are best served hot from the oven because the cheese oozes out.

Since the beginning of our family I have made a warming Halloween dinner. It’s usually a chilly night here in Utah on October 31st. Before the kids went out trick or treating I wanted them to have a full belly so they wouldn’t eat too much candy. I know…what world was I living in? It was a nice dream.
Let’s make cheddar cheese rolls:
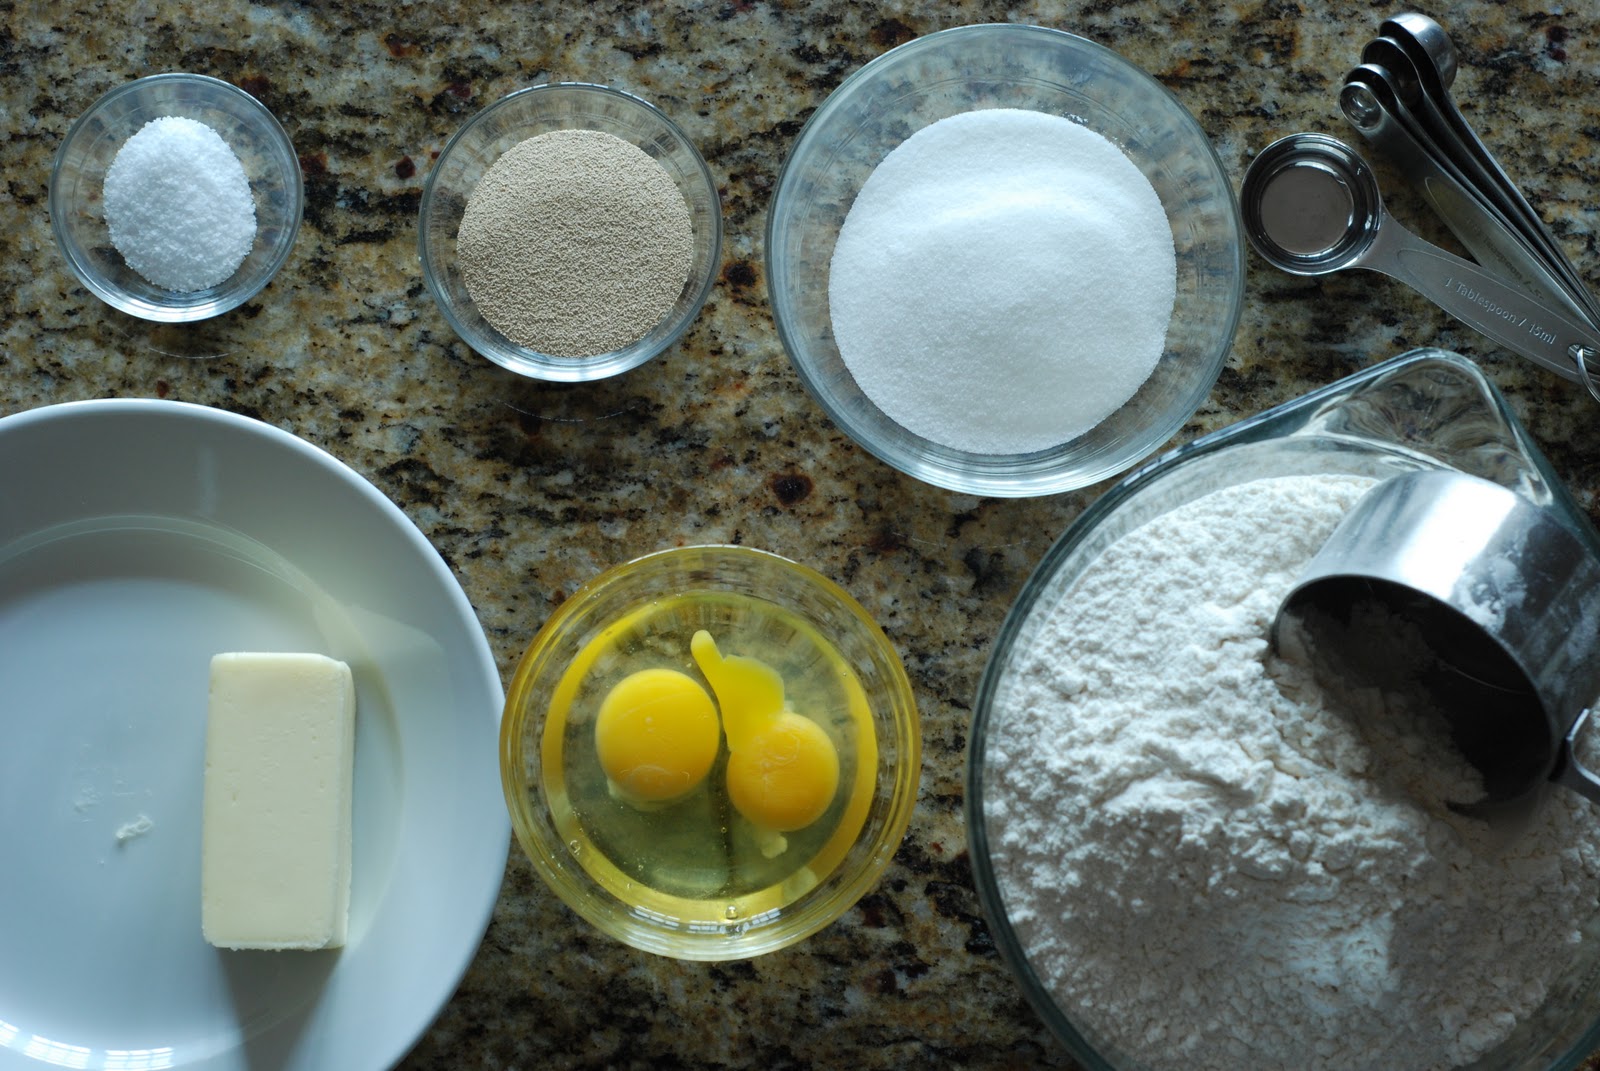
Gather ingredients for the dough.
I forgot to show the milk in the picture of ingredients. You will need milk!
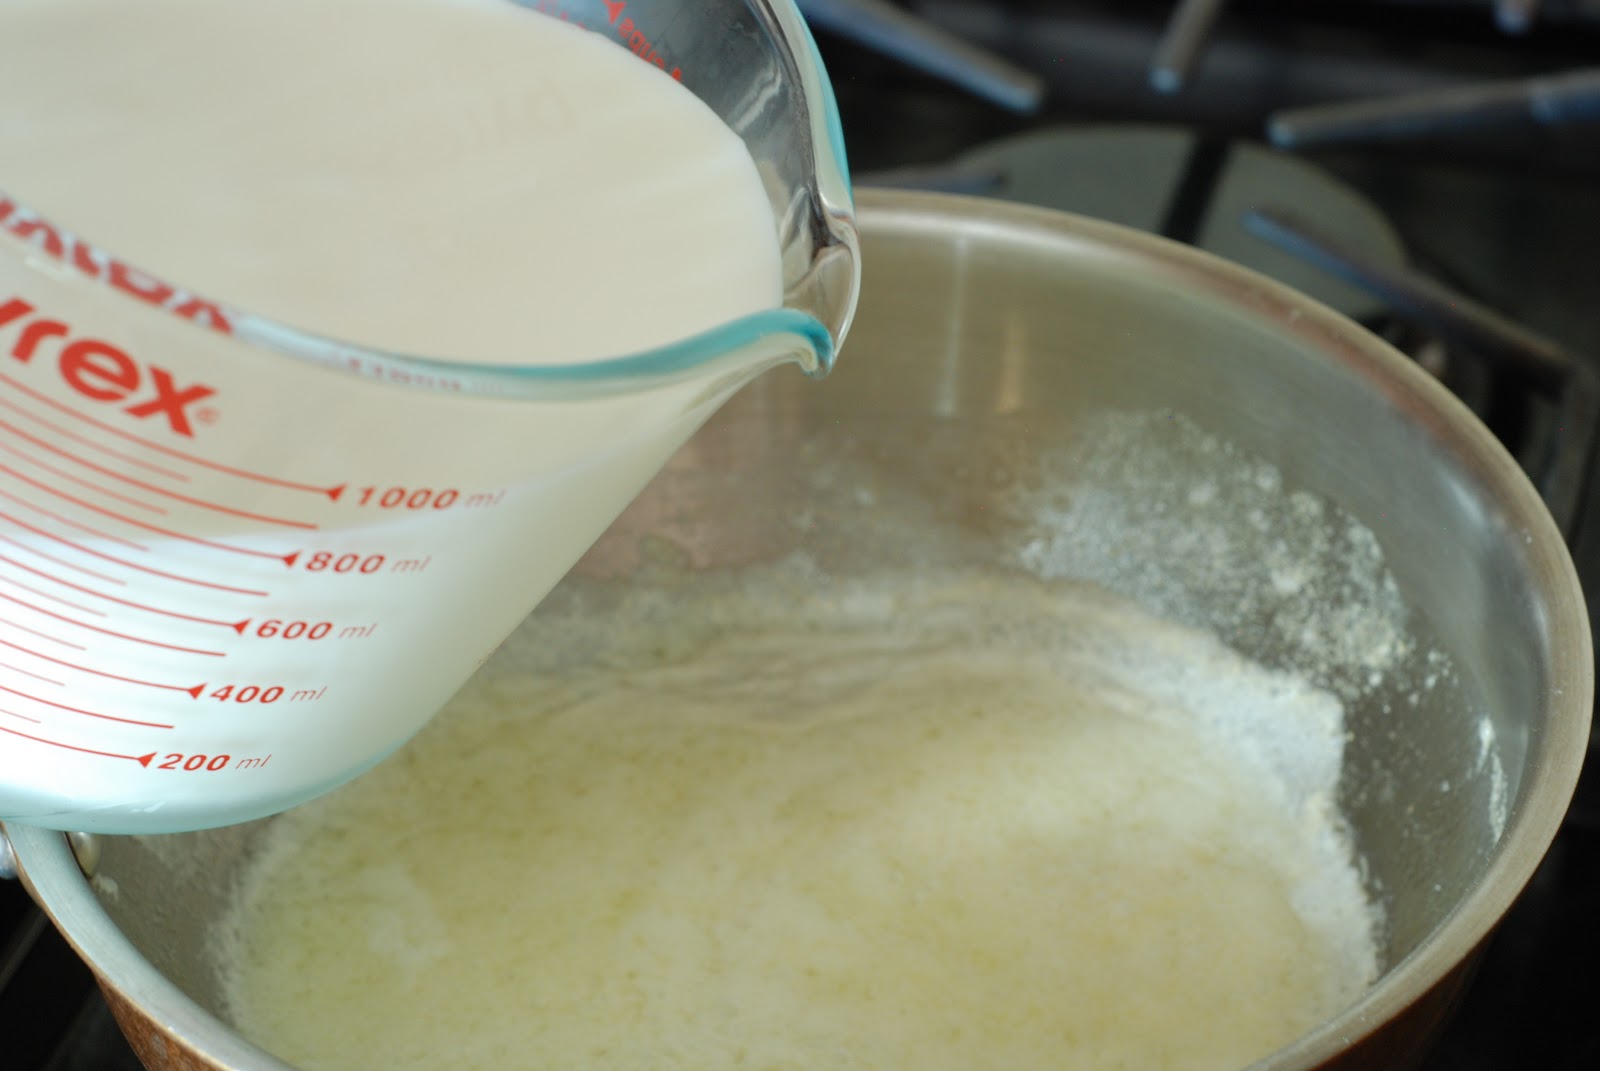

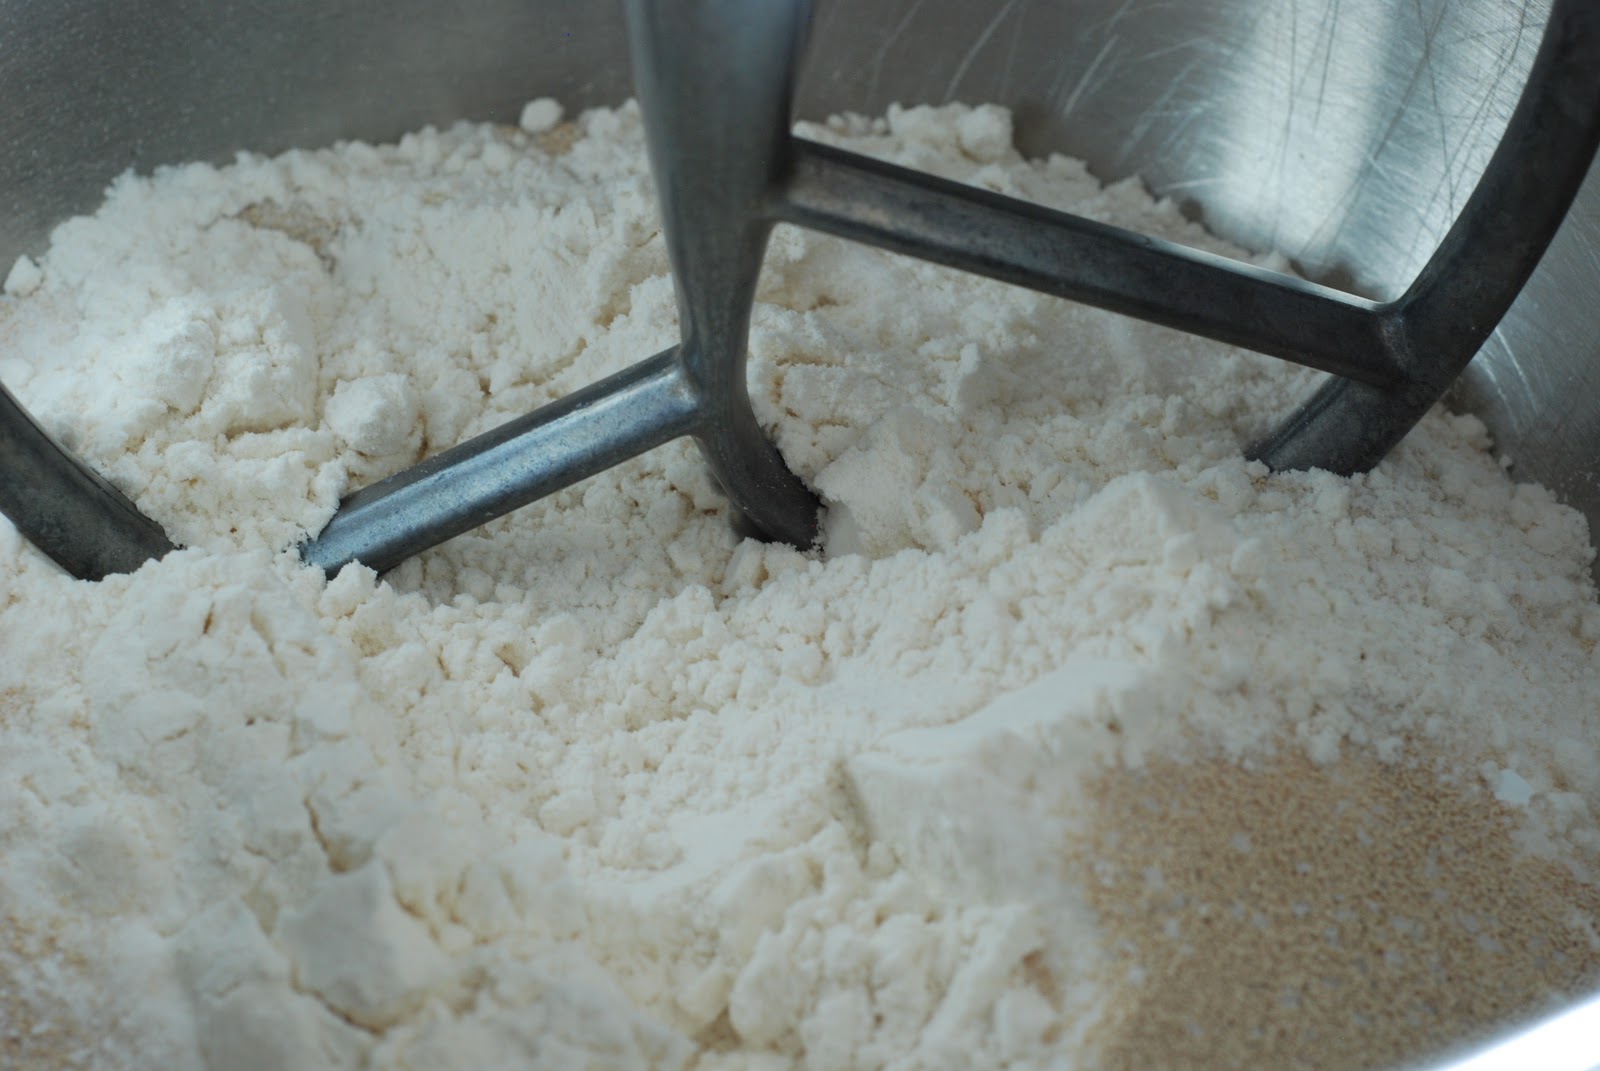
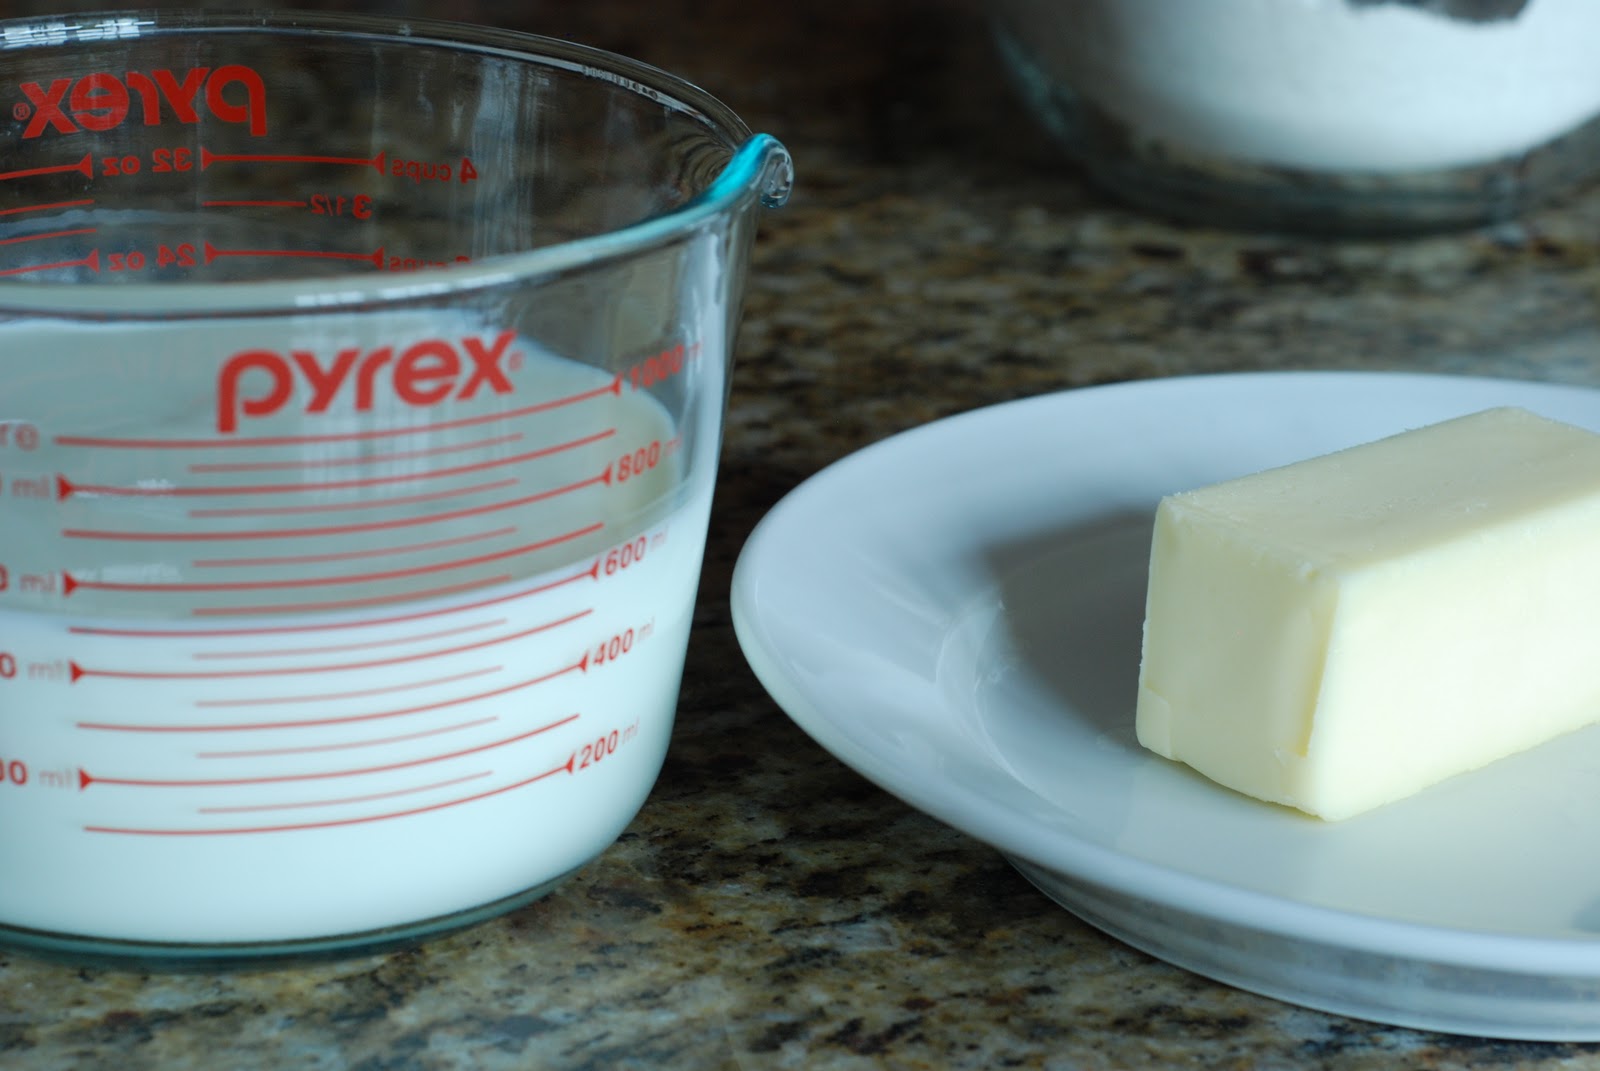
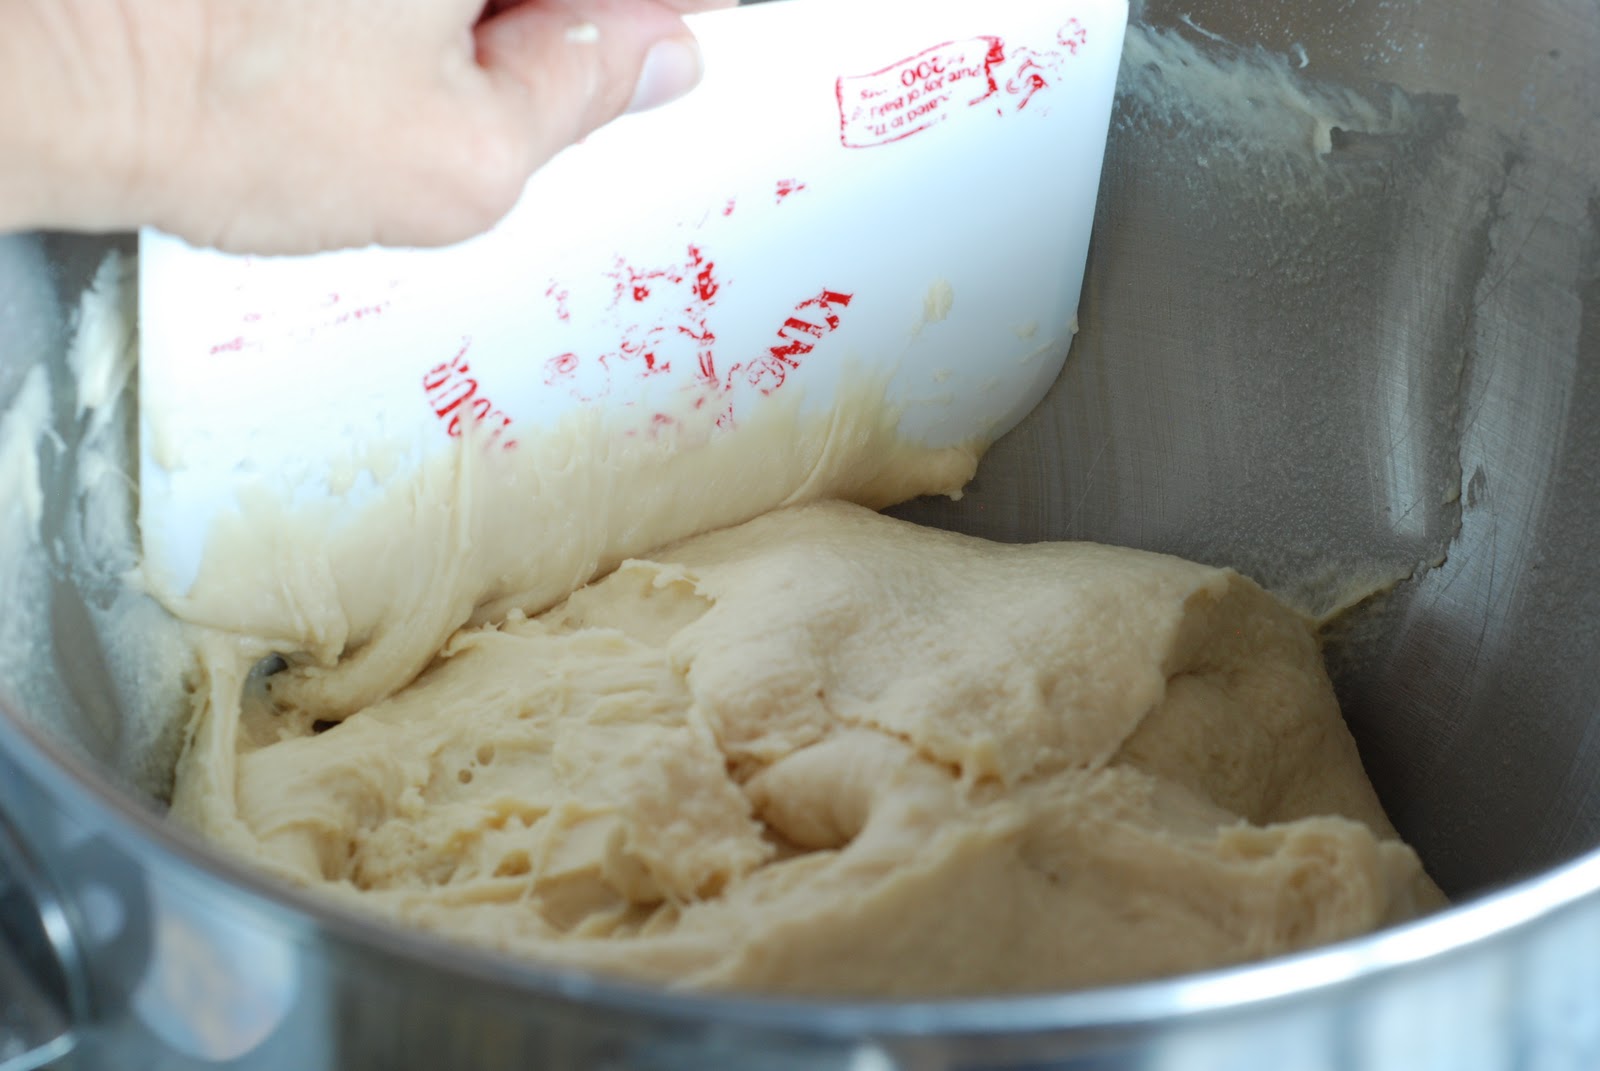
When the milk and butter have warmed pour into the flour mixture. Turn on the mixer and let the mixture beat for about 5-7 minutes. I like to make sure the yeast full dissolves.
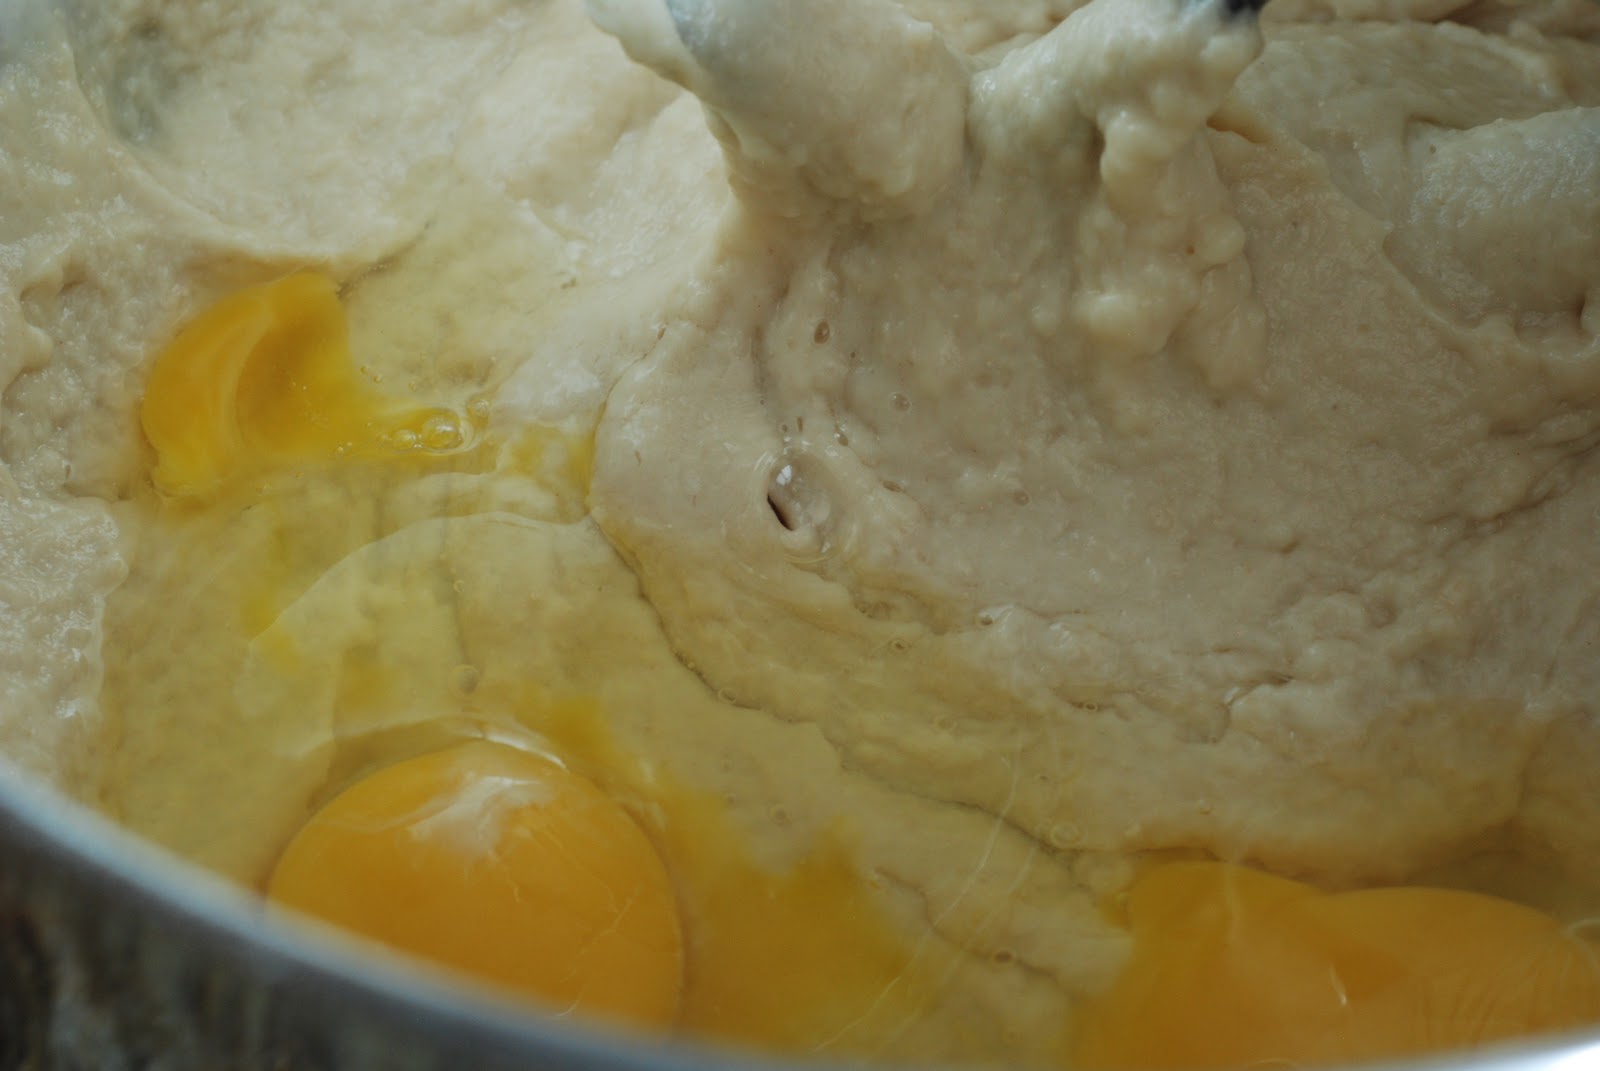
Add the eggs.

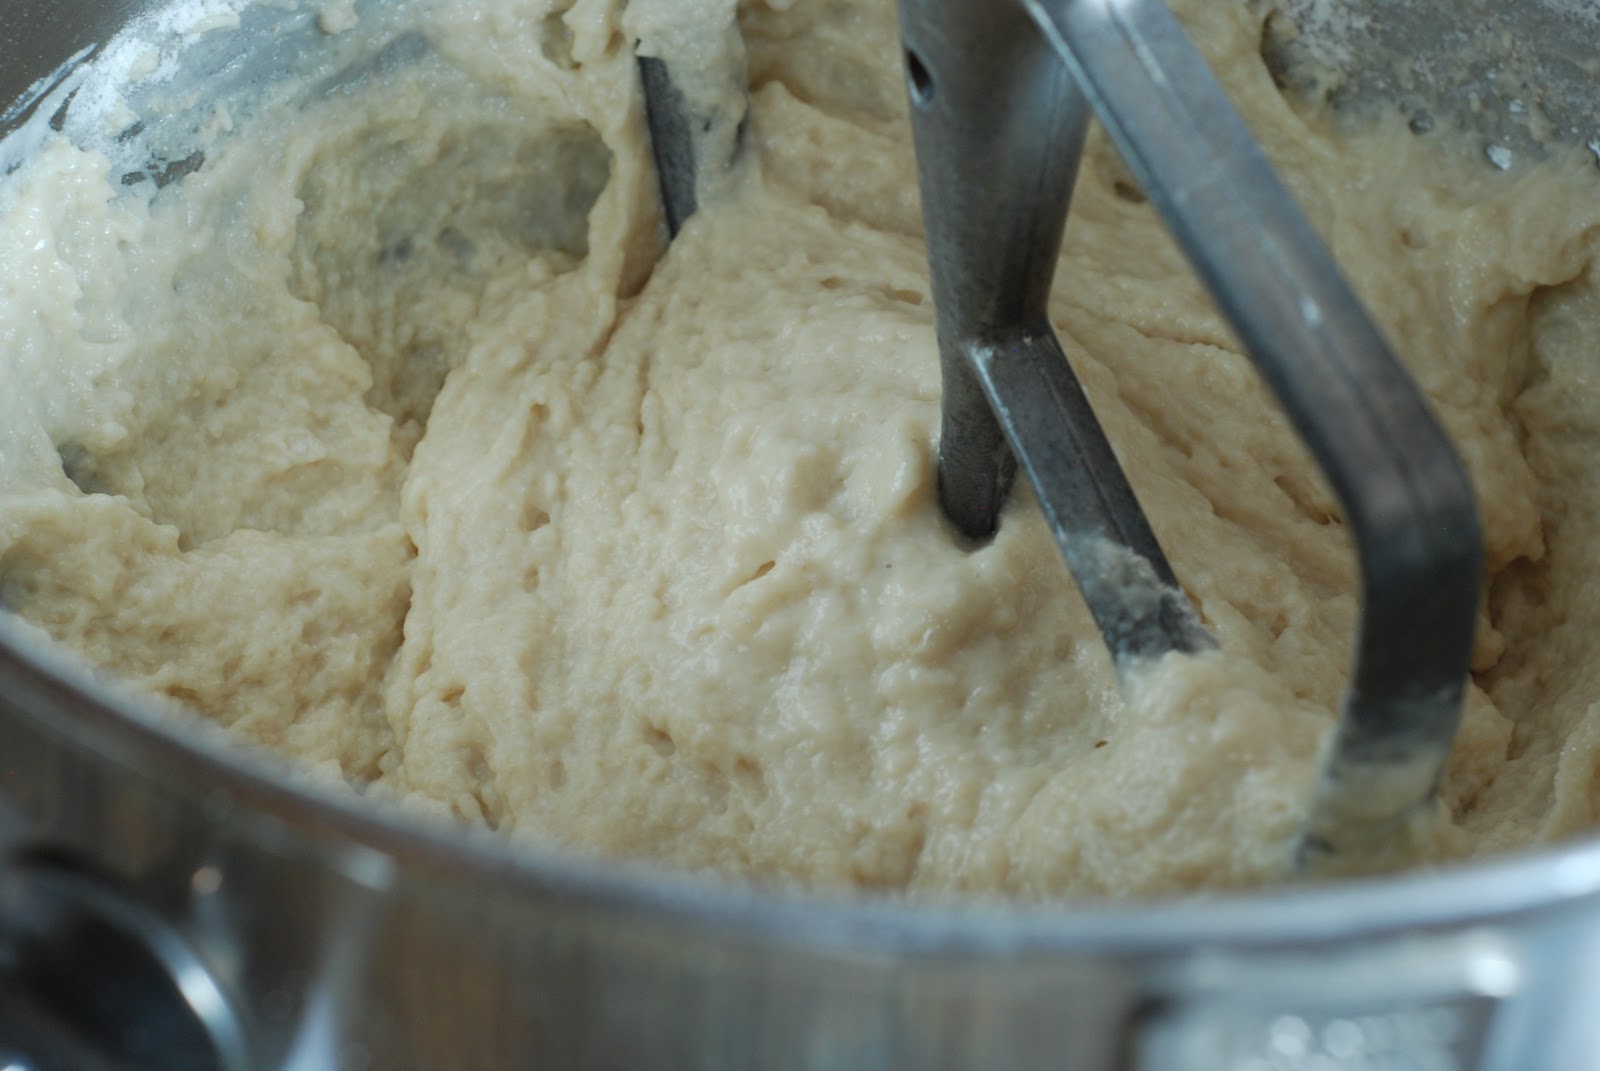
Beat until smooth for about another 5 minutes.
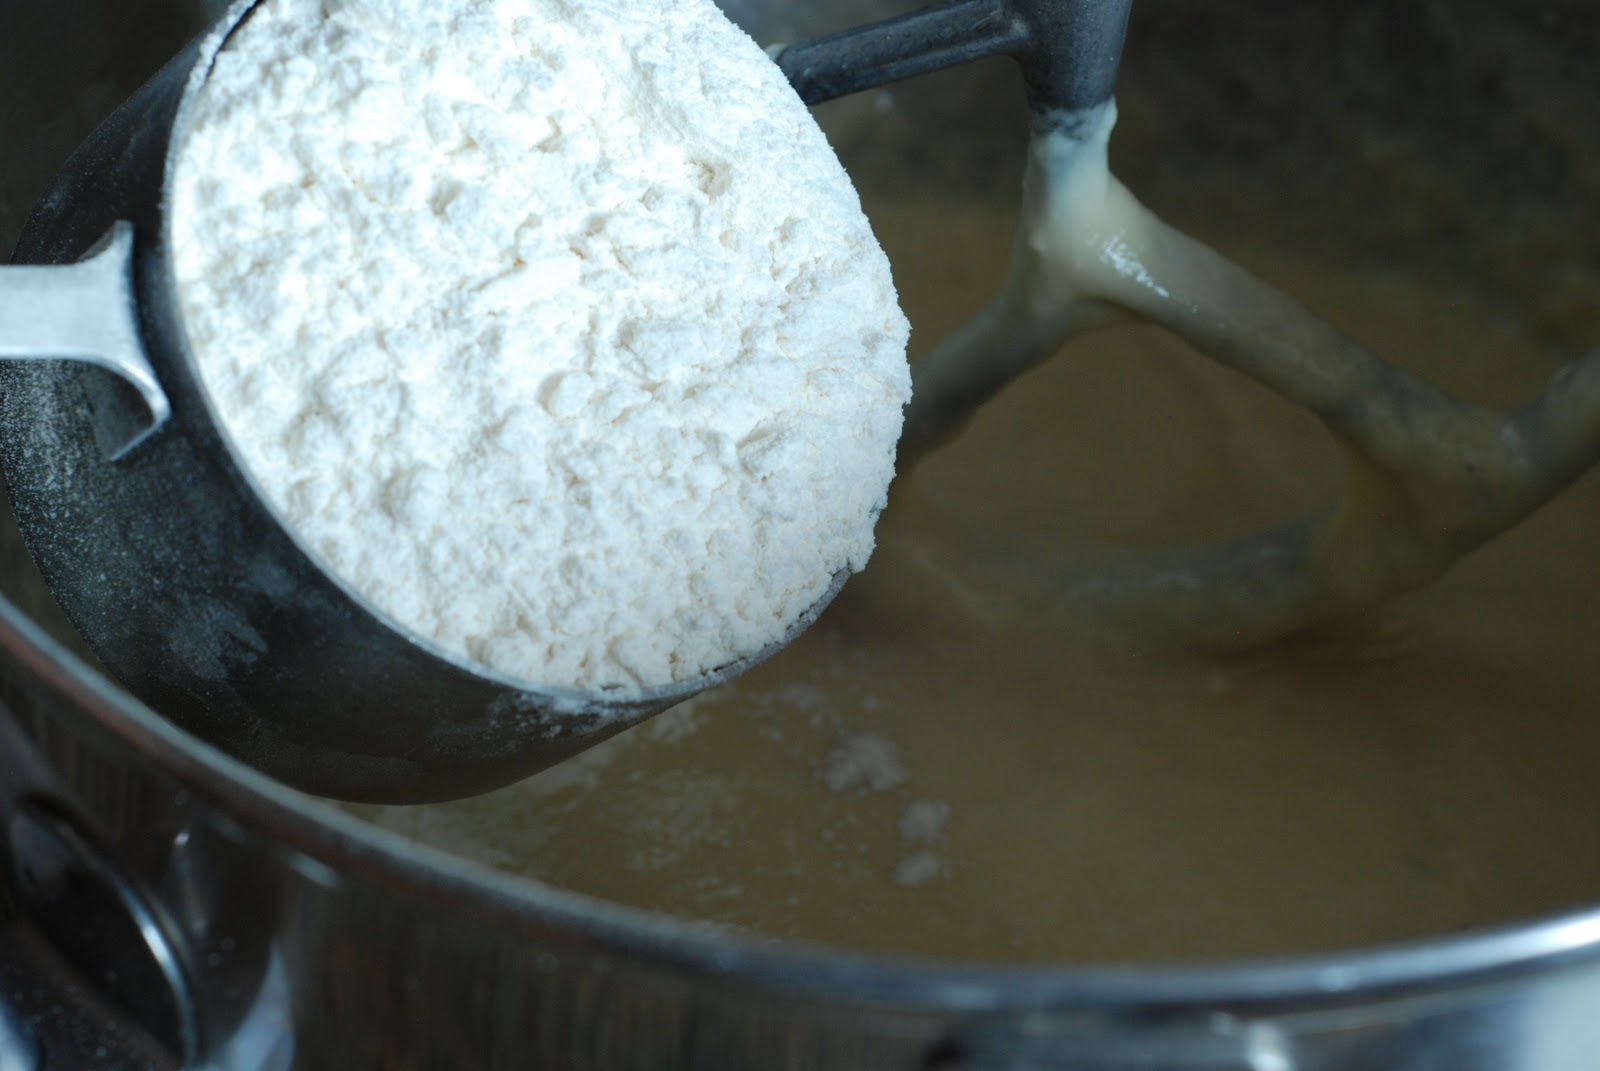
Add the remaining flour one cup at a time. Beating well after each addition. You might not need all the the remaining 3 cups. That’s why I mix it in 1 cup at a time. You don’t want the dough super sticky, but it will stick to your fingers a bit.

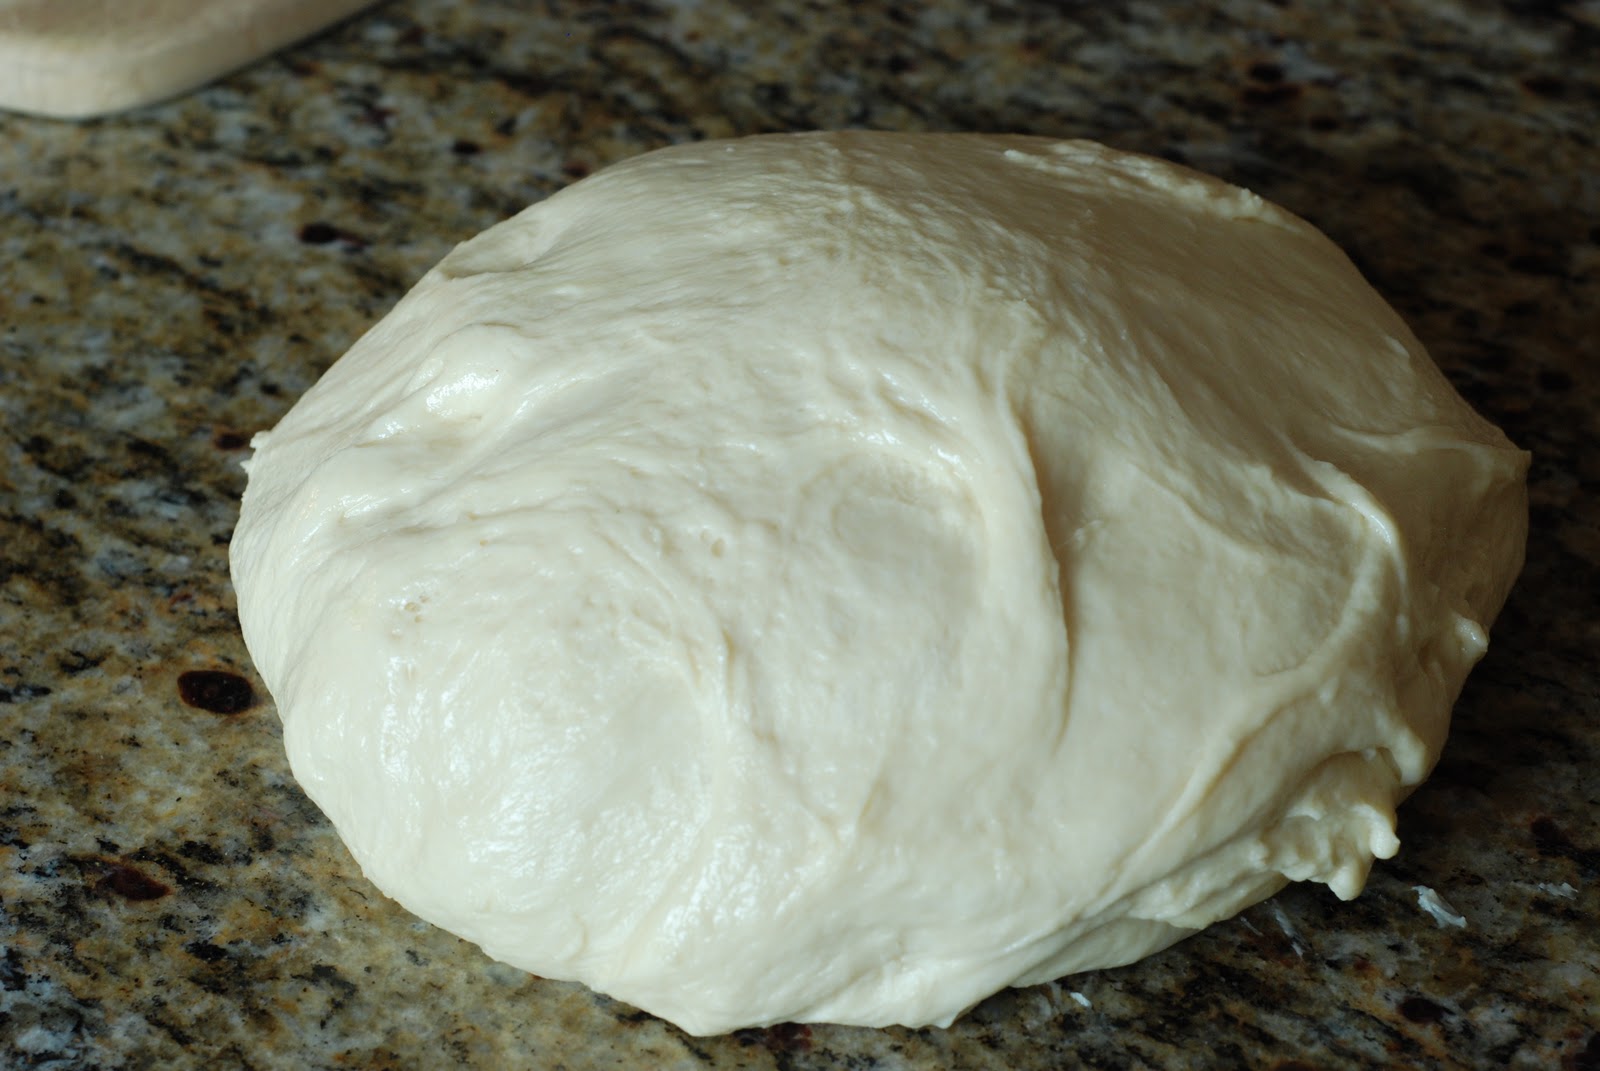
Place the dough into a large that has been lightly oiled. Turn the dough over to coat completely with oil. Cover the dough with a cloth and place in a warm place to rise. This should take about an hour.
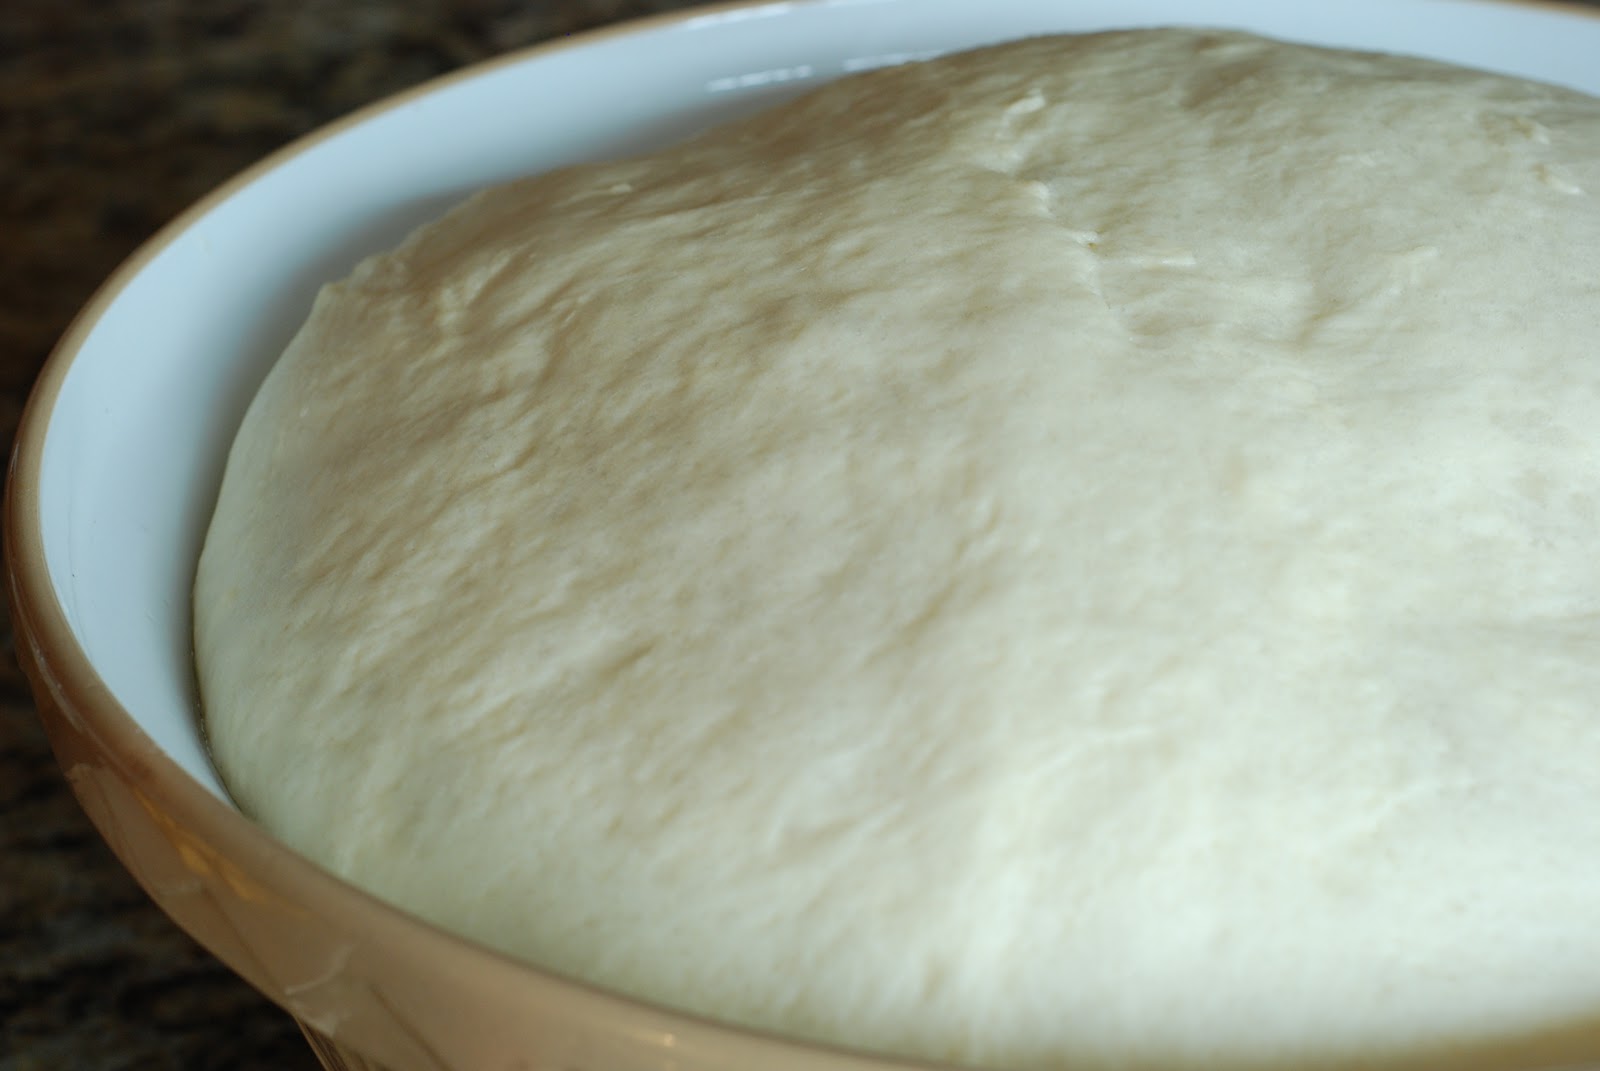
Look how pretty! The dough has been rising for one hour and has risen to the top of my bowl.
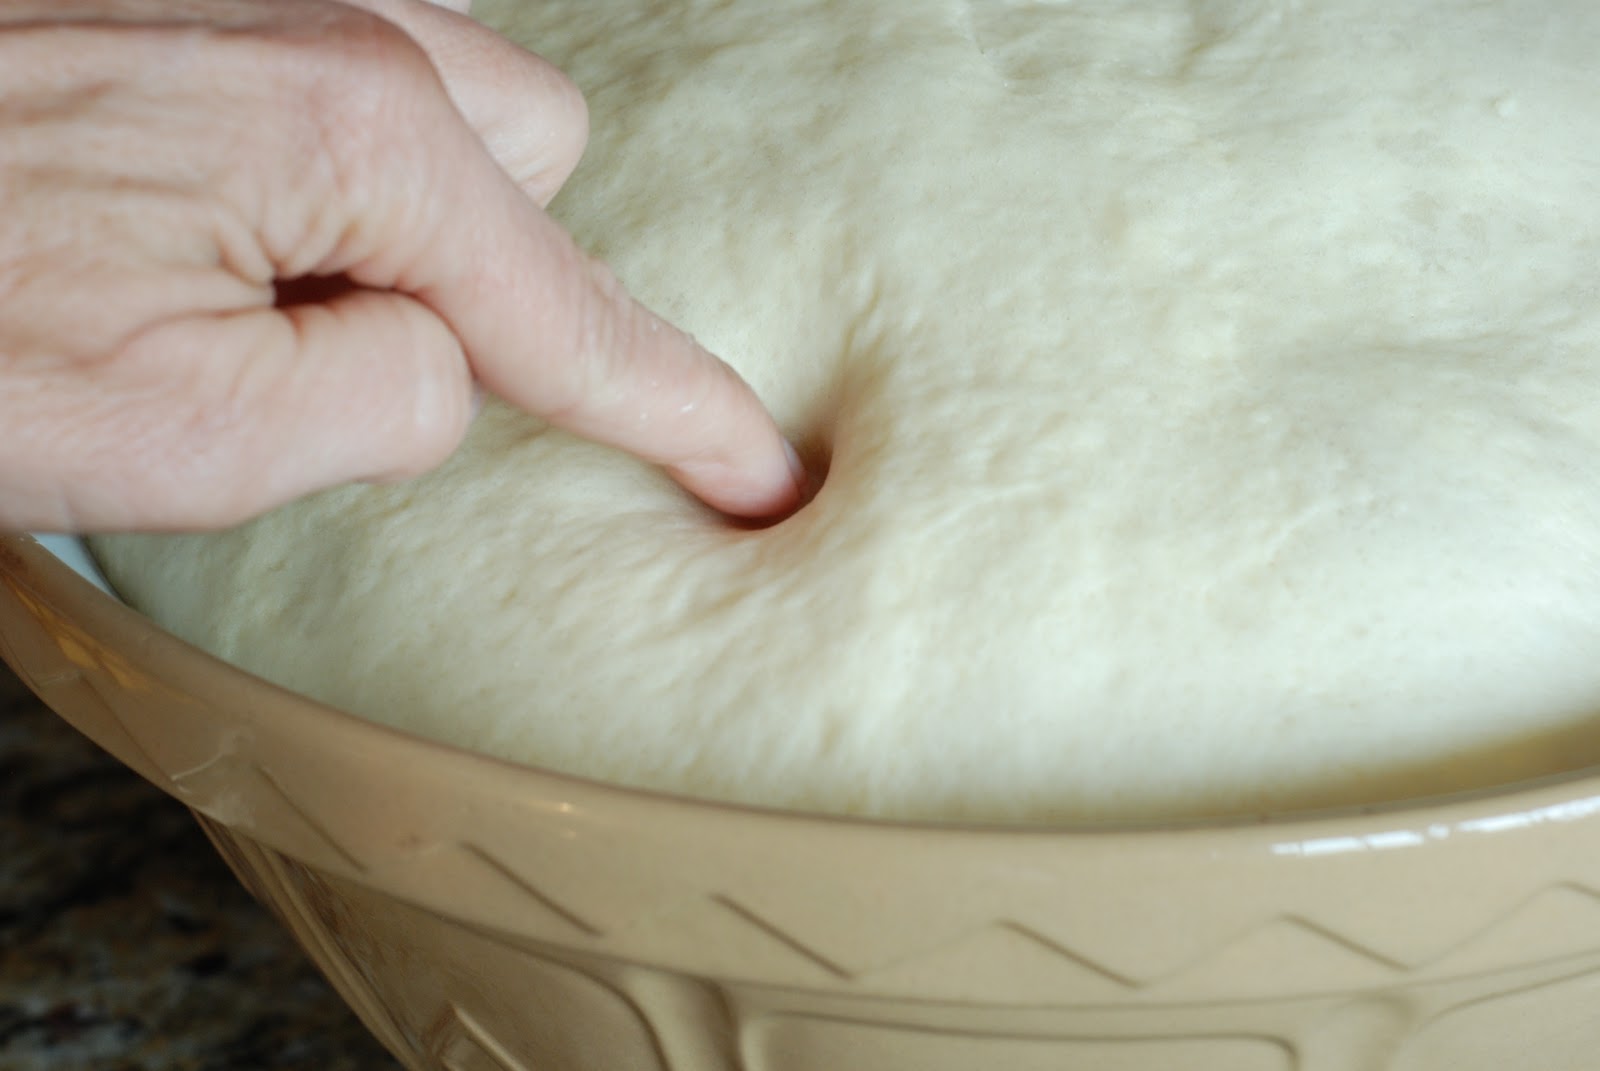
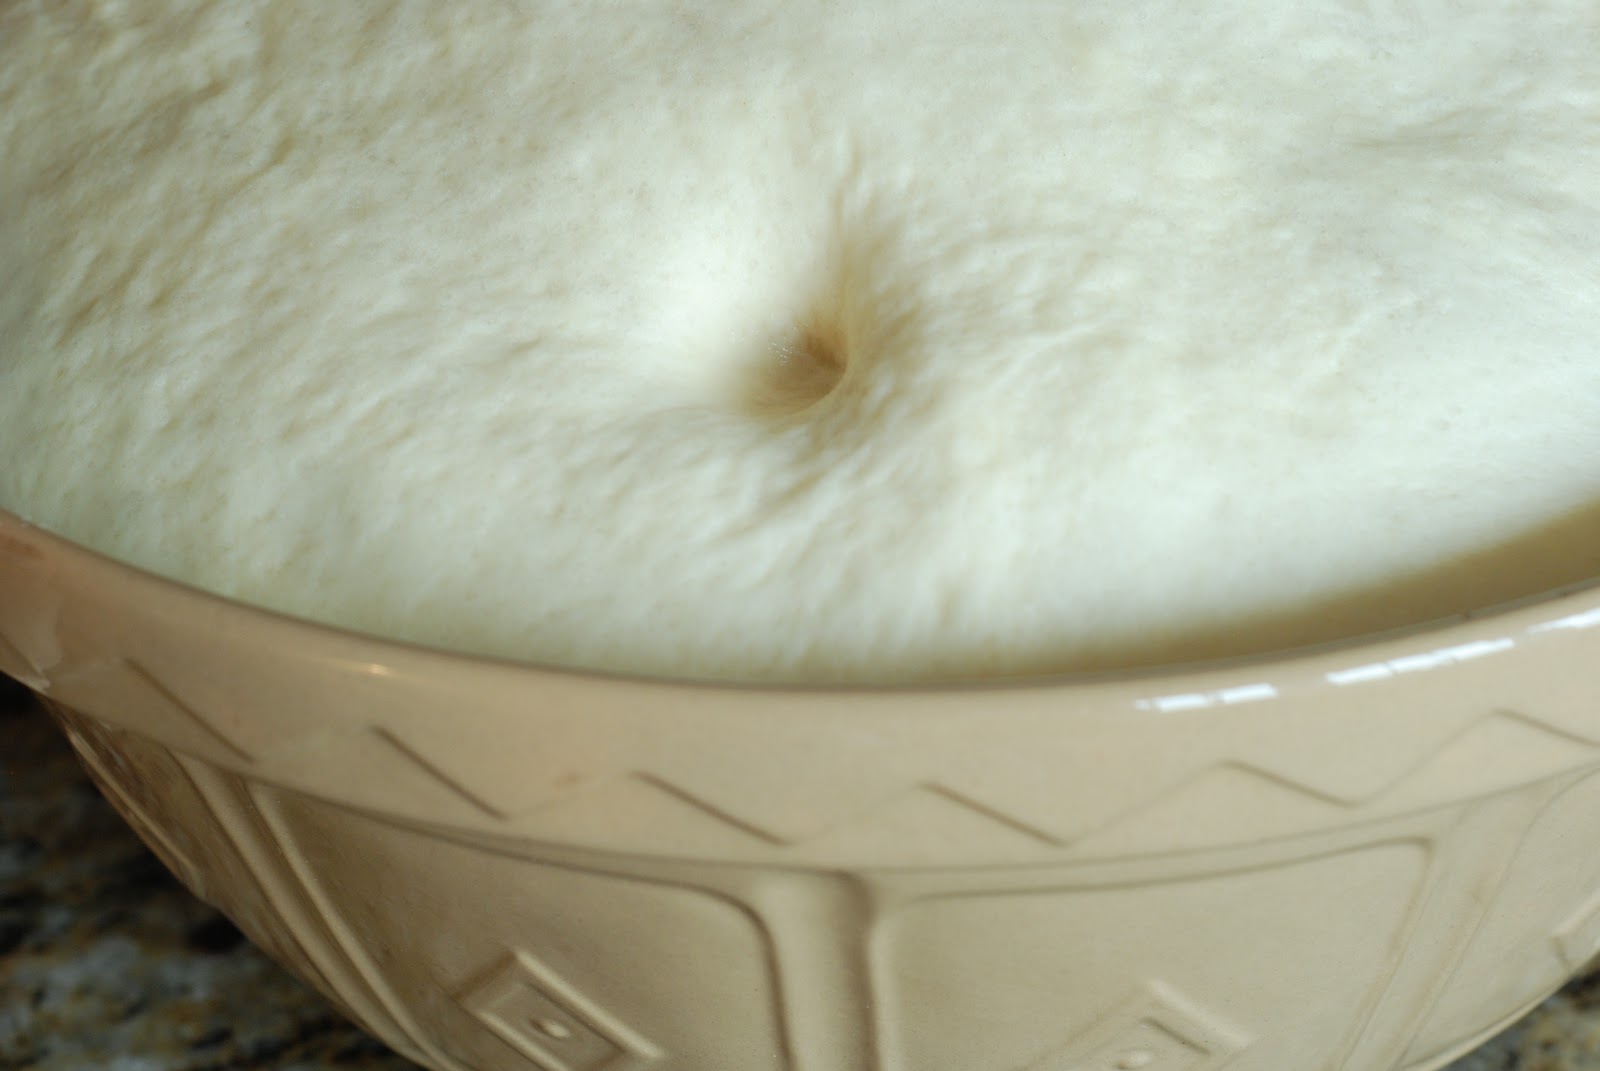
Check the dough to see if it has risen enough by poking my finger into the dough. If my finger mark stays, then it has finished rising.
Forming rolls:
Turn the dough out onto the counter top. It shouldn’t stick too much because of the oil that the dough was coated with from the bowl.

Cut the dough in half.
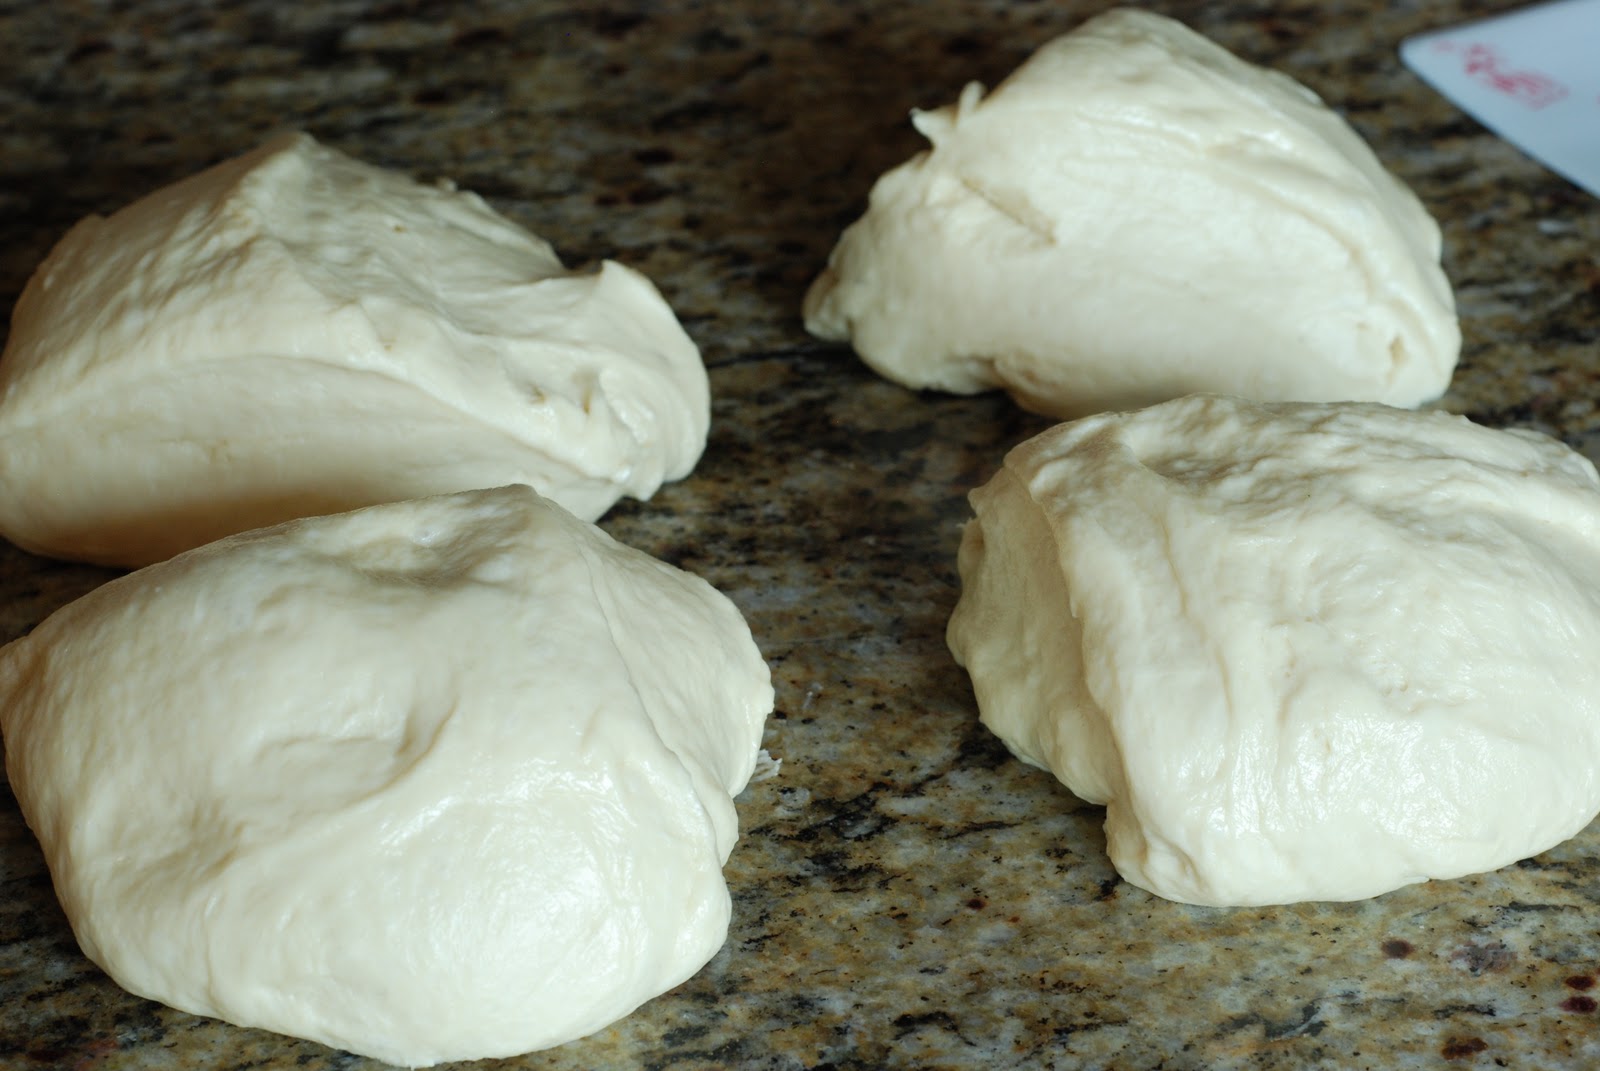
Now cut into quarters.
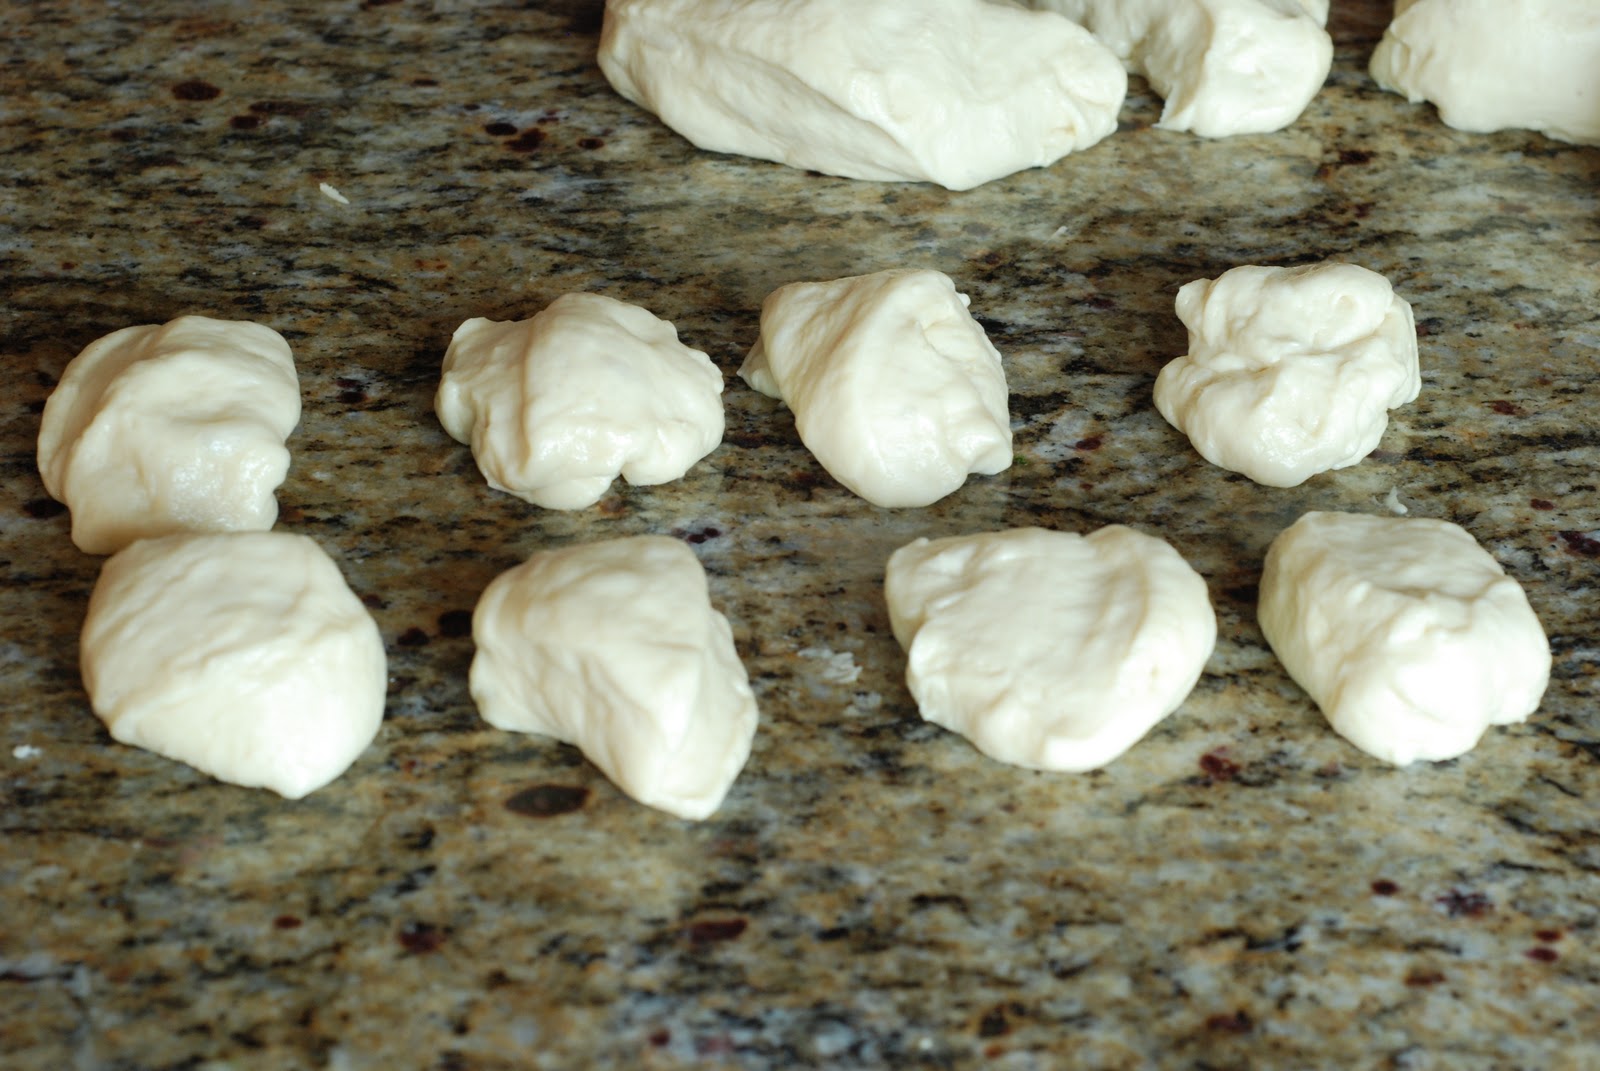
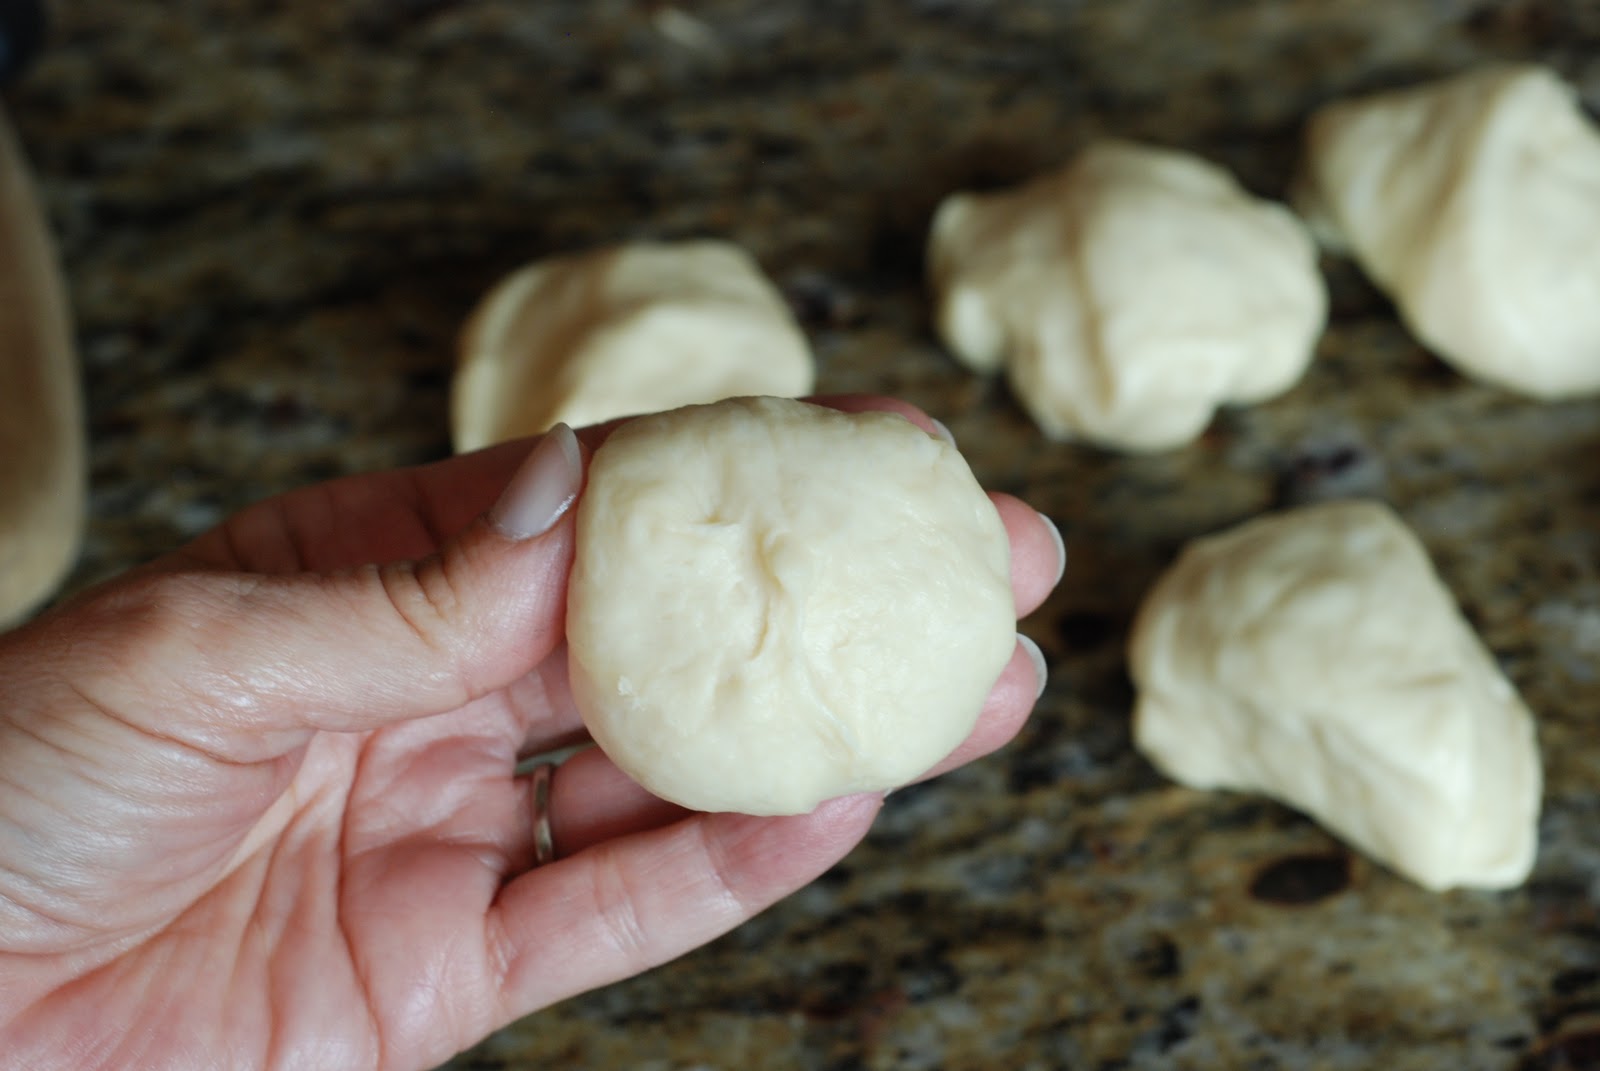
Cut each quarter into eighths (1/8). You should have about 8 little balls of dough.
Stuffing with cheddar:

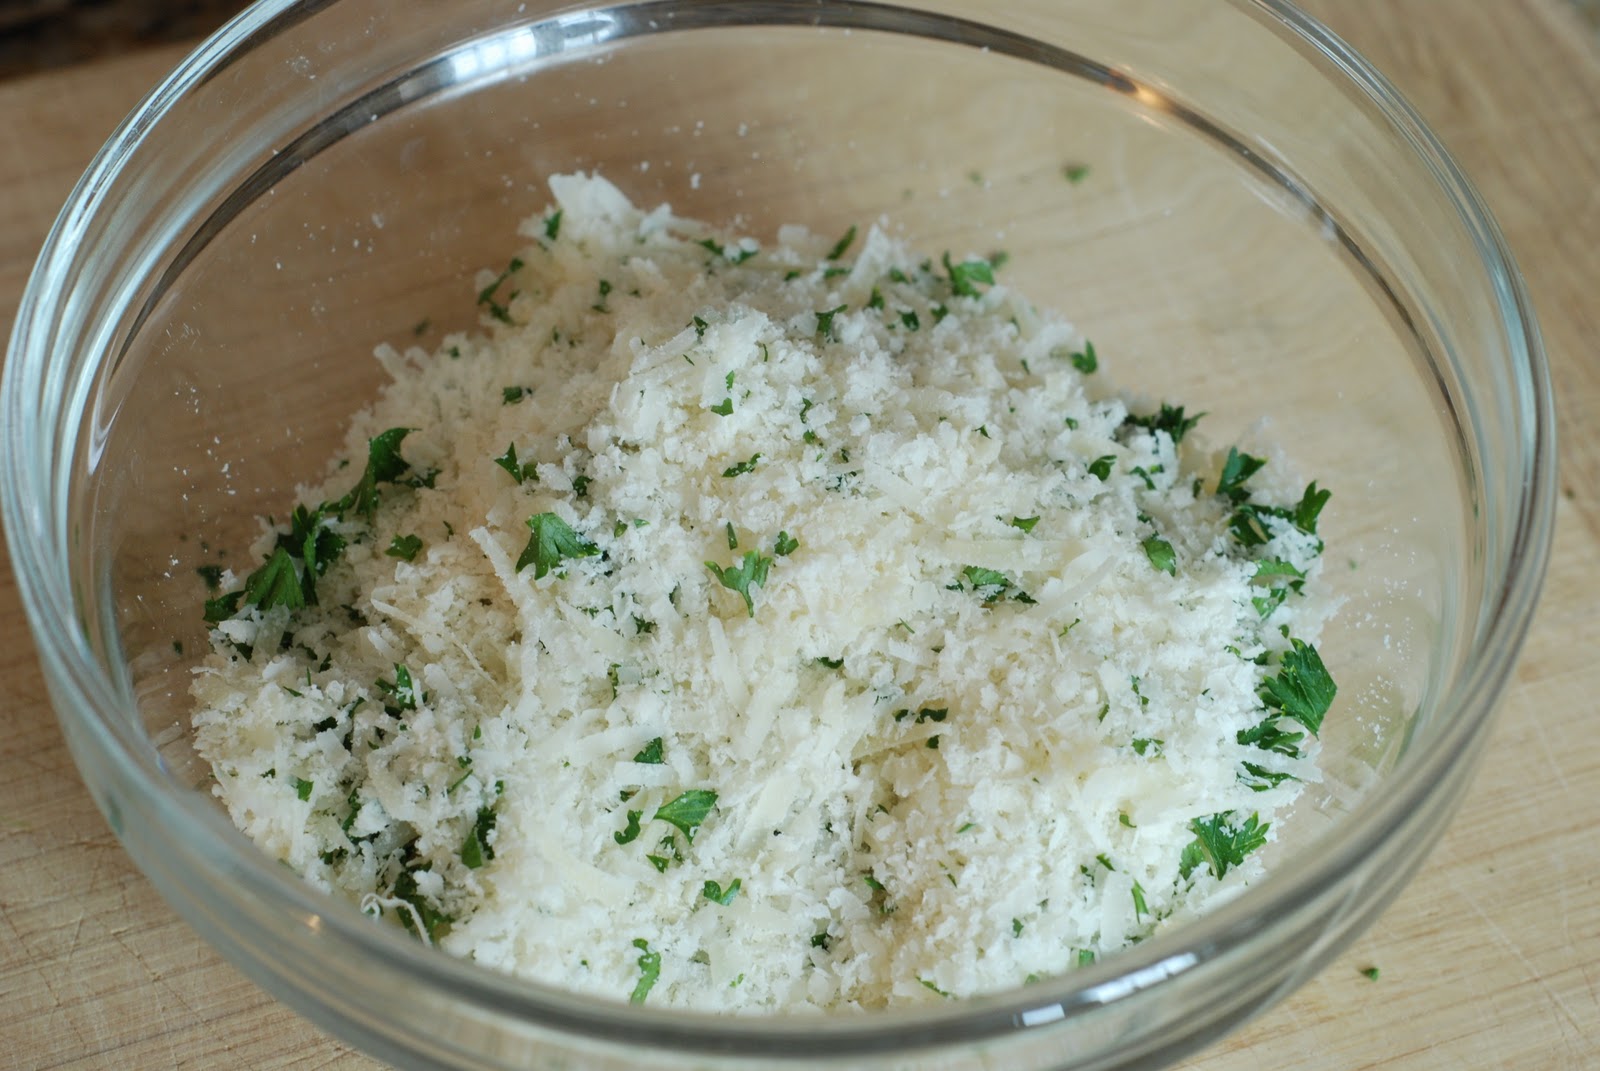
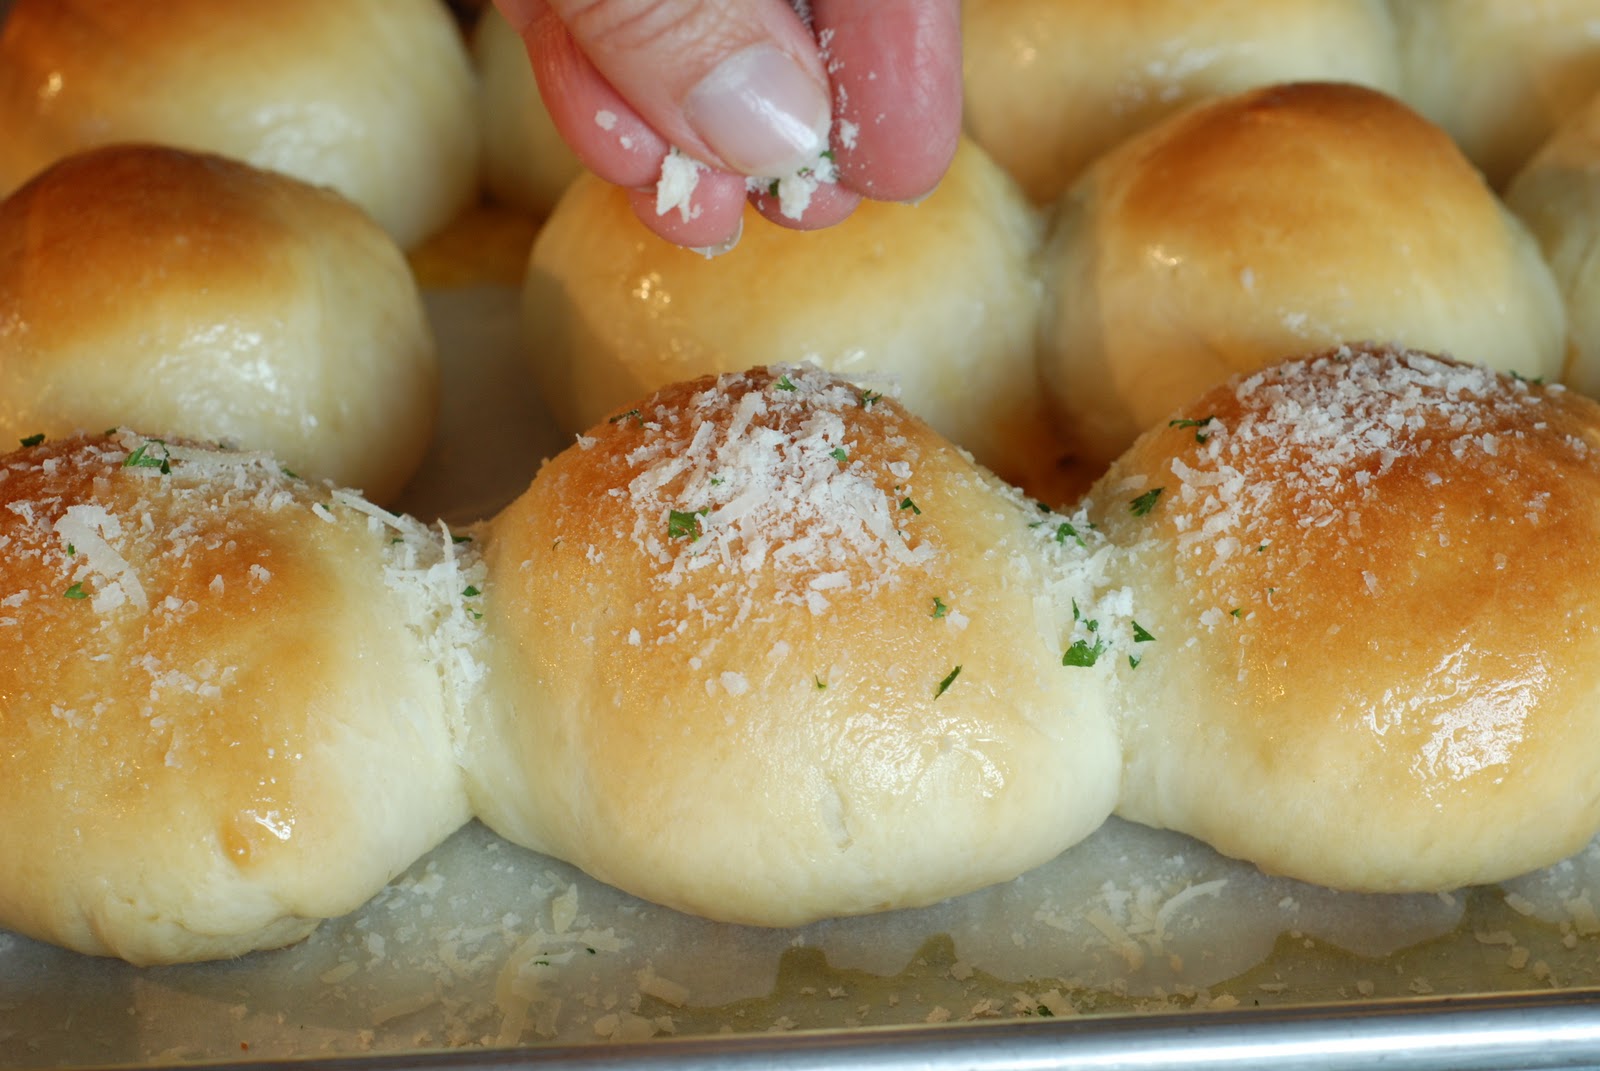
To complete the rolls you will need about 1 lb of cheddar cheese. You can use sharp or mild. Whatever floats you boat! The cheese is stuffed into the middle of the rolls. After the rolls bake, they will be brushed with melted garlic butter and sprinkles with Parmesan cheese and parsley. Chop abut 1 tablespoon of fresh parsley. You can substitute with 1 teaspoon of dried parsley, if you would like.
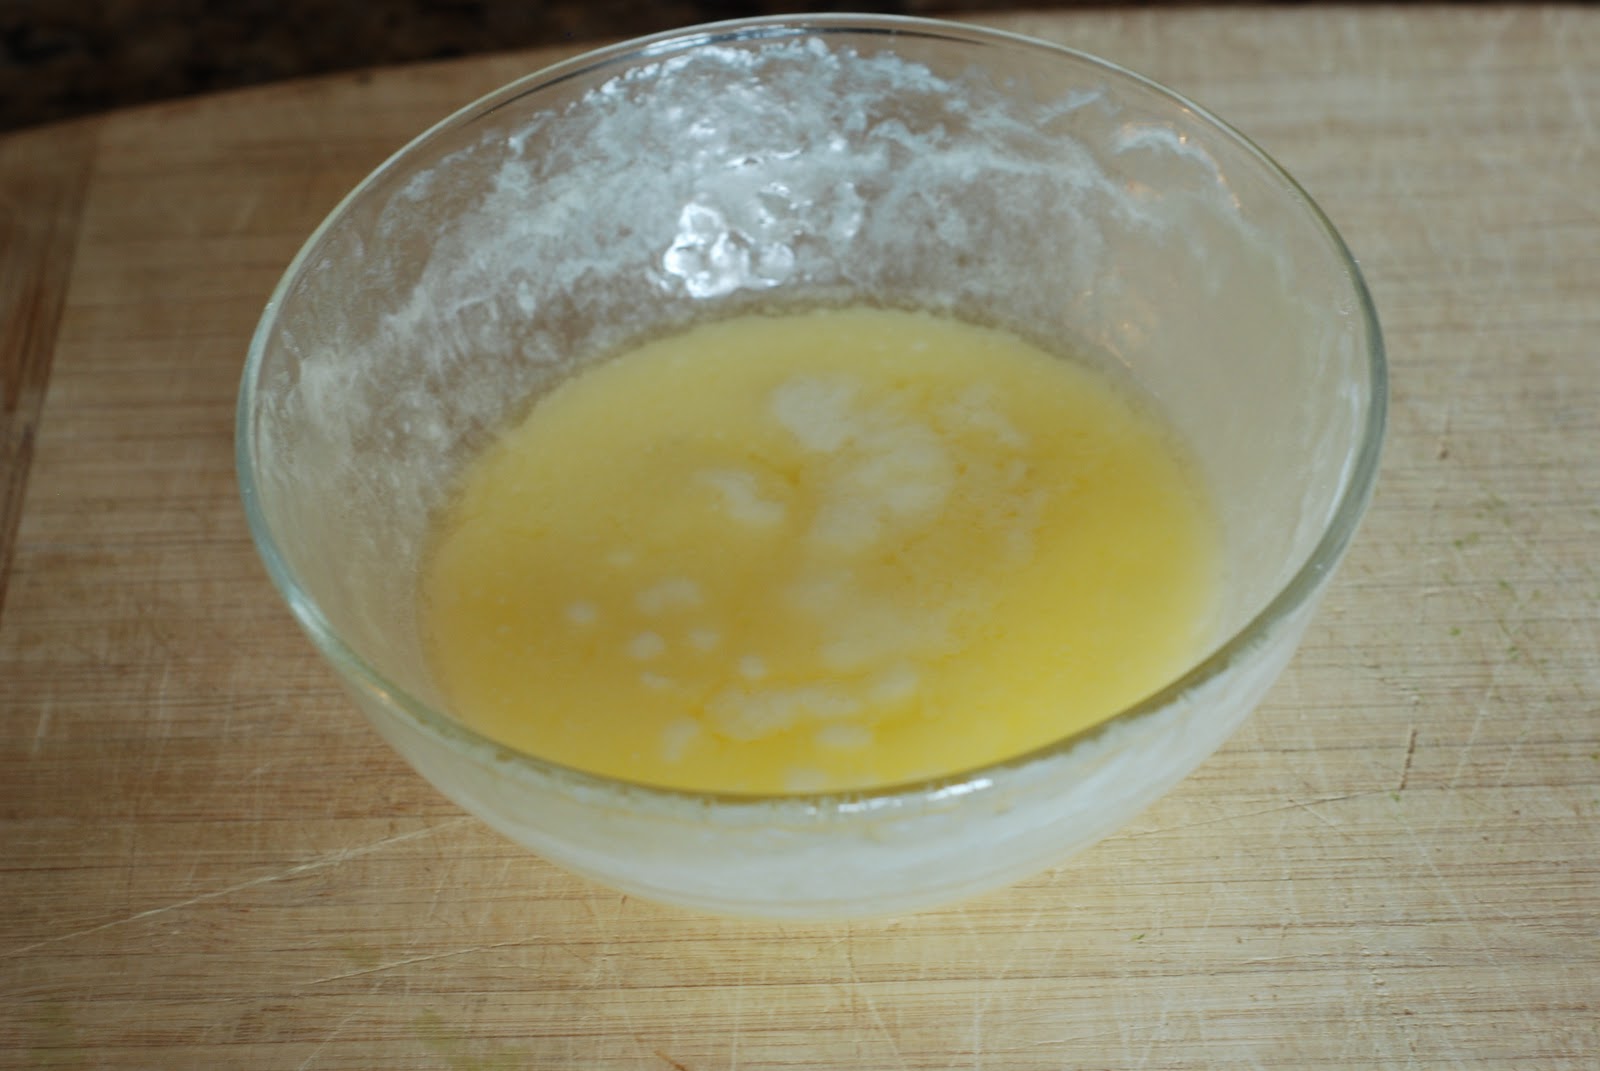
Melt the butter.
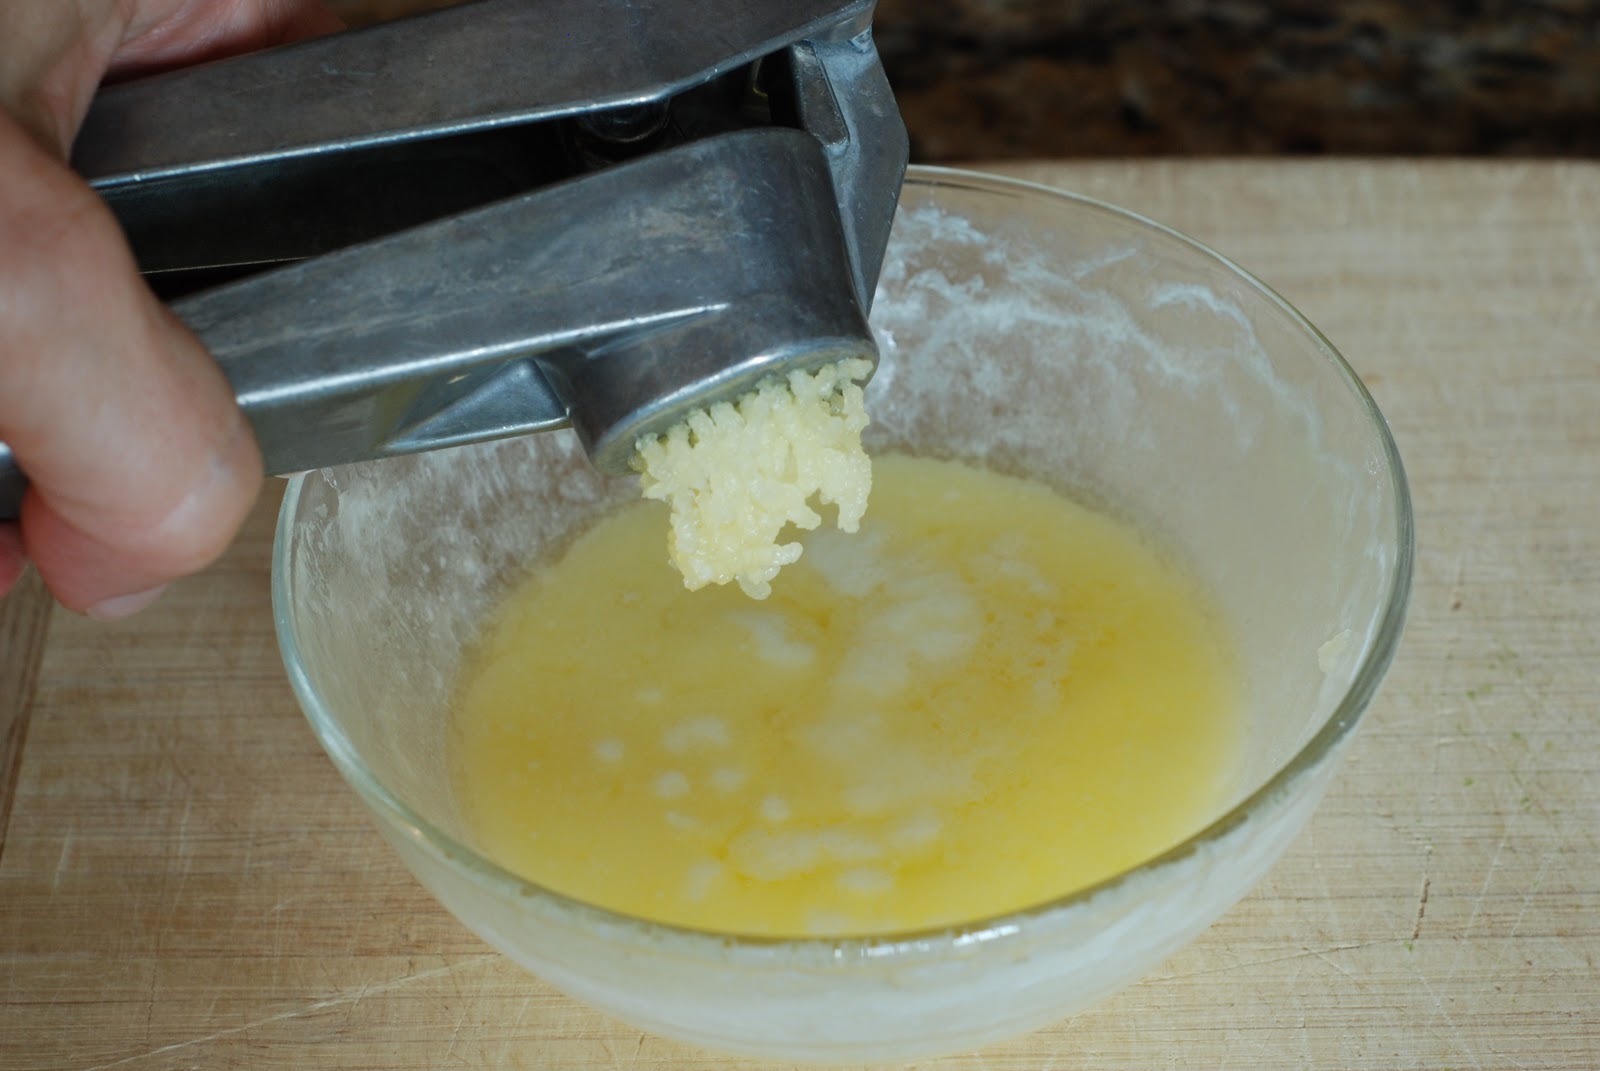
Add one garlic clove that has been minced. Set aside. I like to let this stand so the butter becomes infused with garlic.
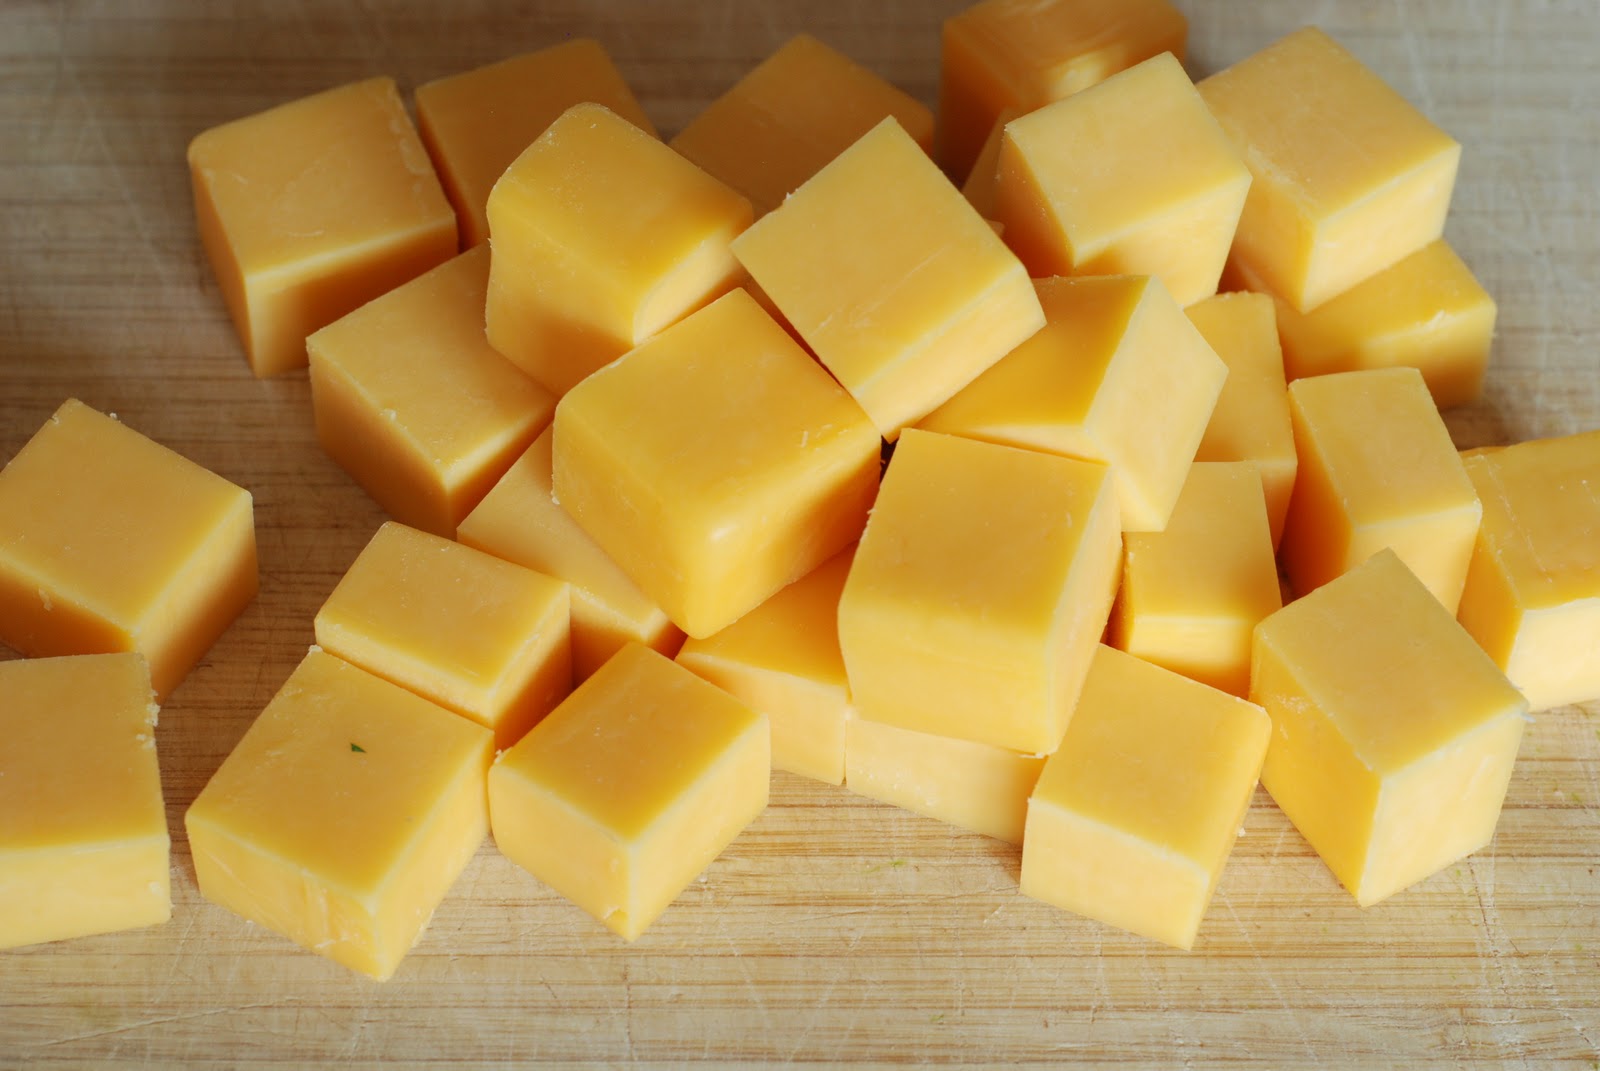
Basically you will need about 32 cubes of cheese that are about 1/2-inch to 3/4-inch thick. Depending on how much cheese you want oozing out of your roll.Cut the cheese into 1/2-inch slices.
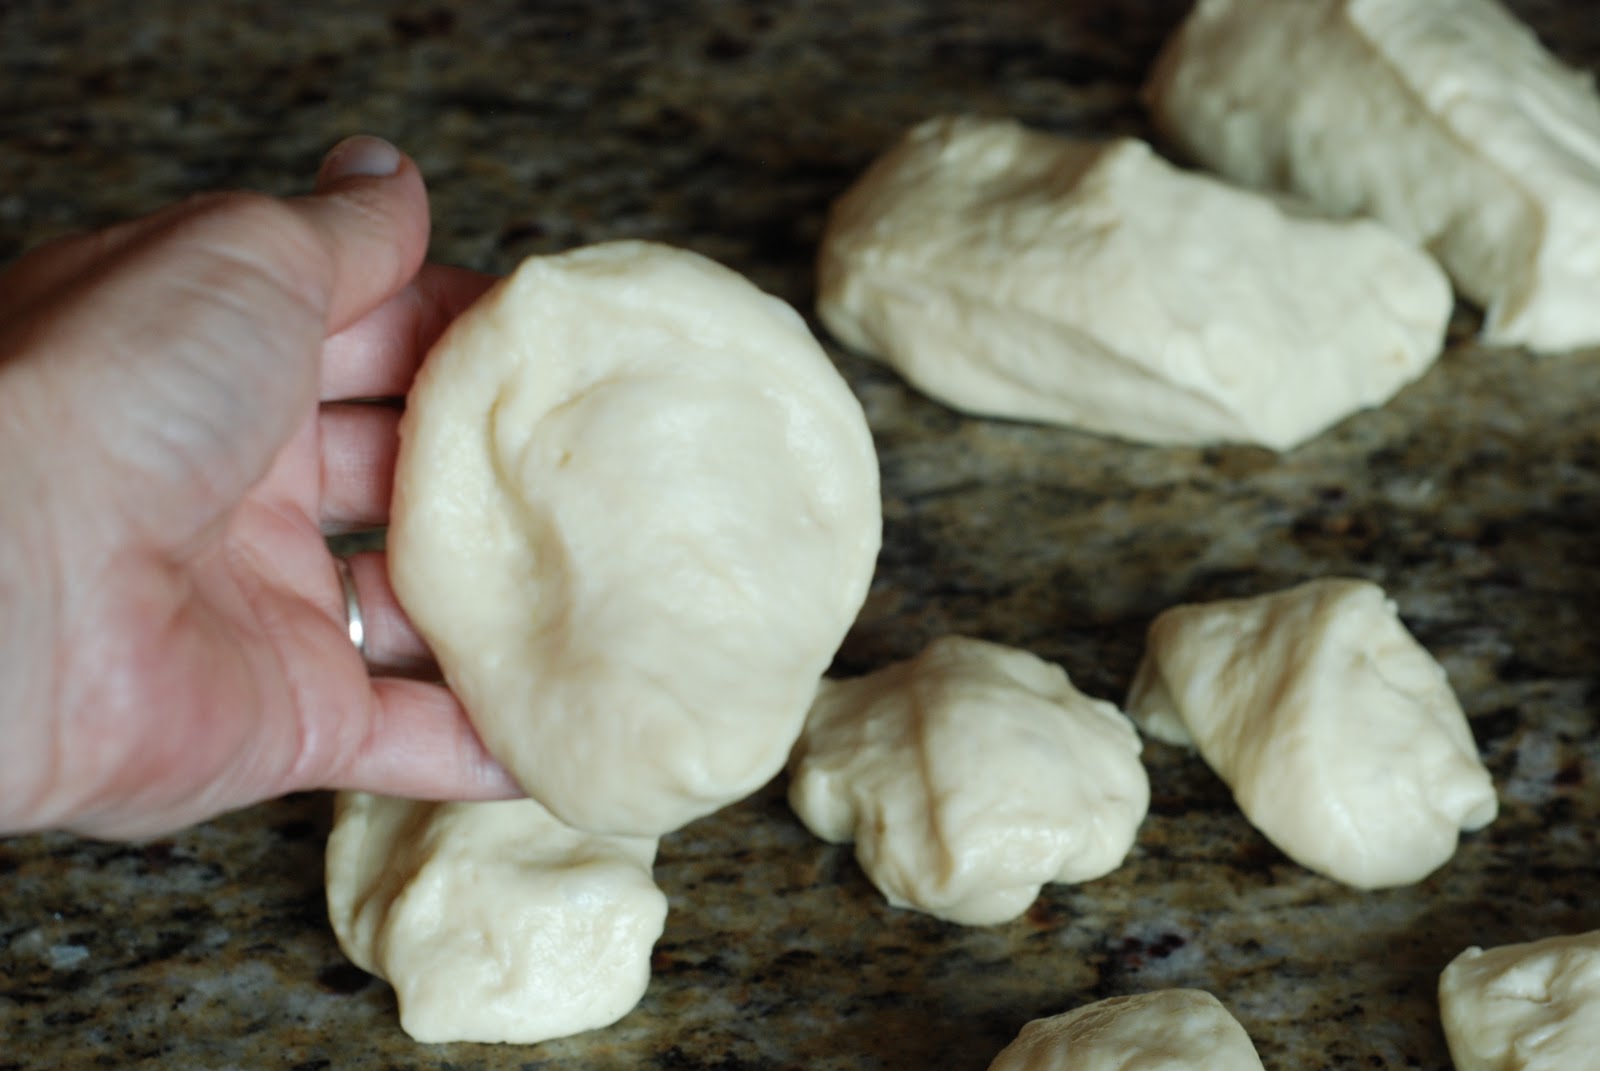
Take one of the pieces of dough that you have previously cut. Flatten the dough out a bit.

Place a piece of cheese into the center of the dough.

Close the dough in on and around the cheese.
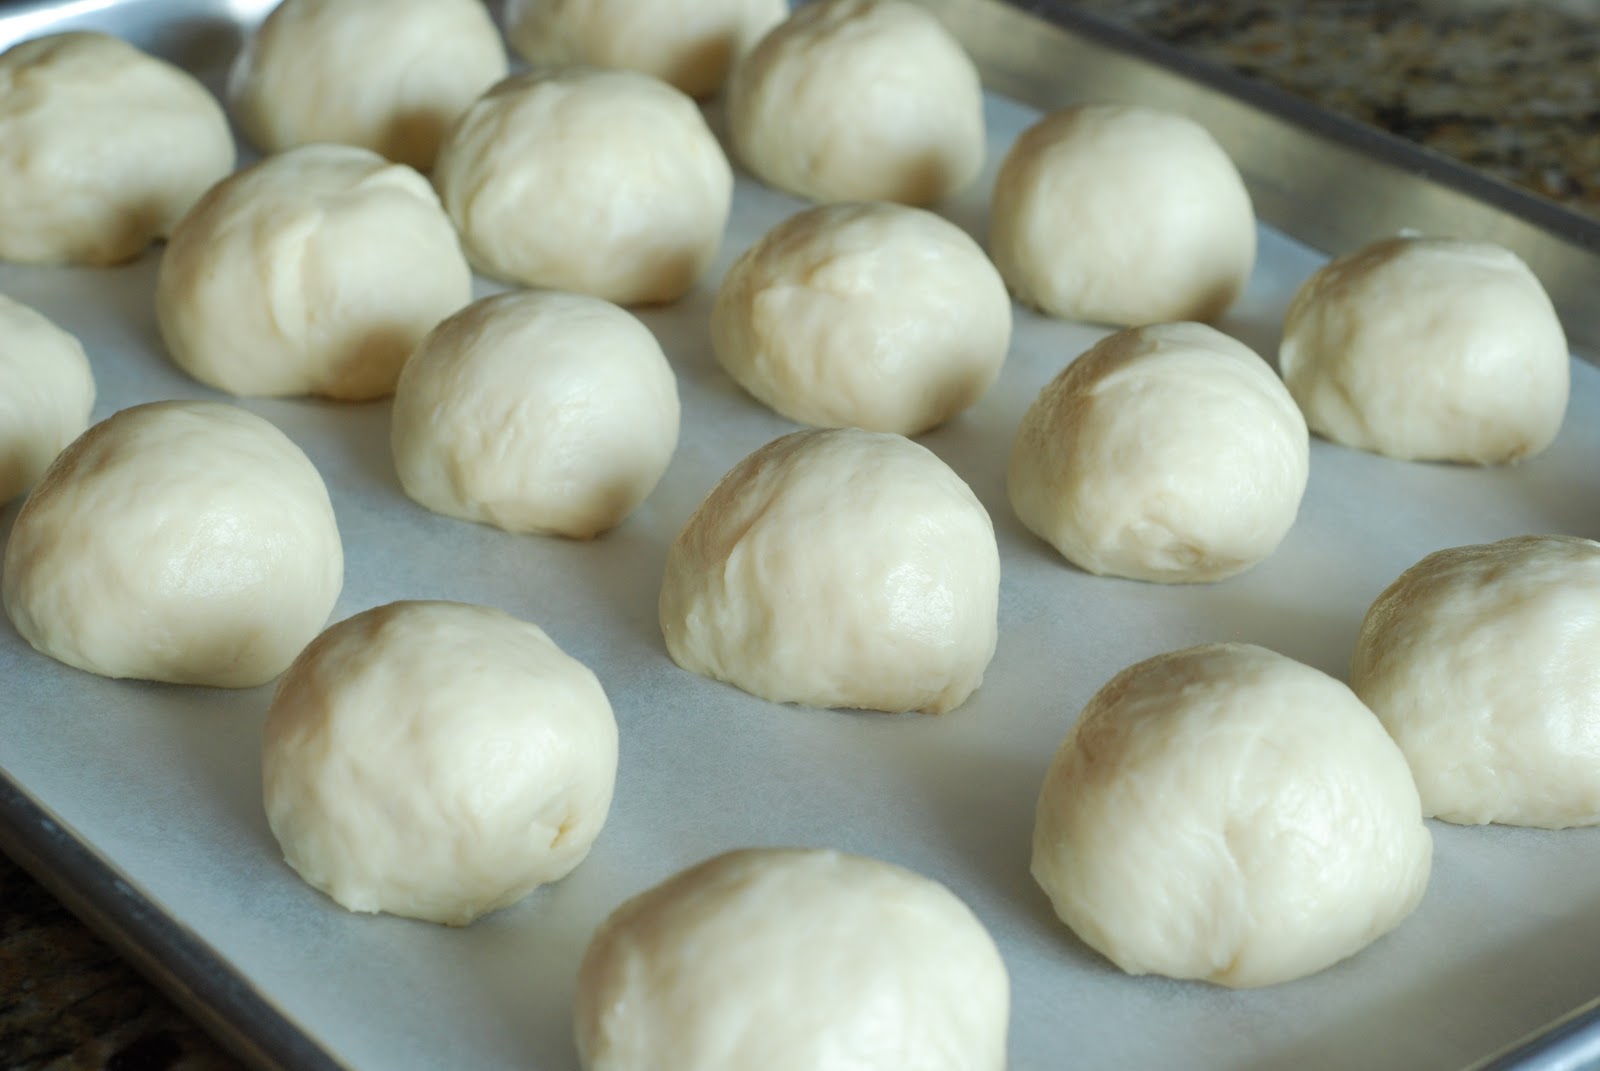
Place the roll on a baking sheet that has been lined with parchment or well greased. Make sure the roll is pinched side down.
Rising and baking:
Cover the rolls with a clean cloth and allow to rise for about 3 minutes.
Uncover and bake the rolls in a preheated 350 degree oven for about 20 minutes or until golden.
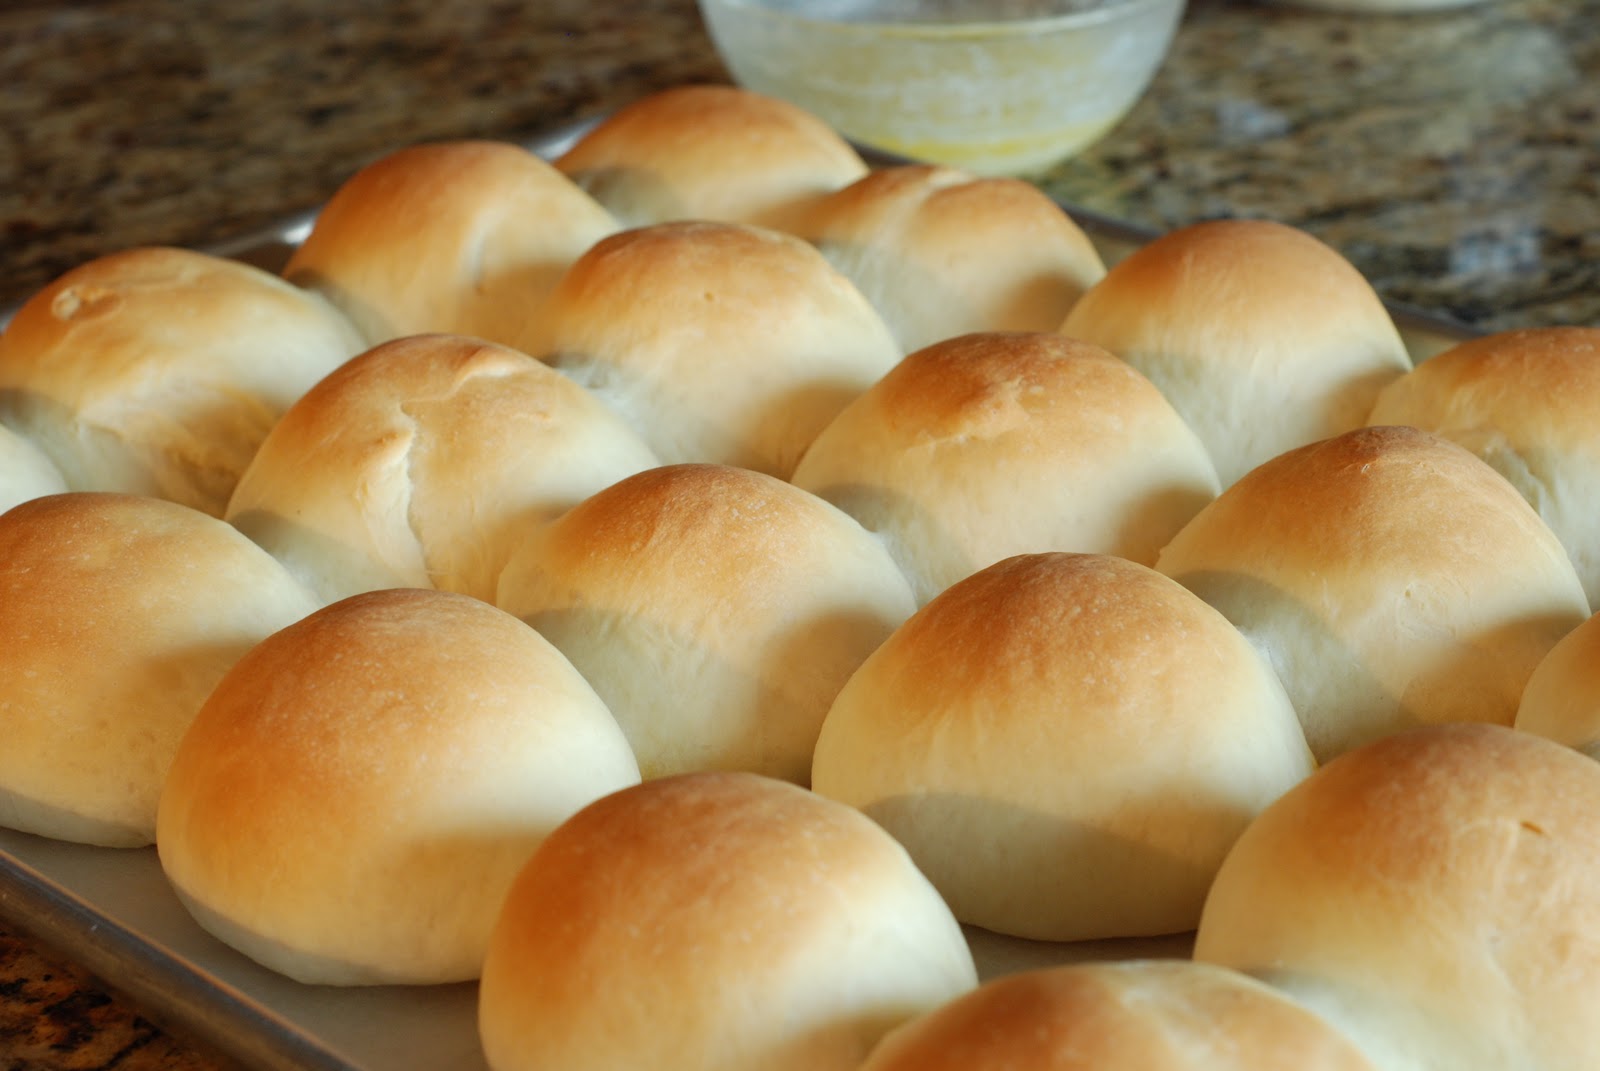
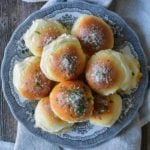
See how pretty they look. It’s ok if a little of the cheese melts out. It will probably happen to more than one. The baked cheese gets crispy and my boys really like that.

Immediately brush the rolls with the garlic butter mixture.
Cheddar Cheese Rolls
This classic Cheddar Cheese Rolls recipe is a family favorite that everyone loves! Warm pillows of bread stuffed with gooey cheese and topped with fresh herbs and parmesan are what carb dreams are made of, and pair very well with a bowl of hot soup.
Ingredients
- 7 cups all-purpose flour
- 2 tablespoons yeast rapid rise
- ½ cup sugar
- 2 teaspoons salt
- 2 ½ cups milk
- ½ cup butter
- 2 eggs
- 1 lb cheddar cheese cut into ½-inch cubes
- 1 clove garlic minced
- grated parmesan and chopped parsley to garnish
Instructions
-
In the bowl of an electric mixture combine, 4 cups of the flour, yeast, sugar and salt. In a medium size sauce pan melt the butter. When butter has melted add the milk into the pan. Continue to barely warm the milk until it reaches a temperature of about 110-115 degrees. Remove from the heat and pour over the flour mixture while the mixer is running. Continue to beat for about 5-7 minutes. Making sure the yeast has dissolved. Beat in the eggs. Add remaining flour 1 cup at a time. Add enough flour to make a soft, slightly sticky dough or until the dough begins to pull away from the edges of the bowl while mixing. Place the dough in a large bowl that has been oiled. Turn the dough to coat completely in the oil. Cover and let rise in a warm place for about 1 hour or until the dough has doubled in size.
-
Remove the dough from the bowl and place on a counter top. Divide the dough in half then into quarters. Divide each quarter into 8 equal size balls. Place a cube of cheese in the middle of the dough. Pull the dough around the cheese to form a ball then pinch the dough tightly so that the cheese doesn’t melt out during baking. This will make approximately 36-40 rolls. Place the rolls on a parchment lined baking sheet about ½-inch apart. Cover and let rise for about 30 minutes. Bake in a preheated 350 degree oven for 20 minutes or until golden.
-
Meanwhile, melt the ¼ cup butter and add minced garlic. Set aside. Mix grated Parmesan cheese with parsley and set aside. When the rolls come out of the oven, immediately brush with the garlic butter and sprinkle with Parmesan cheese parsley mixture. Serve immediately. Makes about 36-40 rolls.
Recipe Notes
- Because the yeast is added in with flour, rapid rise works best. If using regular active yeast, mix with 1/4 cup warm water then add to flour mixture.
- Any nice melting cheese may be use. Pepper Jack is a great spicy alternative.
Updated recipe from 2010. An oldie but goodie.
Other recipes you might like:
Would i have to change how long to mix the dough if i cut the recipe in half?
These sound delicious, but there’s just the two of us and would like to make a smaller quantity of rolls. Would anything else in the recipe need to be changed?
Thank you! Cant wait to try these!
You can easily half the recipe without making any further adjustments in time, baking or mixing. I hope you love them. Please let me know if you have any more questions.
You can also freeze whatever dough that you don’t need at the time and then take it out later to thaw and make more.
You sure can! Thanks for the great tip.
I have a query about the instructions for this recipe it says “In a medium sized pan melt the butter”, are you supposed to put the full 1/2 a cup in to the pan to melt then add the milk for the bread ingredients or just 1/4 of a cup, the instructions it doesn’t stipulate the amount to go in to the bread ingredients/mixture. The reason I am asking is the recipe asks you to melt a 1/4 a cup butter and add some minced garlic is this butter coming out of the ingredients listed (1/2 cup) or is this an extra amount of ingredient (butter) that was omitted to be included in the ingredients listing.
I’ve just realised it must be extra butter that needs to be added I think as it also as the recipe doesn’t show the garlic or Parmesan cheese either. So I have answered my own question.
ABSOLUTELY AMAZING!! I could eat these Every day for every meal
I am so happy to hear this. Thank you so much for your kind comment.
Will be trying these out. I will be making them double the size to make "cheddar cheese buns" instead of rolls though. My high school in Indiana used to serve these and everyone absolutely loved them. I believe the only difference other than size, was that they used a blend of colby and cheddar, and the topping was just a little butter.
I was wondering I can half bake these rolls and freeze them for thanksgiving day so that we can have them ready to bake and serve?
You can actually completely bake them, then freeze. To reheat, thaw then wrap rolls in aluminum foil and place in a 300 degree oven and heat for about 10 minutes. They will be perfect.
Mmm, this looks delicious! Thanks for sharing. I think I just found my breakfast for tomorrow…
Chowranghee Lane Rajender Nagar
Can I use bread flour?
You sure can. The rolls will be a little airier but should work out great.
My mama requested me to make some cheese rolls, and I just found your recipe today! (Blame your photos) Guess what? They're already in the oven! And my siblings can't wait to eat them. Thanks a lot! P.s. I like your butter garlic mixture. 🙂
Thank you so much. I hope your mama loved the rolls. You must be an amazing baker. Lucky family.
Surely, they did. Haha I'm no baker, ma'am. I'm still 17. This thing's just my hobby, and it's my first time trying out pastries. I'm more into cakes, though. 🙂 uhm ma'am, I'm looking for a good recipe of cinnamon rolls with raisins in it. Do you have one?
HI Andrea, I have a recipe of my Grandmother's for cinnamon rolls with raisins. They are my dad's favorite. I am leaving to spend a week with my grandchildren. When I return, I will do a post with the cinnamon roll recipe for you. If you would like it sooner, send me a note in the "contact me" at the top of the home page and I will email you a copy of it.
Oh, thank you so much and sorry for the trouble. 🙂 The post will do fine. I like how you take the step-by-step picture instructions with it. So, I'll just wait. Thank you again and have a good day! 😀
For just the two of us, that is a LOT of bread! It sounds delicious but if I wanted to make fewer, can I just halve the recipe or would suggest making additional changes?
just fabulous,thank you,i love it,i will test it soon!
Do you think the rolls would freeze well? I'm thinking about freezing half for later and baking half for dinner tonight.
The rolls freeze really well once baked. Reheat by placing them in aluminum foil and place them in a 300 degree oven for about 10 minutes. I have not tried freezing them unbaked, but why not??? I think you should try it. Just plan on the rolls needing a longer rise time once frozen. About 3-4 hours. Maybe 5.
looks wonderful! a quick question – can i make the rolls without putting a cube of cheddar in the middle? thanks!
Absolutely. I make them all the time just plain. The dough is a fabulous dough for cinnamon rolls as well. Good luck
thank you, hope to make them soon! 🙂
thanks for share.
Oh wow ! These look so amazing, I need to go buy some cheddar soon, very soon !
All the photos are really pretty, I'm loving your blog 🙂
YUM! I want to try this with mozzarella and pepperoni in the middle. Thoughts?
Sure why not? Ham and cheddar is great.
My dough came out super sticky- did I use too much flour or not enough?
Try adding 1/4 cup more flour. Mix until the dough starts to pull away from the bowl. It will be a bit sticky when first mixed, but it will stiffen as the dough rises. It is a soft dough. I hope this helps. You made need to add an additional 1/2 cup flour. Your altitude, humidity all play a factor.
Thanks, Carrie. I hope you LOVE them!
OMGoodness!! Heaven!
Thanks for sharing this recipe and the fabulous step-by-step photos. Can't wait to make them.
Goodness sakes– this looks soo amazing! Thank you for sharing. I cannot wait to try these :).
Oh my! Vermont cheese powder – what a great idea! I only wish King Arthur Flour was a couple thousand miles closer to me.
This is very similar to the white rolls I often make, except I add King Arthur Vermont Cheese powder to the dough. I never thought about putting in a cube of cheese, genius! Will be making these this week!
I miss you too! I think we should have a party at Christmas and get the old gang back together! I would gladly clean out your kitchen. Good times indeed.
1/3 is still a lot of kids. And no your mom's house is NOT falling apart! I love that woman!
these look delicious!!!! that melty cheese….mmmmmmmm!!AND, janet, the secret to buying less candy for trick or treaters: living on an old street in the neighborhood in a house that's falling apart…this is my mom's trick…she gets maybe 1/3 of what you get!
Oh Megan! I miss you guys so much. It was so much fun having the gang around to clean out my kitchen. Good times…good times.
My mom does the same thing every Halloween! I am homesick just thinking about the hot bowl of soup. If I was home, I would come trick or treating at your house and make you put one of these rolls in my bag. Can't wait to make them!
These rolls cannot possibly be anything but amazing. Made with milk and butter instead of water? Oh yes. These are my kind of rolls.
i'm not a little boy
I love you, Chelsea and Kristen. You just make my day!
i just gained 5 lbs. looking at these photos. yum.
Wow, these look incredible! And what a cute idea to make them for your kids before trick or treating 🙂 I can already think of 2 upcoming parties these would be perfect served at…