
I decided to break this blog up into two separate posts. I have over 85 pictures and that just may seem too overwhelming. I really didn’t want anyone to be so overwhelmed that they close the blog and say “forget that”. Don’t do that! Enjoy the adventure.
Today we will prep everything and tomorrow we will cook, saute, simmer, eat.

Let’s prep. Which really entails chopping. A lot of chopping.
I just happen to have an abundance of tomatillos and Anaheim peppers in my garden. What do you do? Make salsa or chile verde.
You will need green peppers, Anaheim or Poblano peppers, jalapeno peppers, onions, tomatillos and garlic.

You will also need 4 lbs of pork tenderloin. Most recipes call for pork butt or shoulder, but I like using the tenderloin because it is extremely lean.

Let’s start by taking all the papery skins off of the tomatillos. You will notice that there is a sticky residue under the skins. Your fingers will get a little sticky during this process.

Wash the tomatillos.
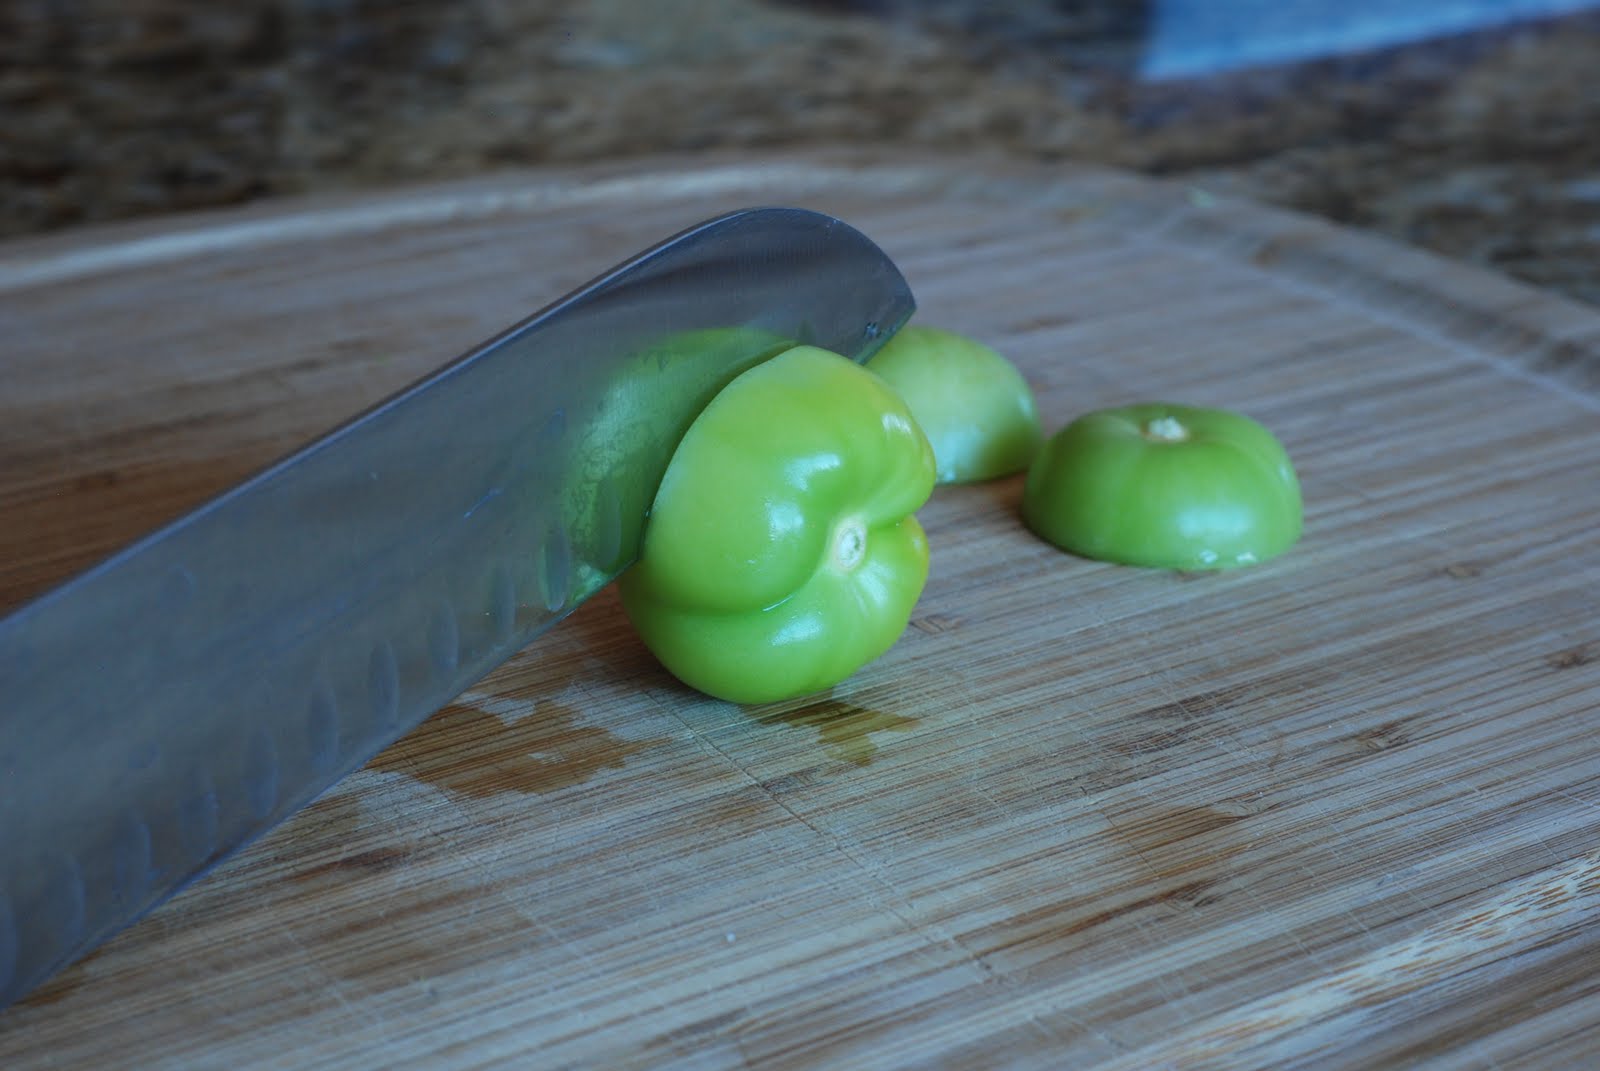
Cut each tomatillo is half crosswise.

Like this.

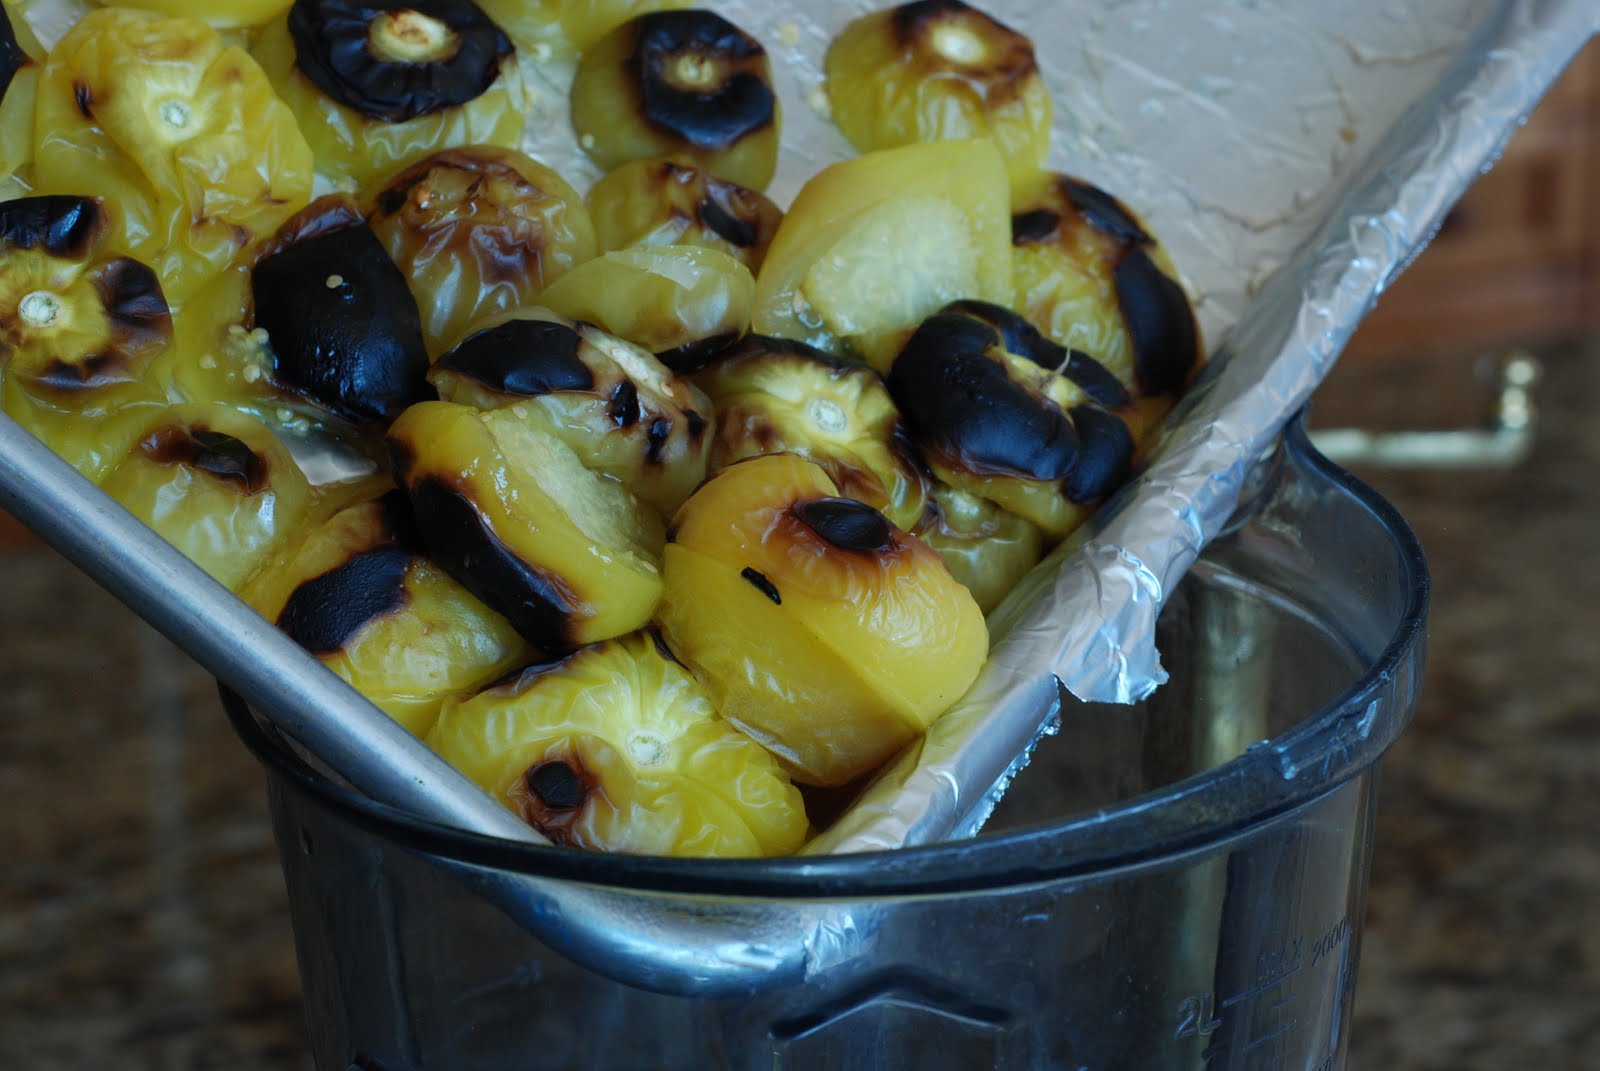
On a baking sheet that has been lined with aluminum foil, lay the tomatillos flat side down.

Wash the four Anaheim peppers.

Lay them on the baking sheet with the tomatillos.

Place the tomatillos and peppers under the broiler of your oven until they start to brown.
Remove them from the oven to turn over the peppers. You don’t need to turn over the tomatillos. Just leave them cut side down.

Turning over peppers.

Return to the oven until the peppers and tomatillos are charred.

Roast as evenly as possible. You will probably need to turn the baking sheet several times to accomplish this.
Remove from the oven.
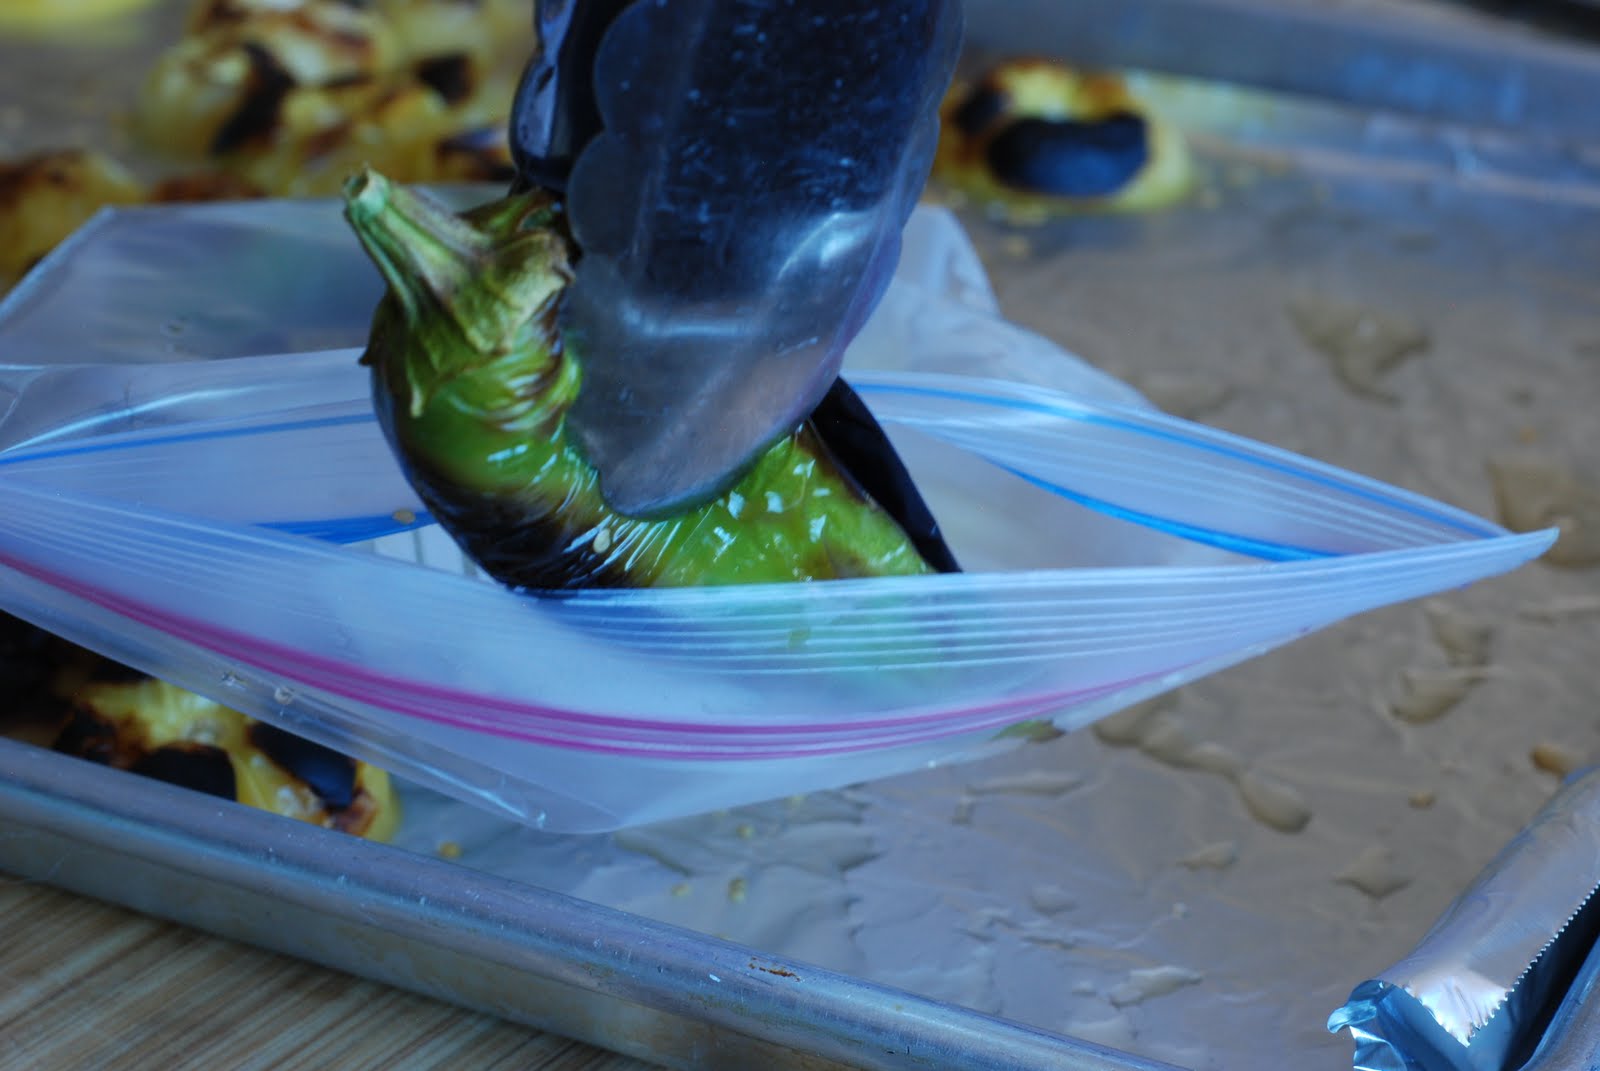
Remove the peppers from the baking sheet and put them into a ziplock bag. I have never melted a ziplock yet, so I think it’s ok. Close the bag tight.

Set the bag aside to cool and steam the peppers. This will make it much easier to remove the skin.

After the peppers have cooled for 5-10 minutes, remove them from the bag.

Peel the charred skins off of the peppers.
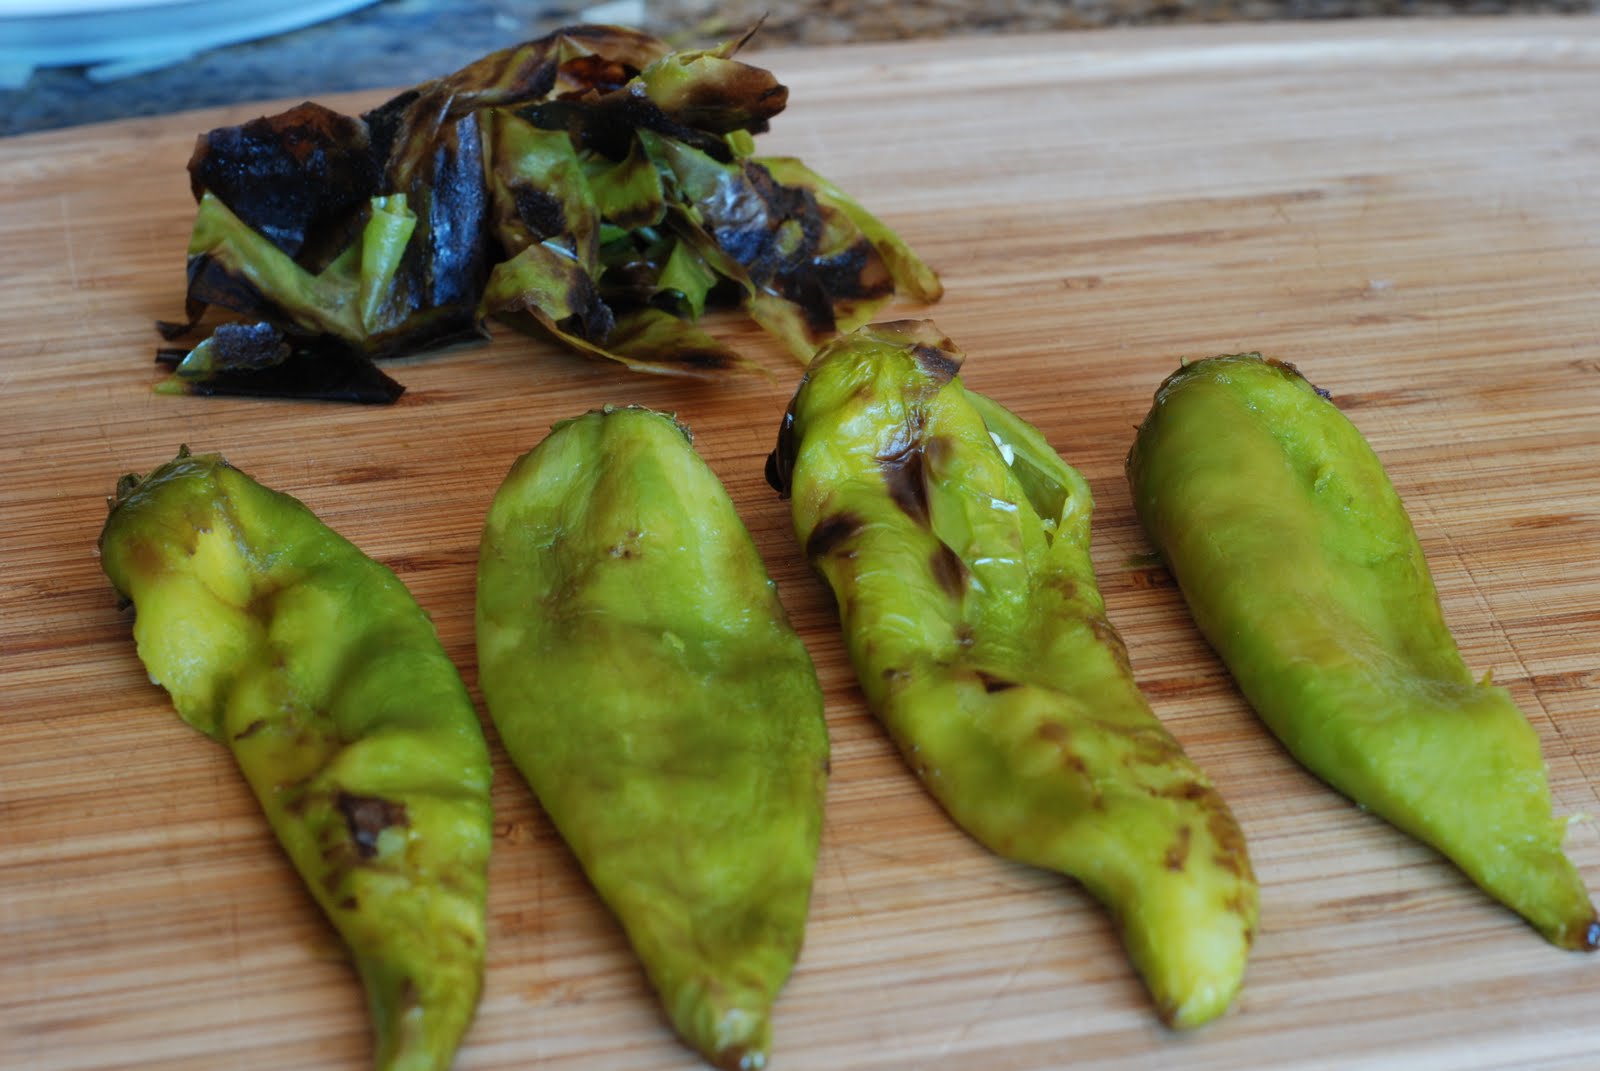
Discard the skins.

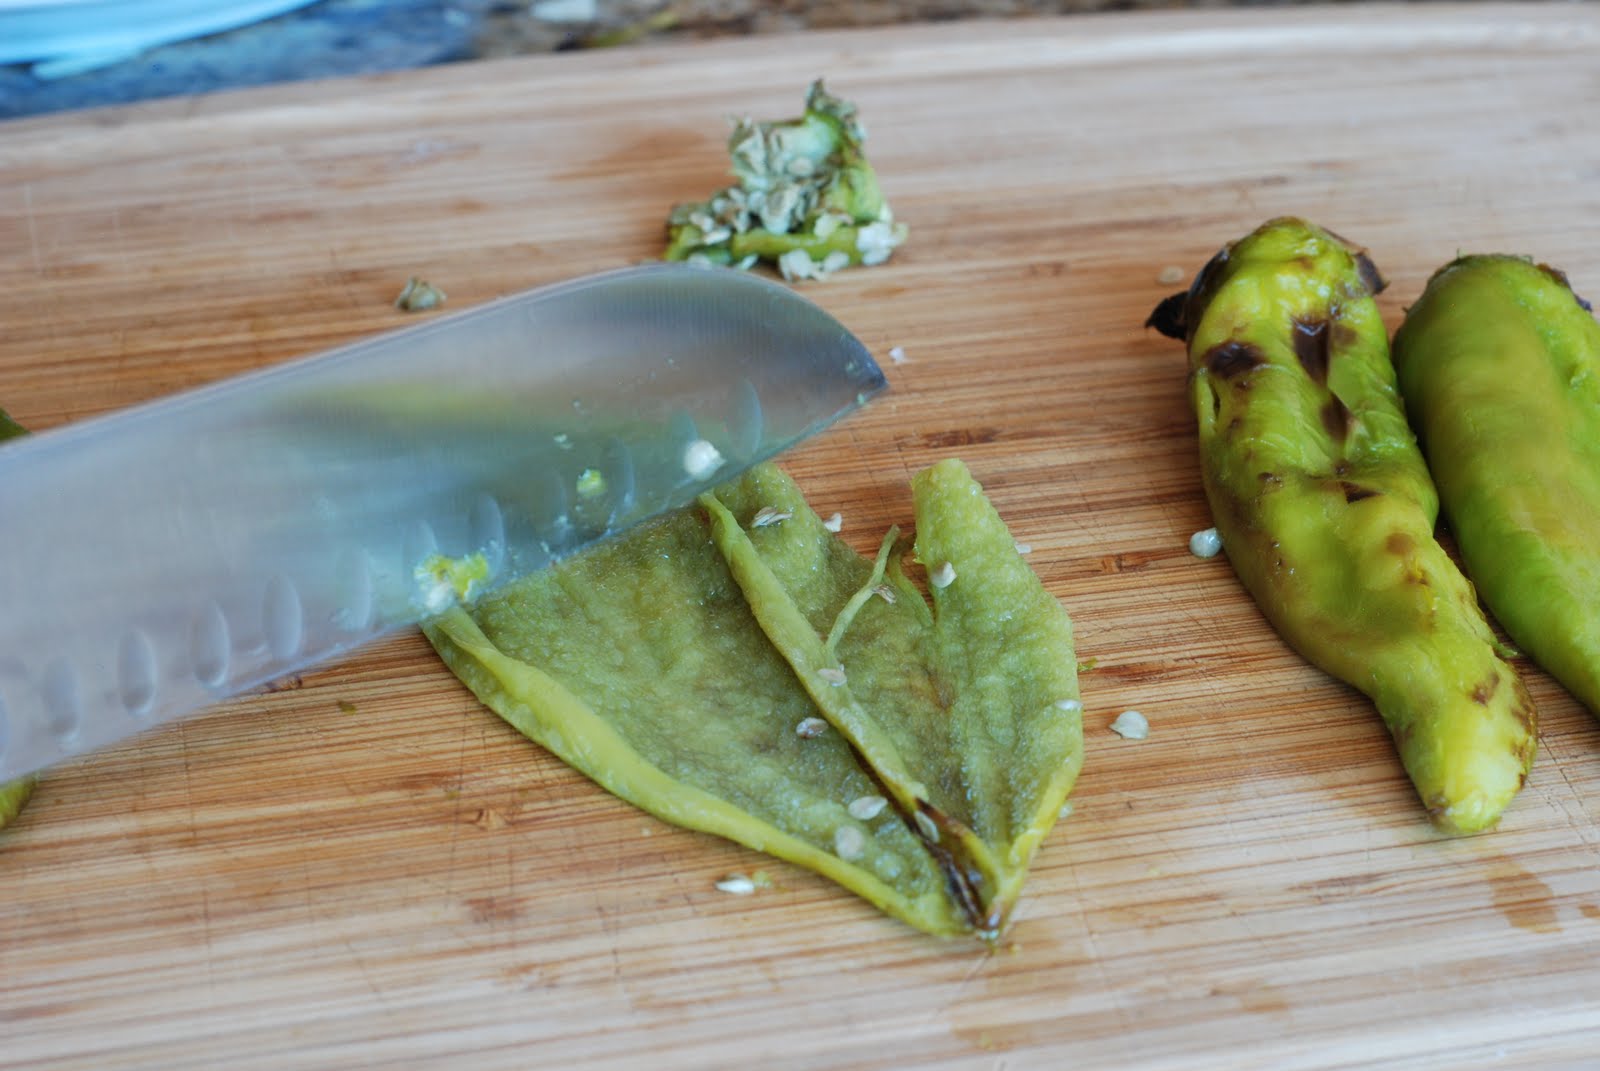

Repeat the process with the remaining peppers. Disgard the seeds and stems.
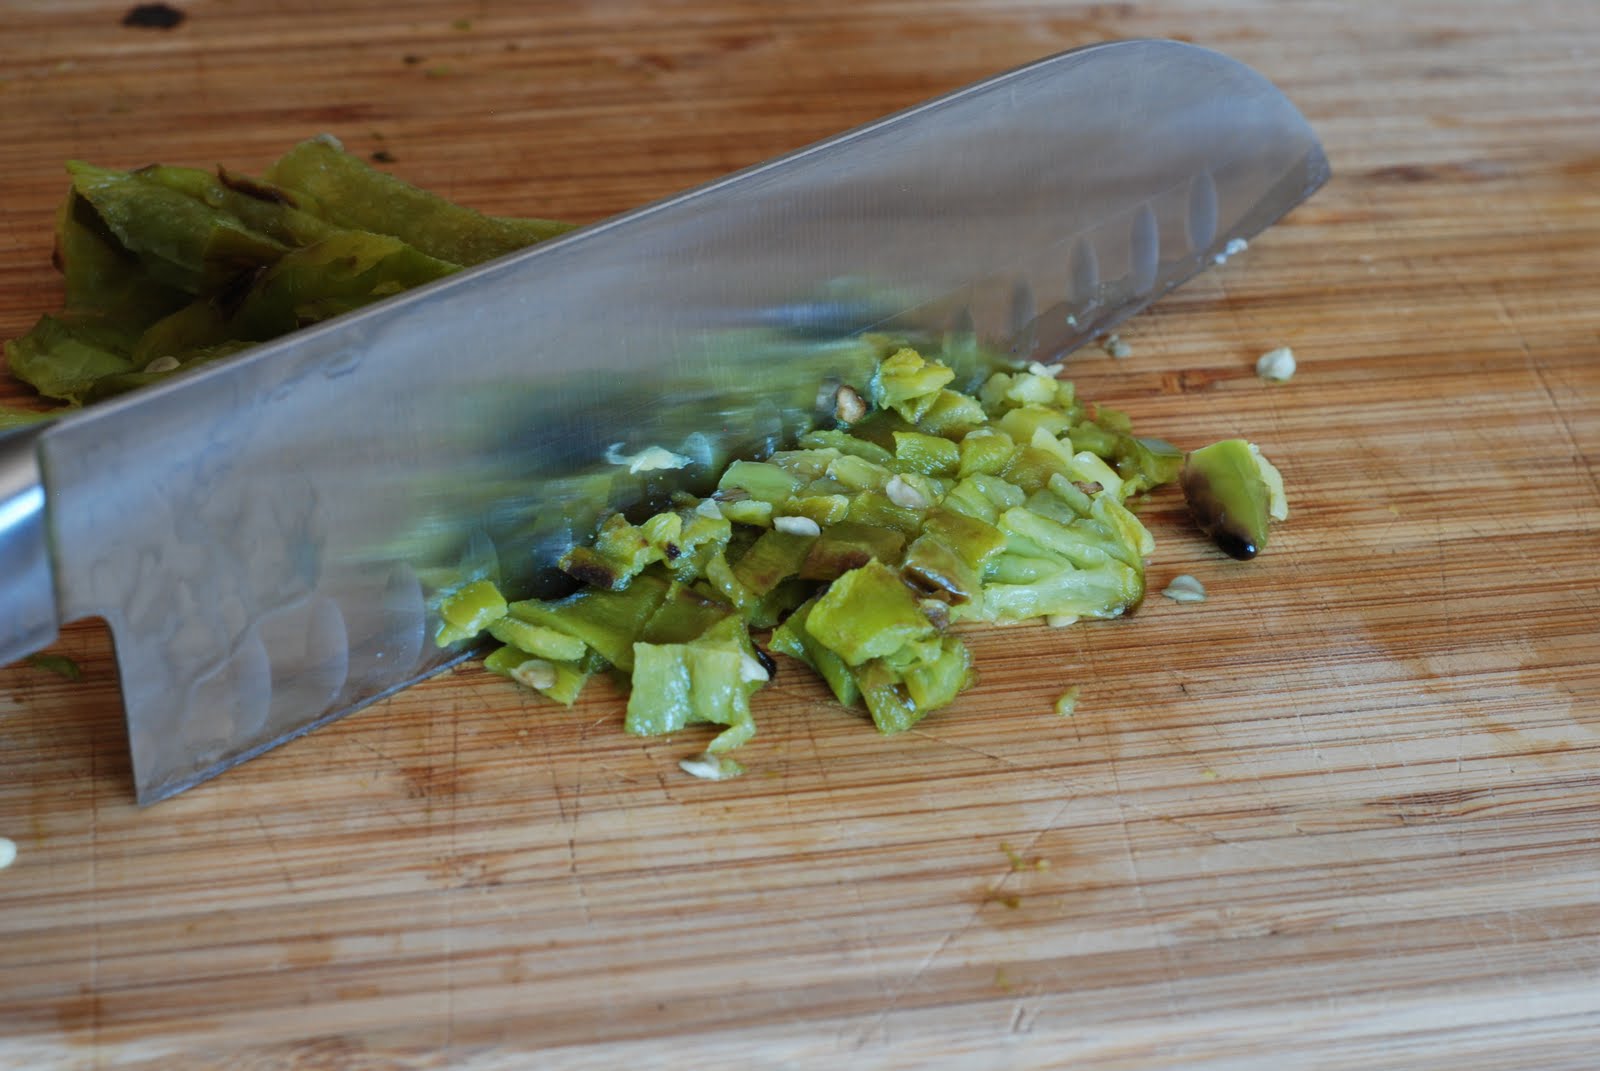
Dice the roasted peppers.

Set aside.
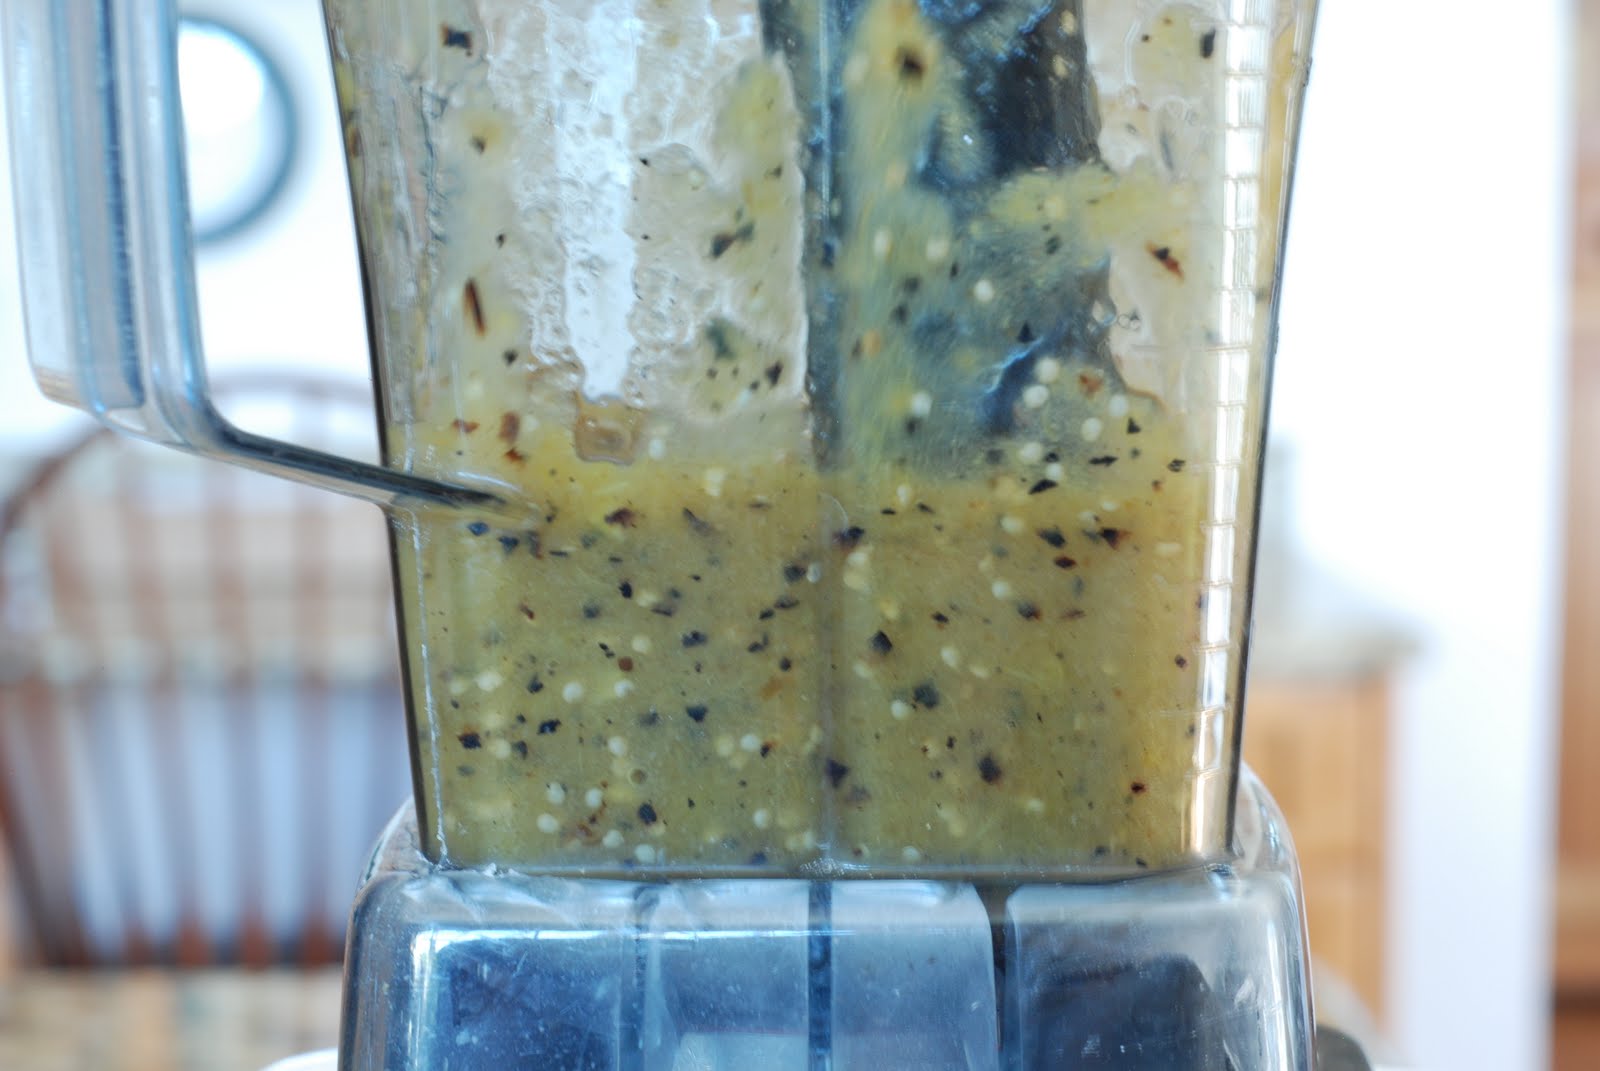
Place the roasted tomatillos in a blender.


Blend until smooth.

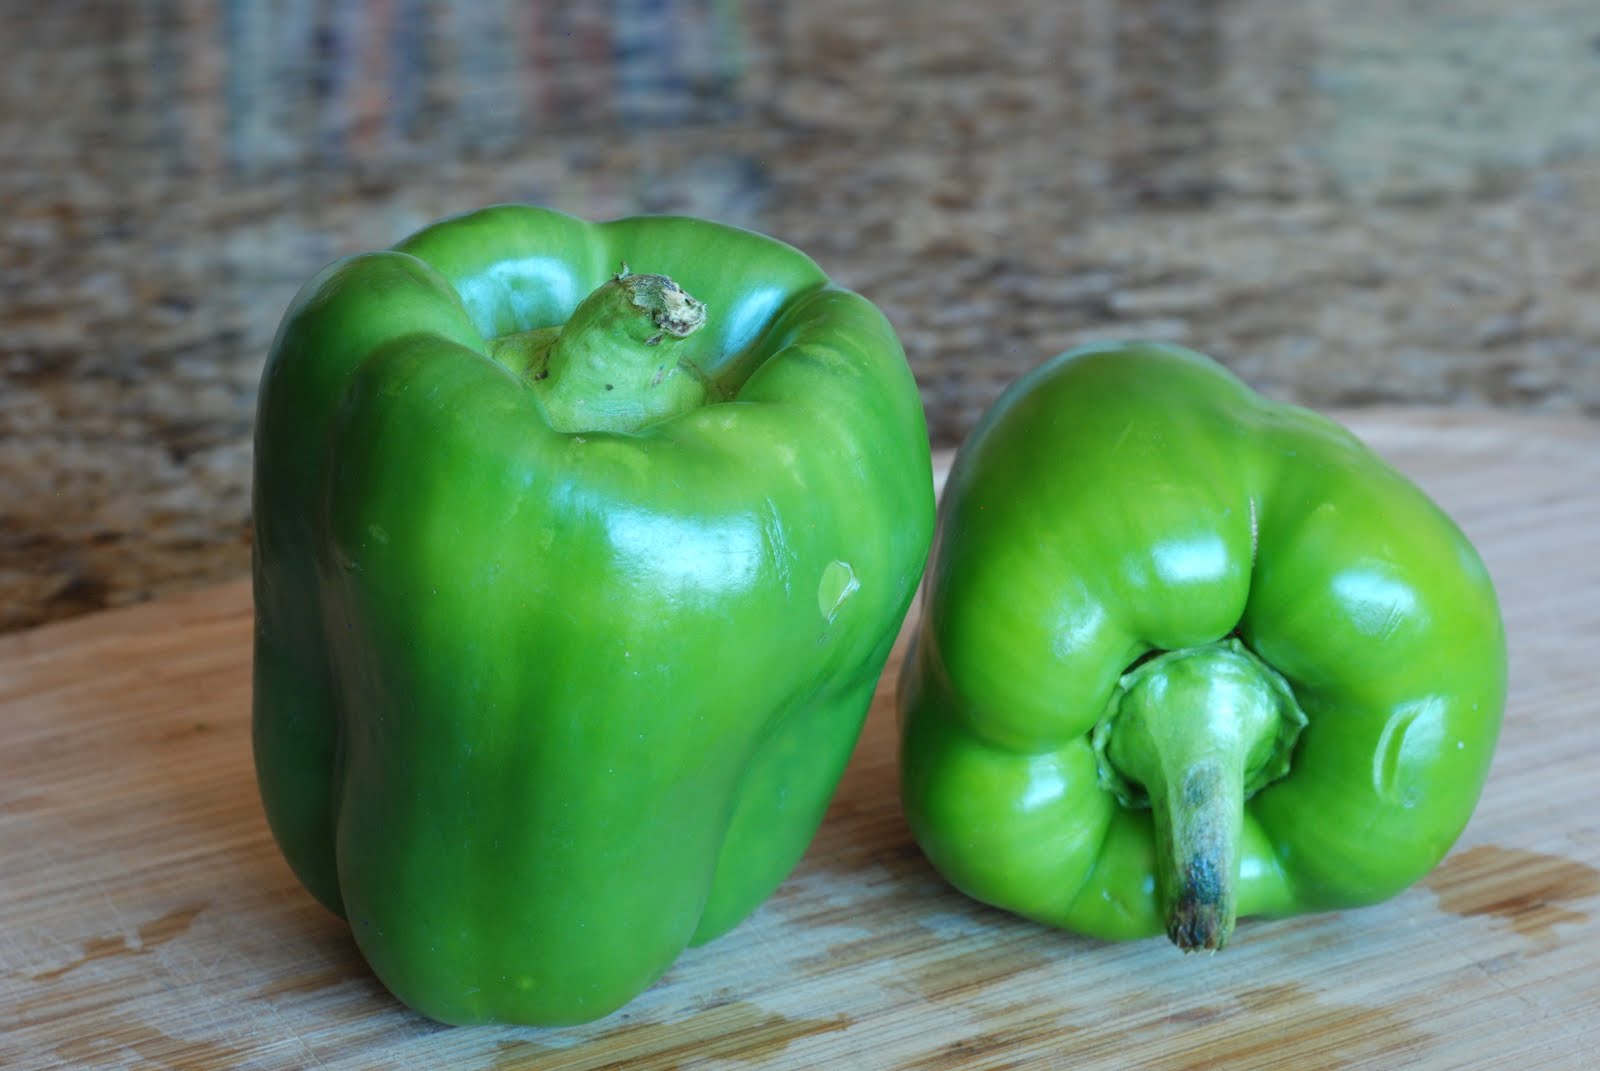
Time to chop the two green peppers.

I like slice down the sides of the pepper.

Slice all the way around the pepper. What you have left is the core, stem and seeds. Just throw that part away.

Cut the segments into strips about 1/2-inch wide.

Dice the strips into 1/2-inch cubes. (approximately)

Set the chopped peppers aside.
Swearing yet??
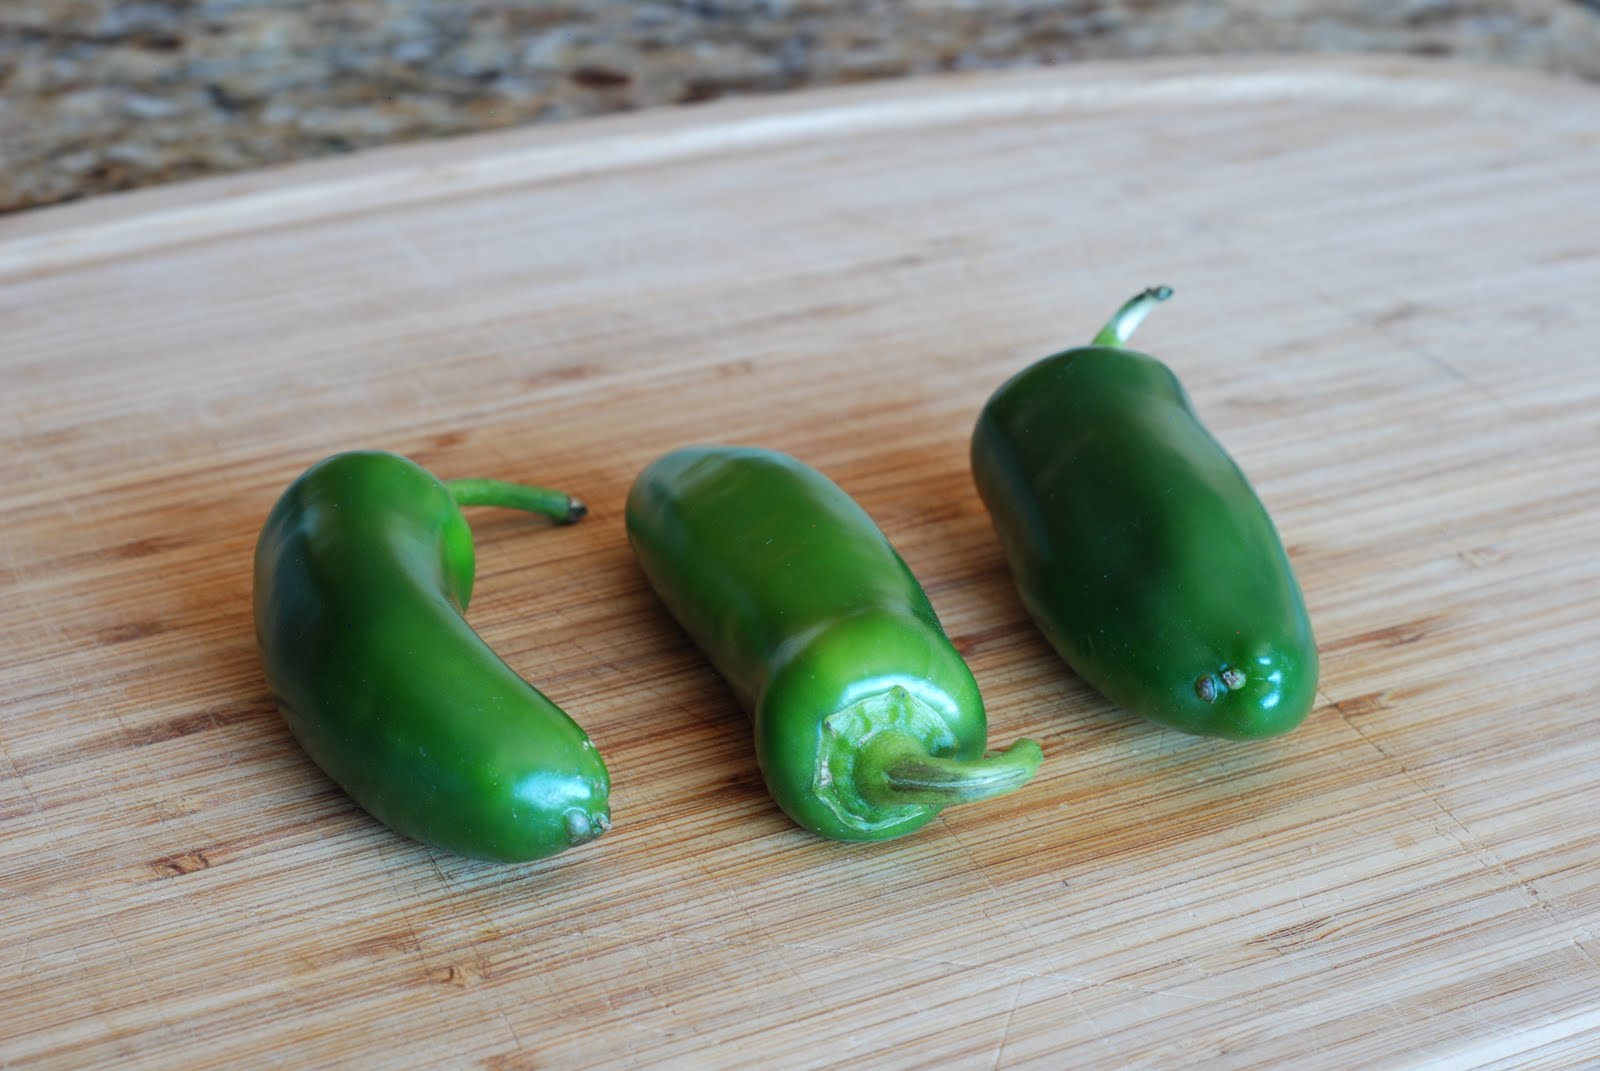
Jalapeno time.

Do the same to the jalapeno. Slice down the sides of the pepper.

This will leave you with the stem, seeds and veins. If you want to make more spicey Chile Verde, just remove the stem and chopped the remaining jalapeno. Seeds, veins and all. I left the seeds and veins from a couple of the peppers because we like our food hot!

Cut the segments into strips.
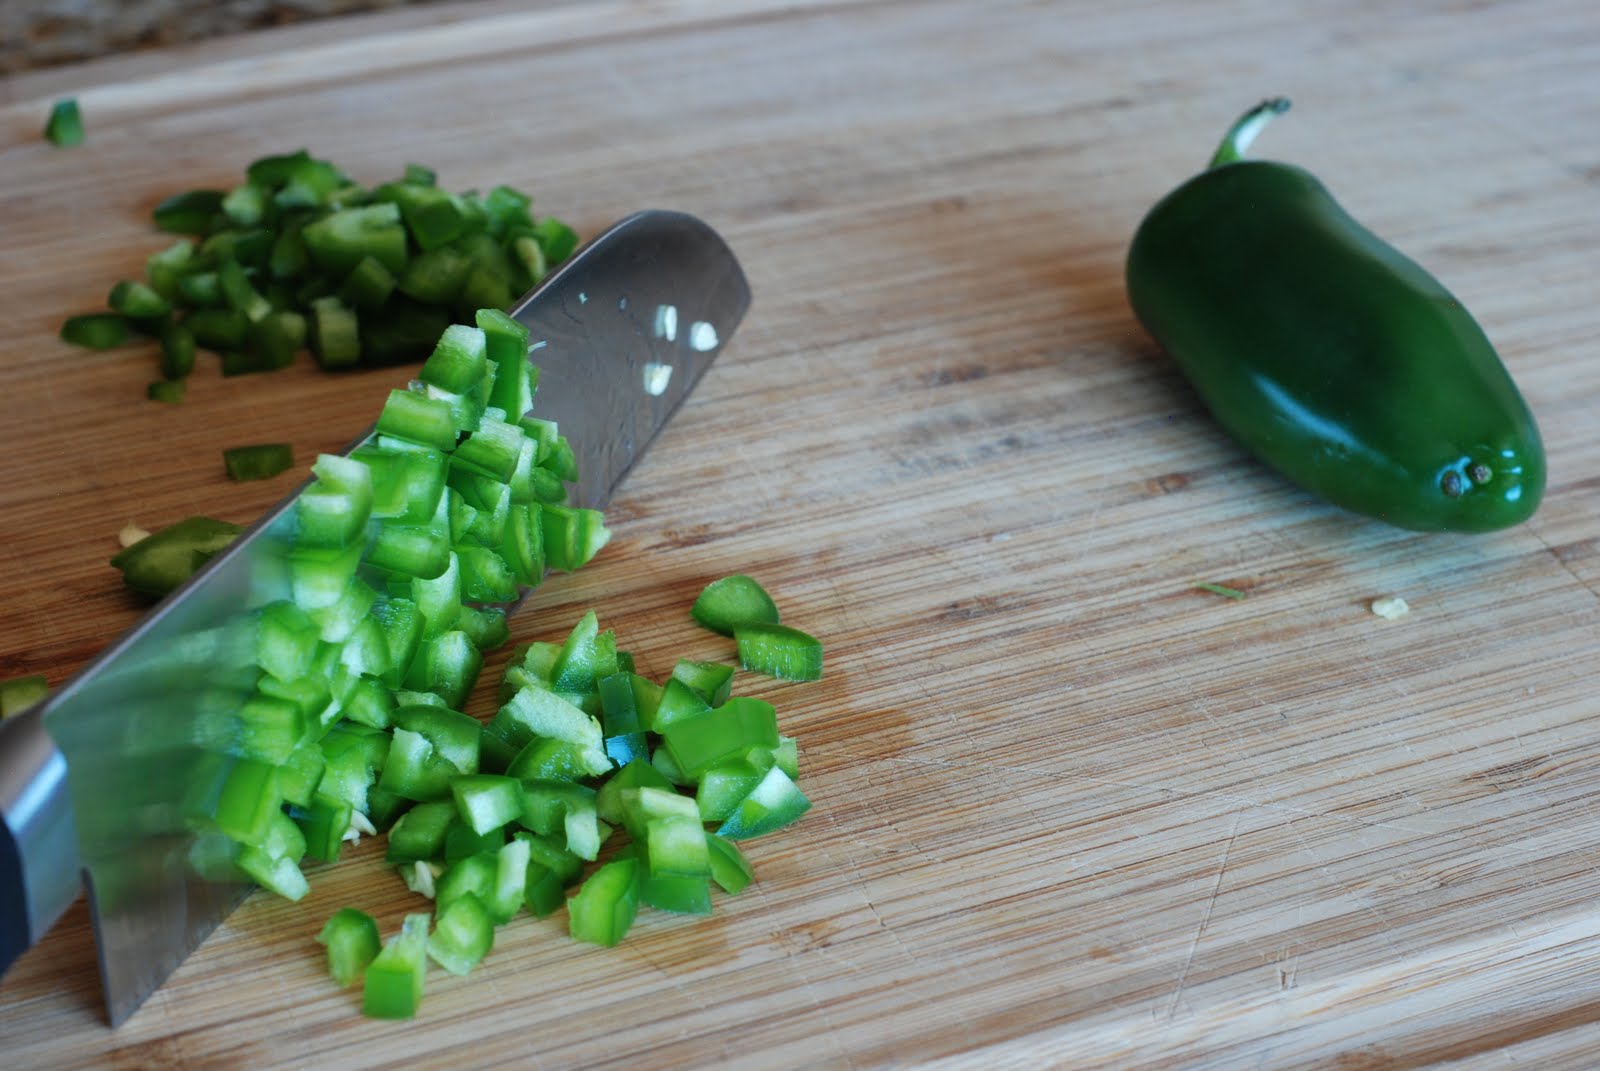
Dice.
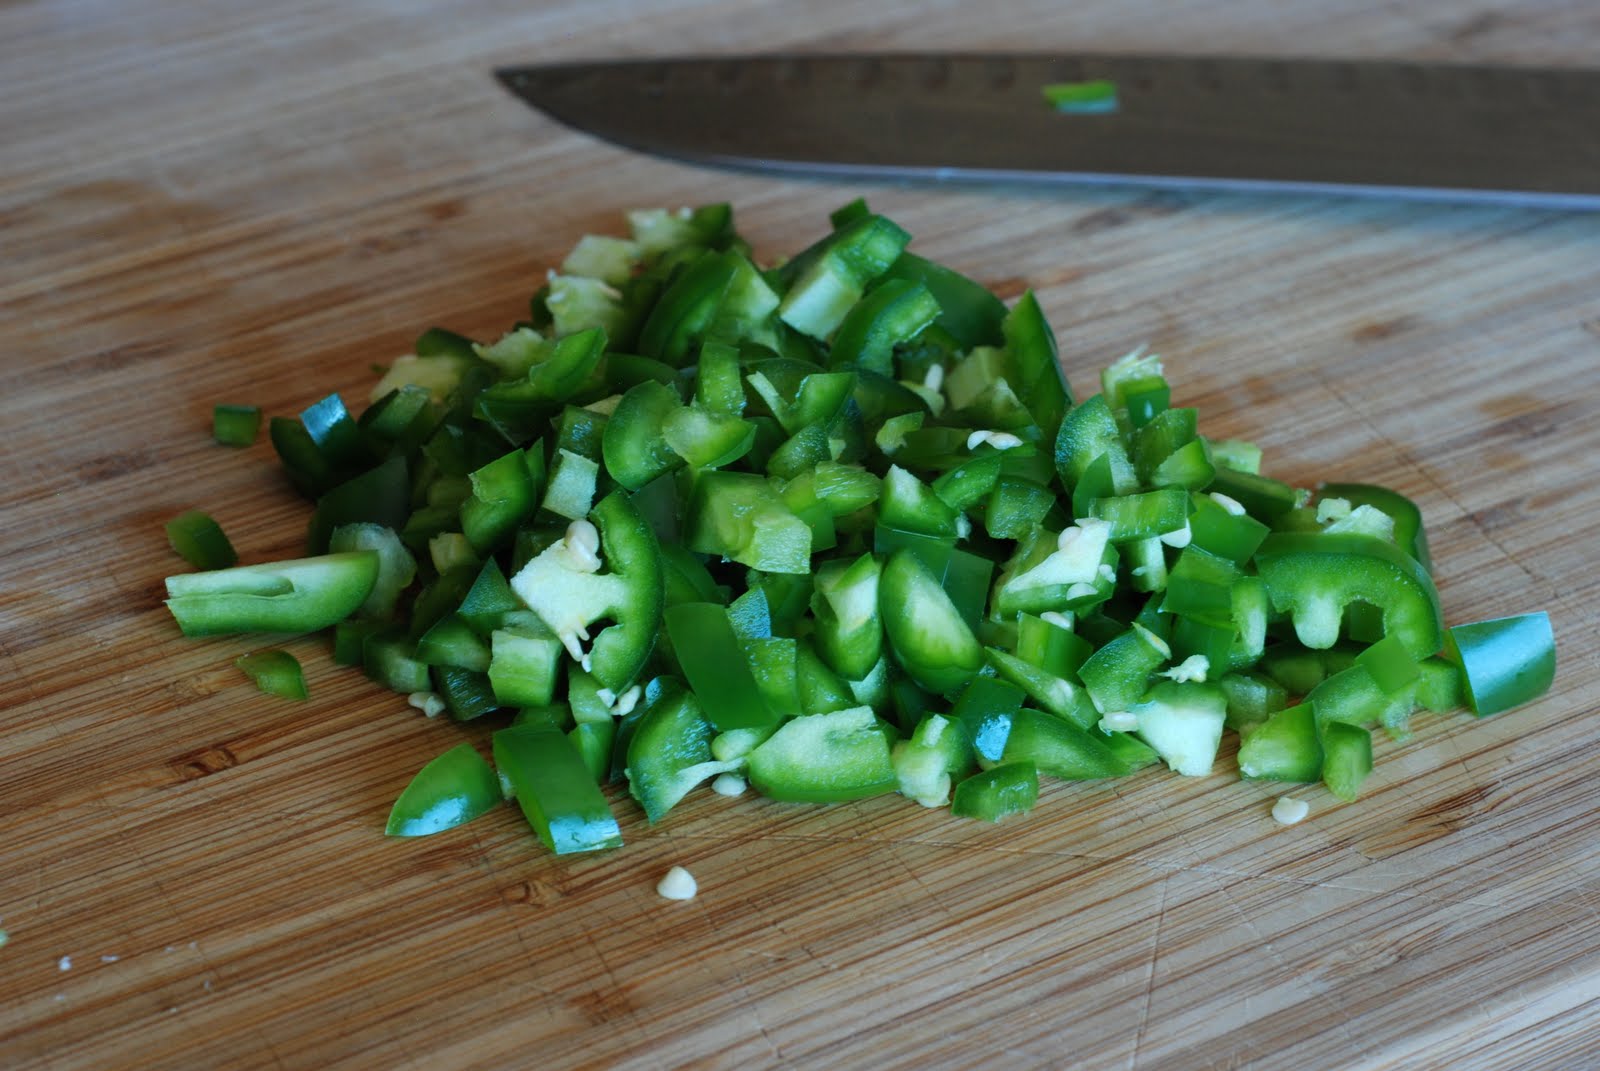

Set the jalapeno peppers aside with the green peppers.

Garlic.
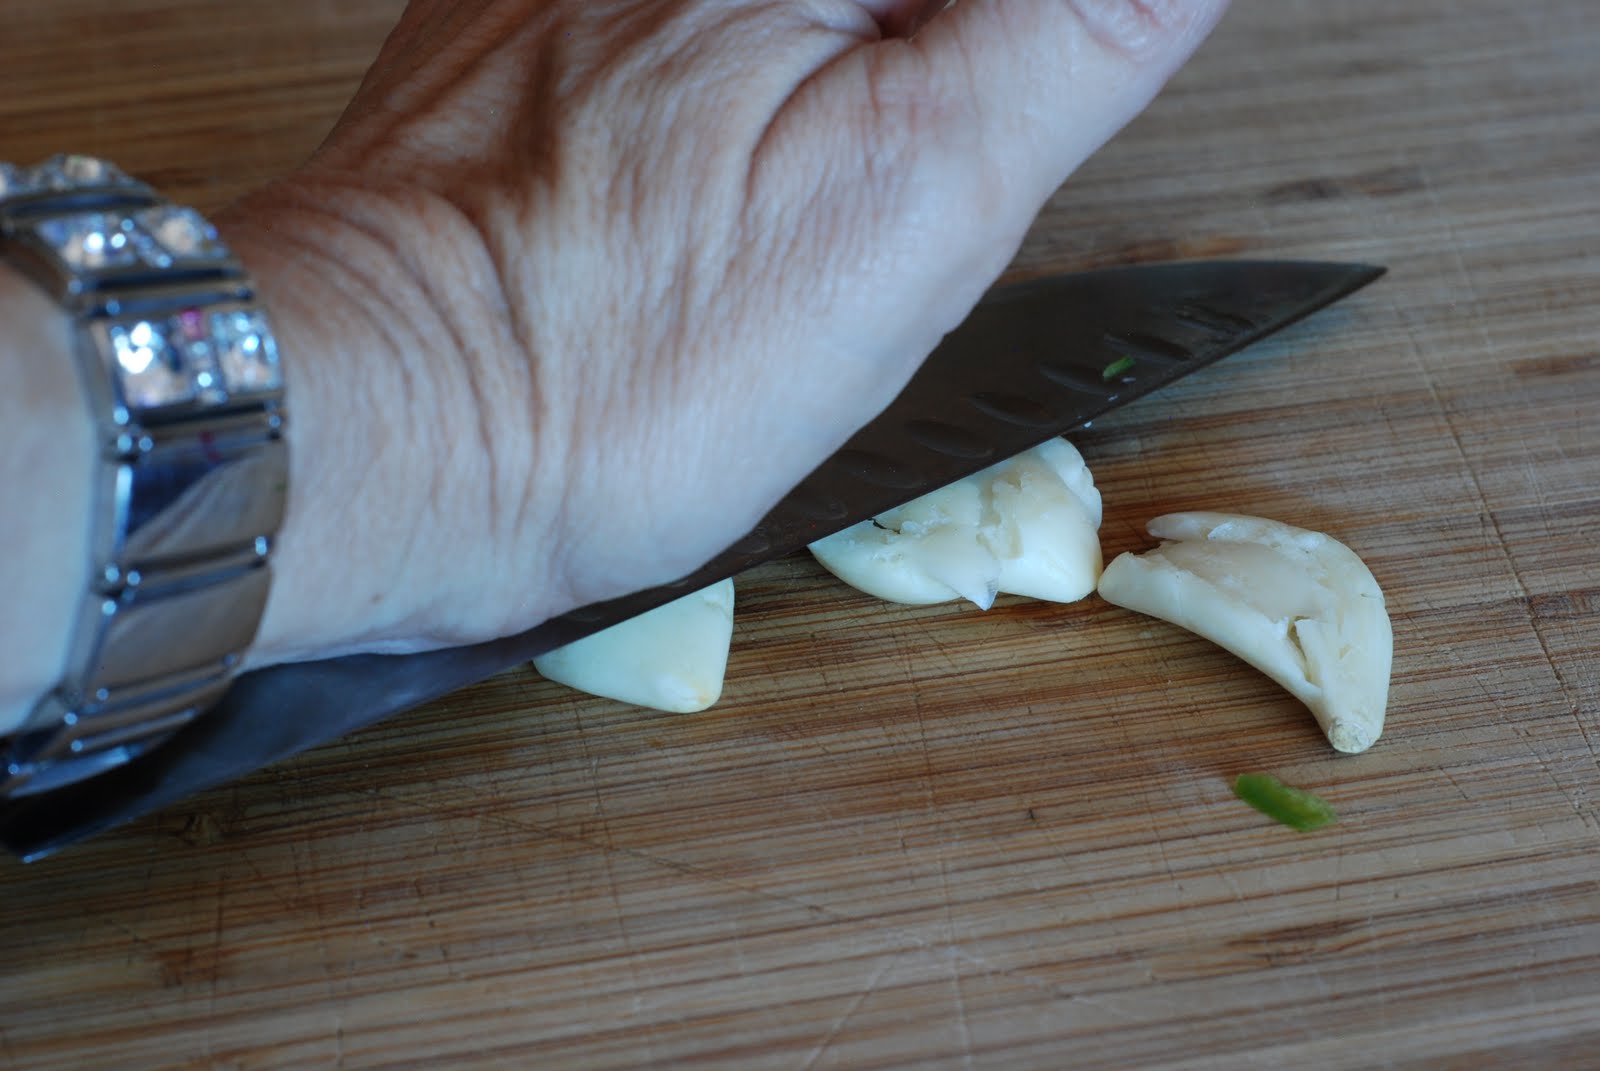
Smash. I just use my knife and the palm of my hand.

Chop the smashed garlic.

Set aside with other chopped peppers.

UGH!!! Onions. Peel the skins off of the onions and throw the skins away.
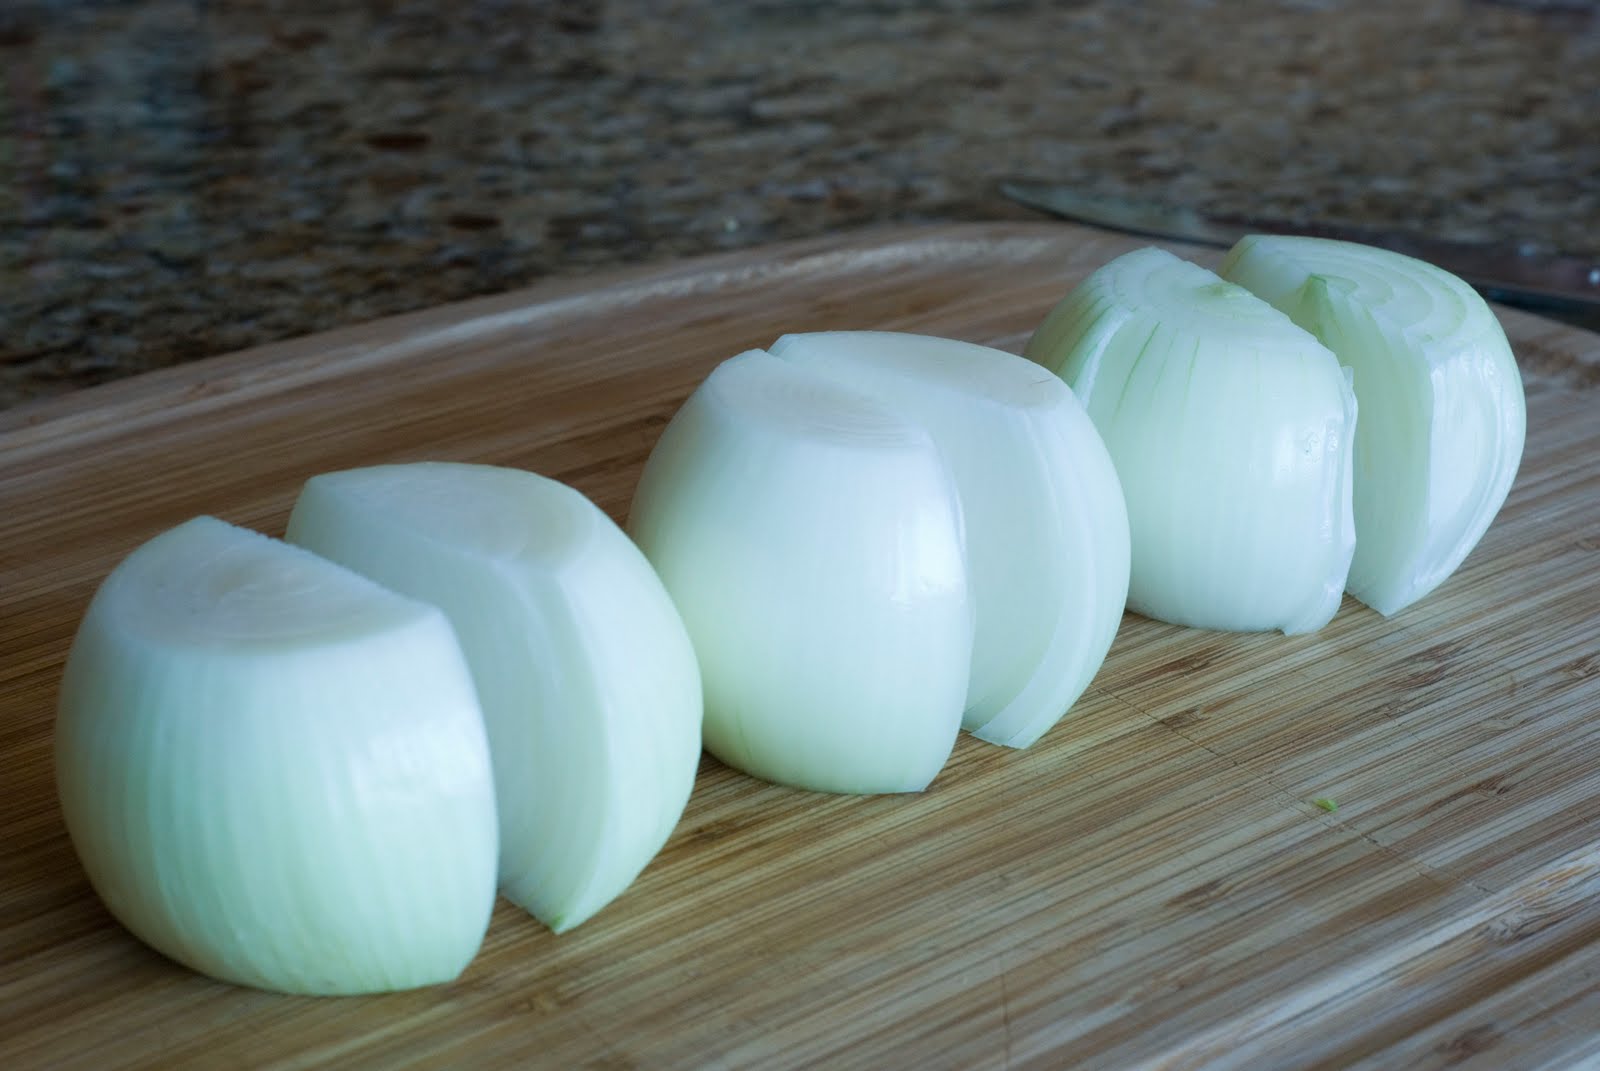
Cut each onion in half.

Make several slices in the onion.

Slice the opposite direction to create a small dice.
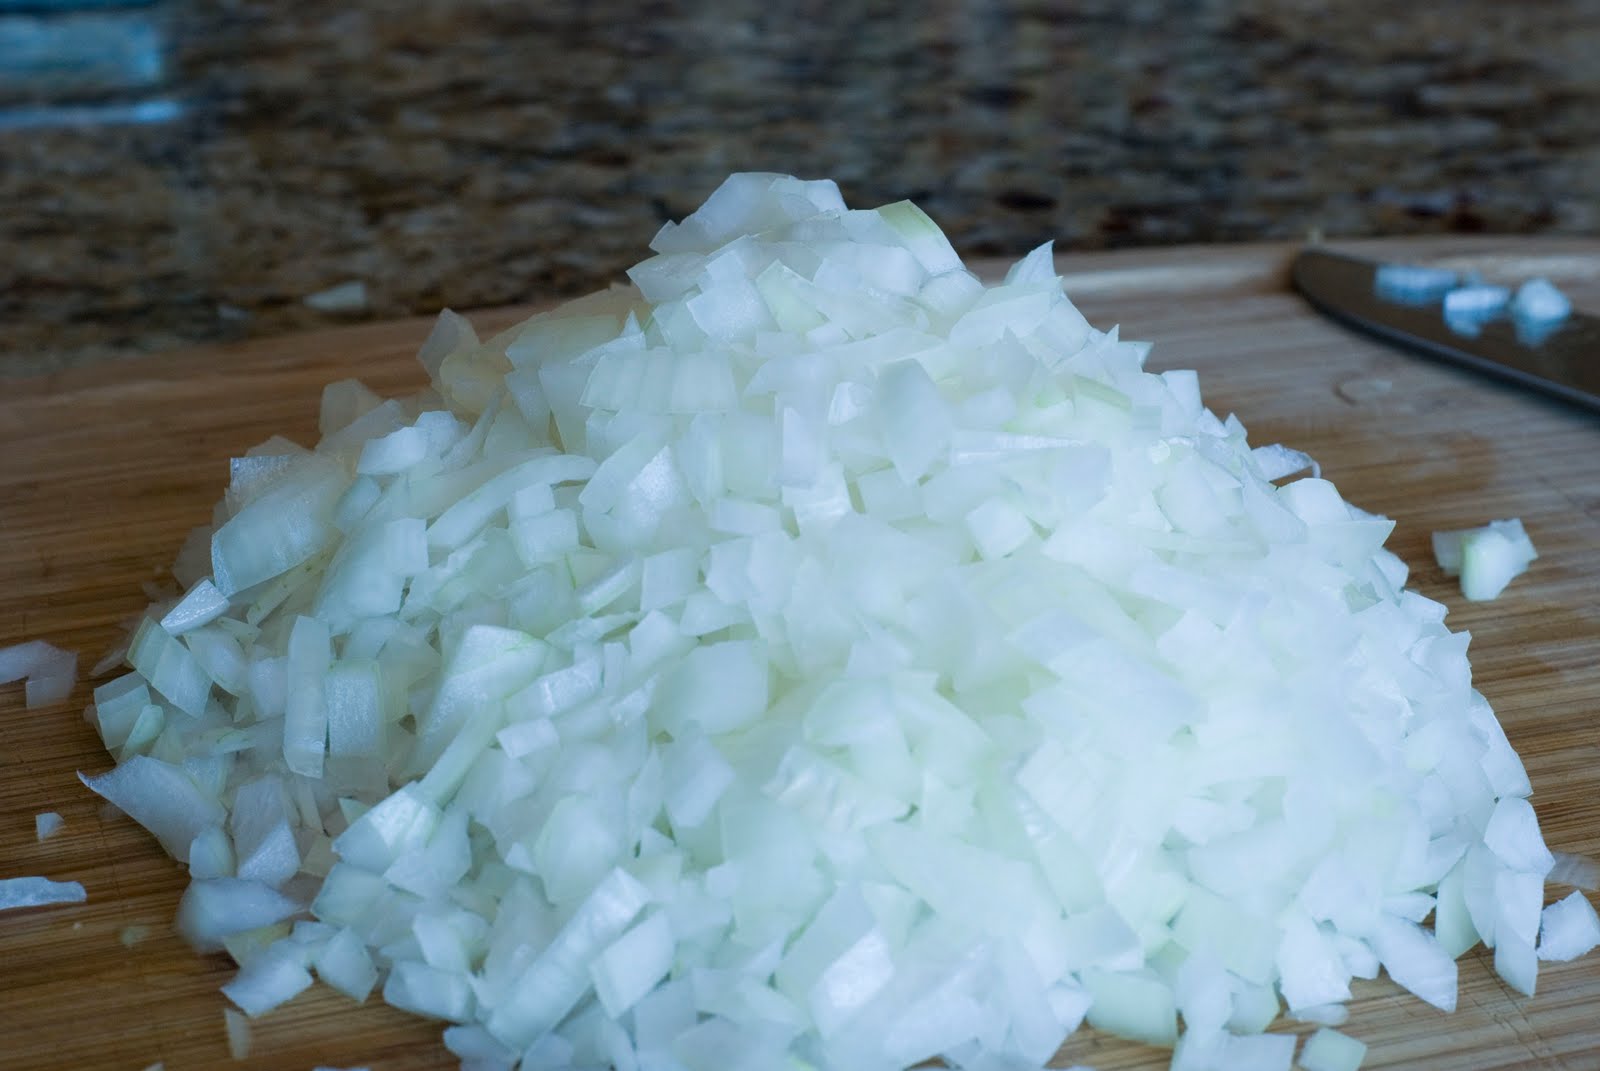
Yes! Your eyes will water…a lot.
Set the onions aside.

Pork! I know what you are thinking… *#%*
You have got to cut the pork tenderloin into small bite size pieces. You can leave your pork in larger chunks if you would like, but we like bite size.
You will need to remove any fat or silver skin that is on the pork. I like to use the tenderloin because there isn’t very much fat.

You will have a mound of meat!
Place all the chopped peppers, onions, and pork into ziplock bags and store in the refrigerator until tomorrow. Pour the blended tomatillo’s in a container and cover.

Tomorrow you can saute, simmer, eat.
All of this hard work will create a wonderful Pork Chile Verde.
Pork Chile Verde
4 pounds pork tenderloin, trimmed of fat and cut into 1-inch cubes
2 green bell peppers, cut into ½-inch cubes
3 onions, chopped
4 Anaheim or Poblano chiles, diced
3-4 jalapenos, seeds removed and finely chopped
3 garlic cloves, peeled and chopped
2 lbs tomatillos, peeled, roasted and pureed
1 tablespoon dried oregano
2 teaspoons ground cumin
1 bunch cilantro leaves, cleaned and chopped
4 cups chicken stock
Salt and pepper to taste
Flour for dredging pork
Optional: 2 tablespoons cornmeal
Season the pork meat generously with salt and pepper, lightly flour. Heat in a heavy-bottomed skillet over medium high heat and brown pork chunks well in small batches on all sides. Lift pork out of pan and place in a wide soup pot or crock pot. Discard any fat and place the onions and peppers in the same skillet and sweat over medium heat, stirring occasionally until limp, about 5 minutes. Add all of the chiles and cook and additional 3-4 minutes, then add the garlic and cook 1-2 minutes more.
Add the sauteed vegetables, pureed tomatillos, oregano, cumin, cilantro and chicken stock to the cooked pork. Stir to combine and taste for additional salt and pepper. Simmer in a crock pot for about 4 hours. If using a soup pot, simmer uncovered for 2-3 hours.
Optional: If the juices seem thin during the last hour of cooking, just sprinkle 2 tablespoons of corn meal over the top and stir in.
You now have the entire recipe. I’ll post the remaining instructions in a post tomorrow.
Start chopping and remember it will be worth it in the end.
I'm so glad you found me, Colleen. I'm sure your chile verde is going to be fabulous. The open flame charring of your peppers is going to be fabulous. My son's like the chile verde over tamales. I serve them with tortilla's a lime rice and black beans. I will e-mail you the recipes. They are simple, yet good. You could serve the chile verde with all the great mexican toppings, guacamole, pico & sour cream.
Looks darned good – We host an annual 'soup 'n chili fest' every autumn and I'm tired of same old same old. I surfed around and decided to attempt a pork chile verde. I'm making it now to test if we like it or not.
I used the shoulder/butt meat and you are DEAD ON about 'a lot of work'! In addition to broiling tomatillos I also broiled un-skinned garlic and open-flamed my jalepenos and anaheims rather than broiling.
It's simmering in the oven right now (rather than trash the stove top). I'm looking forward to it.
Do you have any particular way of serving it and any side dishes that are yum/fun to go with?!
I love to cook so I"m glad I found your blog. Happy cooking! Colleen Moir, Naperville, IL.