Here we go. Part 2 of the great Pork Chile Verde.
If you have pre-chopped all of your ingredients and refrigerated them over night, the rest is a piece of cake.
First you will need the cut pork tenderoin.

I like to line a baking sheet with parchment paper. Put a small portion of the pork on the baking sheet.

Lightly dust the pork with a little flour.

Sprinkle with salt.

Sprinkle with a few grinds of fresh pepper. Toss the pork until it is coated with the flour, salt and pepper.

Place a large skillet over medium heat and drizzle with about 2 tablespoons of oil. Put a layer of pork in the skillet to sear. Do not over crowd the pan or the pork will just steam. We want a nice crisp brown outer layer on the pork.

After browning one side, turn the pork over and cook until it is well browned on all sides. The browning of the meat = flavor. Flavor is good.

Transfer the cooked pork into a crockpot or large pot to continue cooking.
Repeat this process with the remaining pork. I generally cook the pork in 5 or 6 batches to insure that the meat browns nicely.
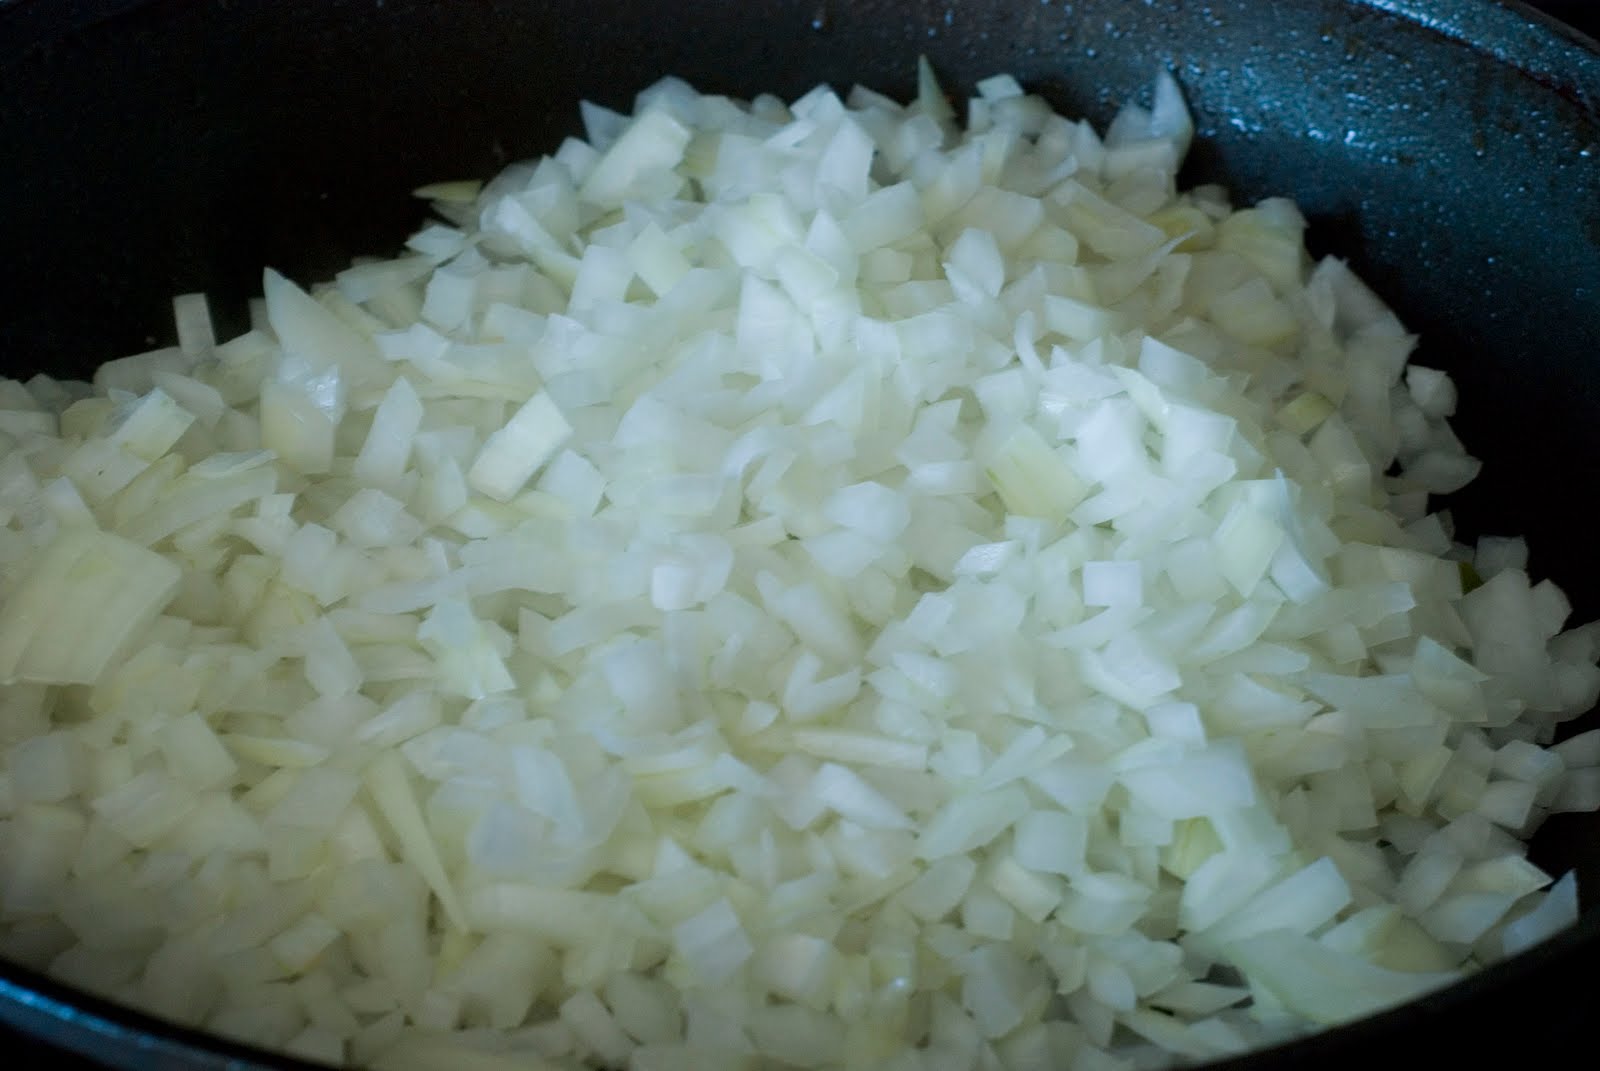
Do not clean out the skillet. Add the chopped onions to the hot skillet.

Add the diced green bell pepper.

Saute for about 5 minutes or until the onions and pepper begin to wilt.

Add the remaining chopped roasted Anaheim pepper, jalapenos and garlic.

Cook for an additonal 3- 4 minutes.

Transfer the cooked onions, peppers and garlic to the same pot that the pork is in.

Stir the pork and cooked onions and peppers together.

Remember the tomatillos that we pureed yesterday?
Pour the pureed mixture into the meat/onion mixture.

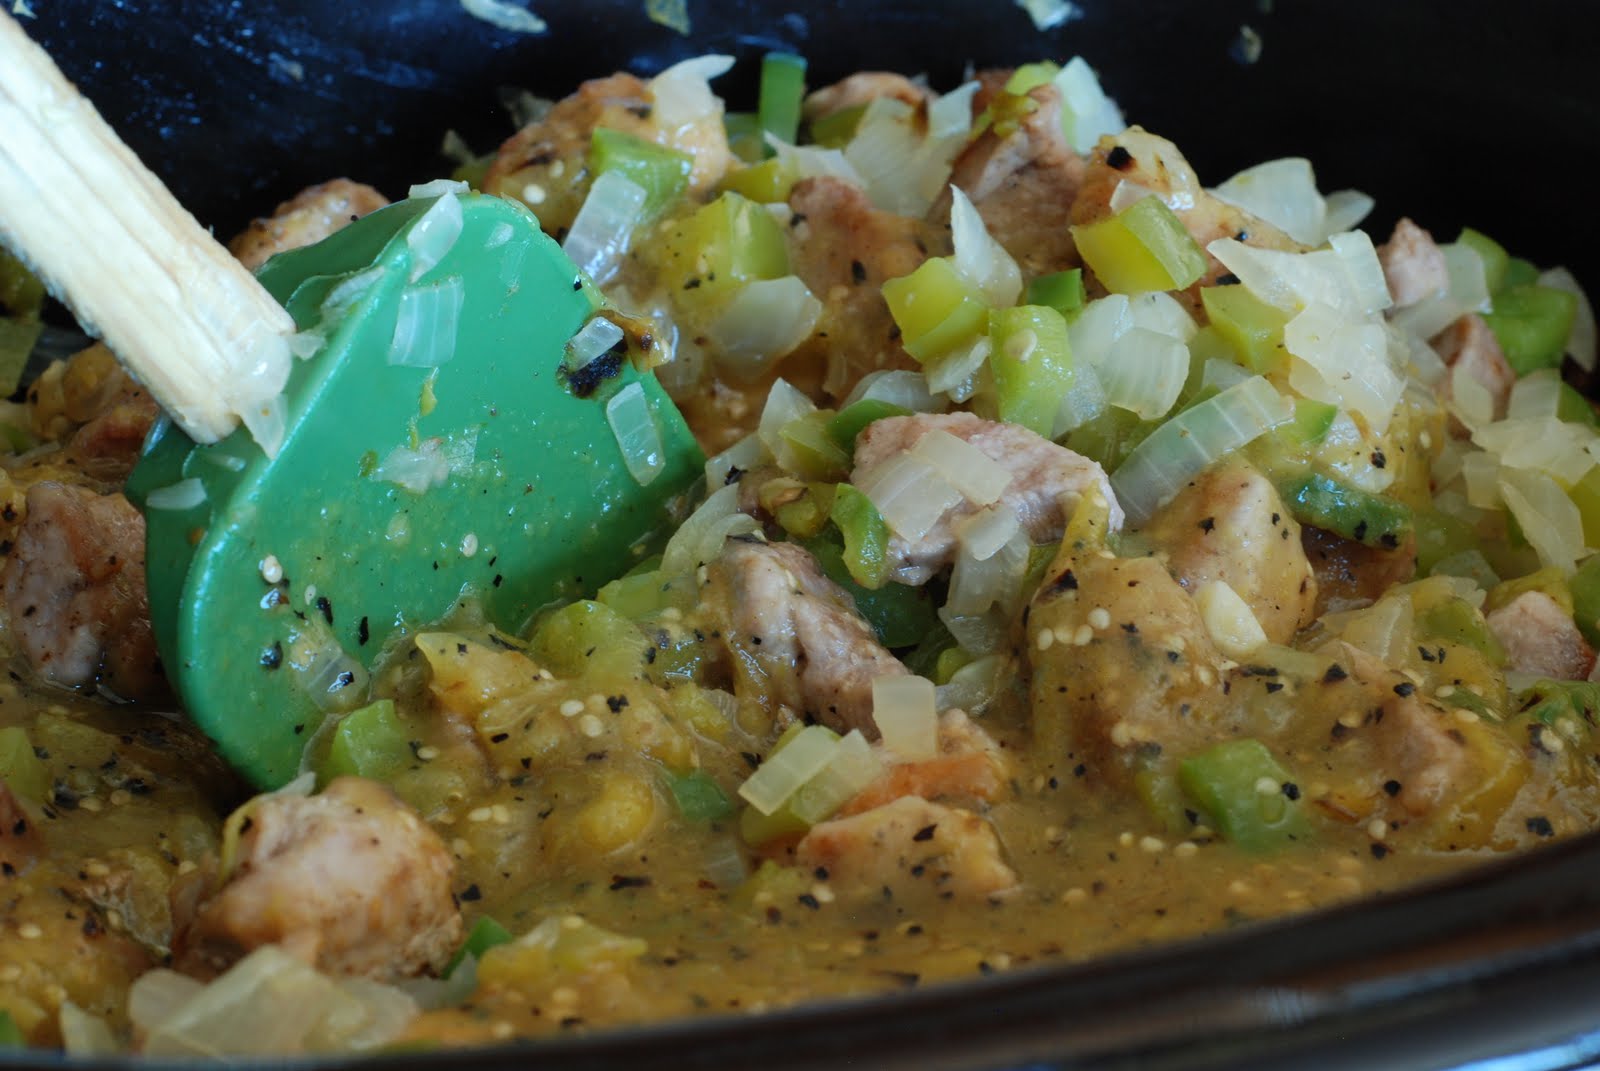
Stir well.

The next set of ingredients:
Chicken broth, cumin, dried oregano, cilantro, salt and pepper.

Pour the 4 cups of chicken broth over the meat mixture.

Add the dried oregano.

Sprinkle in the cumin.

Chop one bunch of cilantro leaves.


Taste the mixture to see if you need to add additonal salt and pepper.

If you are using a crockpot, put the lid on and simmer for 4 hours.
If you are using a big soup pot, simmer on low heat on the stovetop for 2-3 hours uncovered.

You have probably noticed how wonderful the kitchen smells by now. I like to check the broth consistancy after the Chile Verde has been cooking for about 3 hours. If it looks quite thin, I like to sprinkle in about 2 tablespoons of cornmeal.

This is completely optional. We like to eat Chile Verde in corn tortilla’s. If the sauce is too thin, it makes it very difficult to eat. So I like to thicken the sauce up a bit.

Just sprinkle on top and stir the cornmeal in. Continue to cook for another hour or so.
Your home now has a wonderful chile aroma. Actually your neighborhood probably has a nice aroma by now. Ahh the smell just permeates the home.

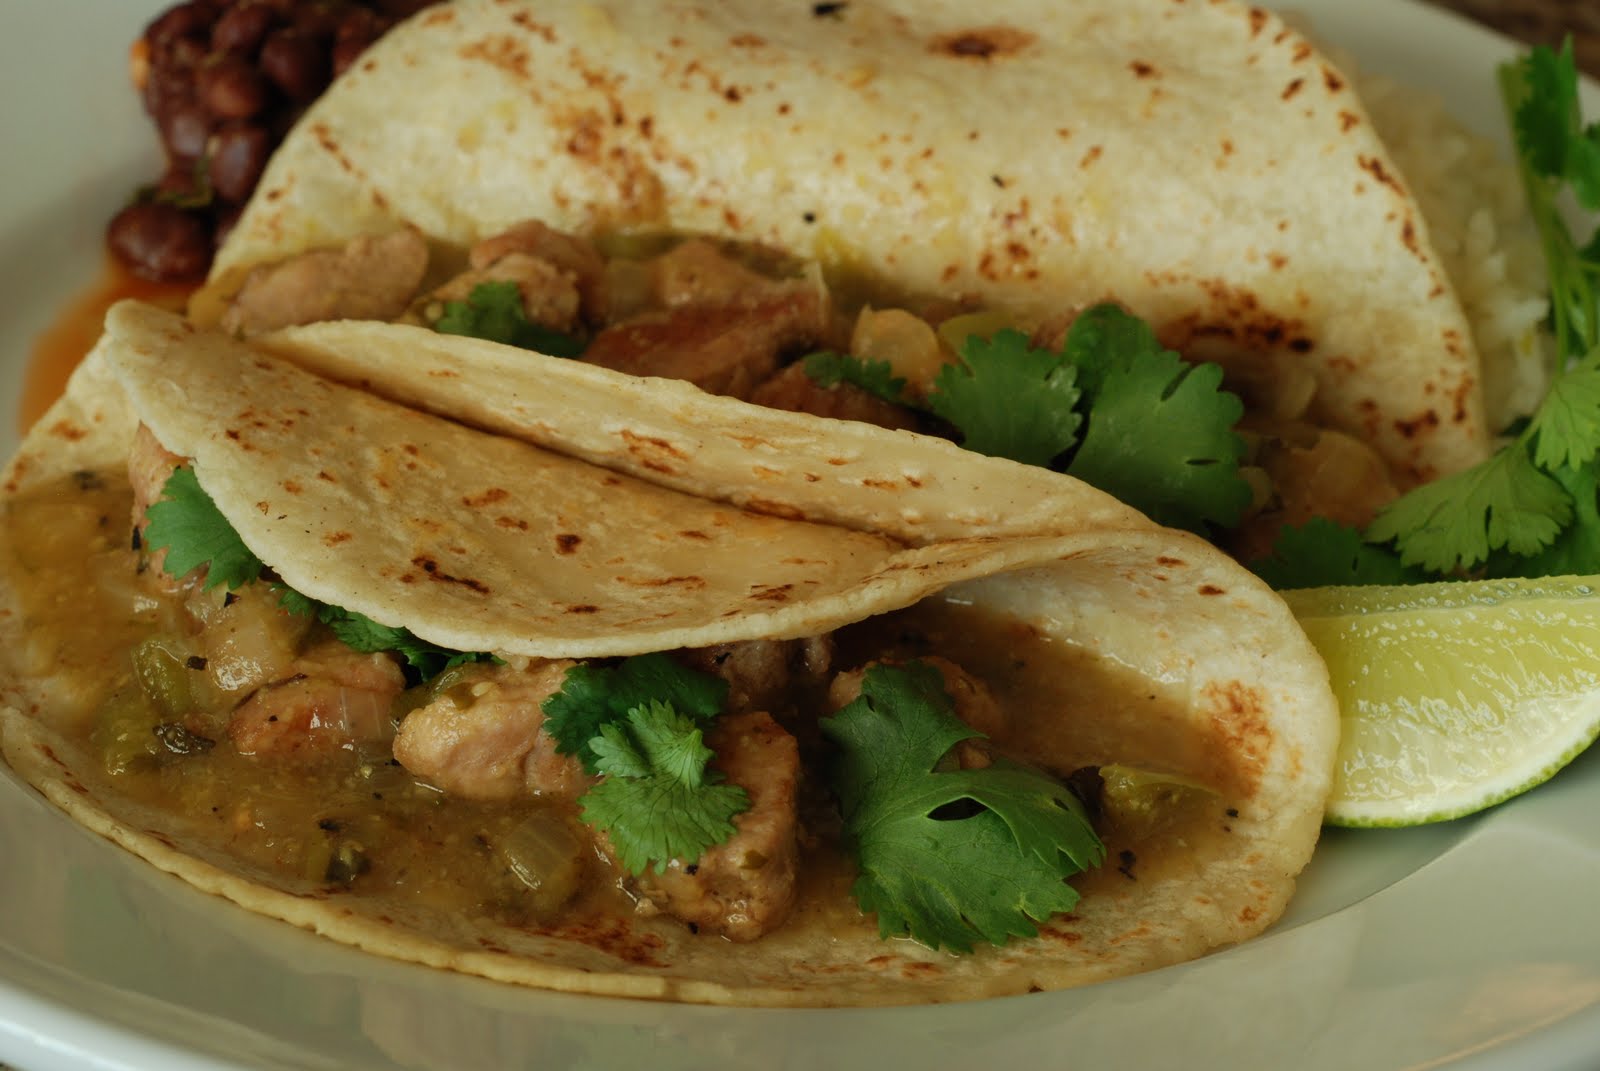
We like to serve Pork Chile Verde in steamed corn tortillas with a squirt of lime and cilantro. It is fabulous over tomales or you can just eat a big bowl full.
Pork Chile Verde
4 pounds pork tenderloin, trimmed of fat and cut into 1-inch cubes
2 green bell peppers, cut into ½-inch cubes
3 onions, chopped
4 Anaheim or Poblano chiles, diced
3-4 jalapenos, seeds removed and finely chopped
3 garlic cloves, peeled and chopped
2 lbs tomatillos, peeled, roasted and pureed
1 tablespoon dried oregano
2 teaspoons ground cumin
1 bunch cilantro leaves, cleaned and chopped
4 cups chicken stock
Salt and pepper to taste
Flour for dredging pork
Optional: 2 tablespoons cornmeal
Season the pork meat generously with salt and pepper, lightly flour. Heat in a heavy-bottomed skillet over medium high heat and brown pork chunks well in small batches on all sides. Lift pork out of pan and place in a wide soup pot or crock pot. Discard any fat and place the onions and peppers in the same skillet and sweat over medium heat, stirring occasionally until limp, about 5 minutes. Add all of the chiles and cook and additional 3-4 minutes, then add the garlic and cook 1-2 minutes more.
Add the sauteed vegetables, pureed tomatillos, oregano, cumin, cilantro and chicken stock to the cooked pork. Stir to combine and taste for additional salt and pepper. Simmer in a crock pot for about 4 hours. If using a soup pot, simmer uncovered for 2-3 hours.
Optional: If the juices seem thin during the last hour of cooking, just sprinkle 2 tablespoons of corn meal over the top and stir in.
Pork Chile Verde is a great recipe to use seasonal peppers and tomatillos. Some day when you have absolutely nothing to do start chopping and chopping and chopping….
A great way to hone your knife skills.
Great idea about the CORNMEAL to thicken it. I usually use CORNSTARCH, but ran out ( also no cornmeal) so I used masa. Trying it now, but I can tell the difference already!
I like the idea of using masa. I’ll try that next time. Thank you so much for your comments.
Great blog! I stumbled upon your blog looking for a Ricotta recipe that uses buttermilk which I am making right now.
Regarding Chile Verde, here in the Colorado/New Mexico region of the country we call this Green Chile. We grow up eating Green Chile on everything and as a soup/stew topped with grated cheese scooped up with warm (homemade) flour tortillas. Everyone has their own version, usually a family recipe, but all are very similar. Traditionally tomatoes (and tomatillos) are not used, but I always throw in a can of organic stewed tomatoes in mine.
In September/October roadside vendors pop up all along Federal Blvd and a few dotted around most other neighborhoods selling fresh Hatch or Pueblo Green Chile’s. The Chile’s are sold in bushels and fire roasted while you wait! Once roasted, the Chile’s are dumped into large plastic bags where they are taken home and left to sweat for a couple of hours. All the relatives get together, drink a lot of Margarita’s, eat a lot of food like homemade tortillas, Green Chile (Chile Verde), Chile Relleno’s etc. and spend a few hours peeling/bagging Chile’s. Some of the Chile’s are used right away, but most are frozen for use throughout the year … until the next Chile season rolls around.
One of the most popular uses of Green Chile is to smoother breakfast burritos. Fill flour tortillas with scrambled eggs ( I add some green chile to my eggs while cooking), hash browns, sausage or bacon, and shredded cheddar cheese. Roll into a burrito, cover with hot Green Chile and more cheese. Yum!!!
Best comment ever! Thank you so much. I'm so jealous about the roasted Hatch chile's. My daughter just moved to the Denver area and mentioned how much she loves the roasted chile's available at the farmer's market. I will try some of your great ideas and start pouring green chile on everything.
Your daughter will become a Green chile expert in no time at all. Just a quick tip for her if she hasn't learned this already. You can buy the chile's in different strengths and depending on size bag 4 or 5 into sandwich size baggies and freeze for later use. Each bag will equal about a 4 oz. can of chile's. Most people peel before bagging and freezing. I like the smokey flavor though so I don't peel before freezing. It's a little more work when you're ready to use them, but well worth it in my opinion, for the added smokiness. 🙂 Cheers.
Lived in new Mexico for several years, love the hatch green chile. I was able to find a couple of store in California that carried frozen hatch and canned, but nothing beats a family gathering to roast and bag your chilies for the winter season!
That just sounds so fun.
Just finished dinner. Fantastic recipe. The worst part…the prep, but you already knew that. The best part…the grinning faces and the thumbs up signs from my two youngest (ages 8 and 10) who weren't able to actually say anything because they were happily chewing.
Prep…ugh! I love it. Thanks for the comment.
You have just reminded me of how my grandmothers used to make it back in the day! Your recipe is very close to theirs and they were both from Mexico City!! I learned from them that anything worth eating is worth the effort. Thanks for a great memory This also sparked the memory of when the grandfather and uncles would make Barbacoa (In the Pit!), talk about tedious, it started by digging the pit a Hole in the ground that was about 5 feet deep and 5feet squared, lined with stones and half filled with mequite wood and set on fire then they would added the prepared beef and cover with wet gunny sack and cook overnight and until noon the next day, but MAN was it FABULOUS!!
What a great story. Thank you so much for sharing that with me. I'm completely jealous. This sounds absolutely amazing. My parents lived in Tahiti for a few years and they would dig a pit for a pig. They would use coconut husks in the pit for the wood. Amazing. I've always wondered how "real" barbacoa was made. Looks like I need to dig a big hole in my back yard.
Hi Kristen, I hope you try it. Time consuming, but worth the effort. Thanks for your comment.
this looks HEAVENLY – I'm definitely going to try it! thanks for the tutorial!