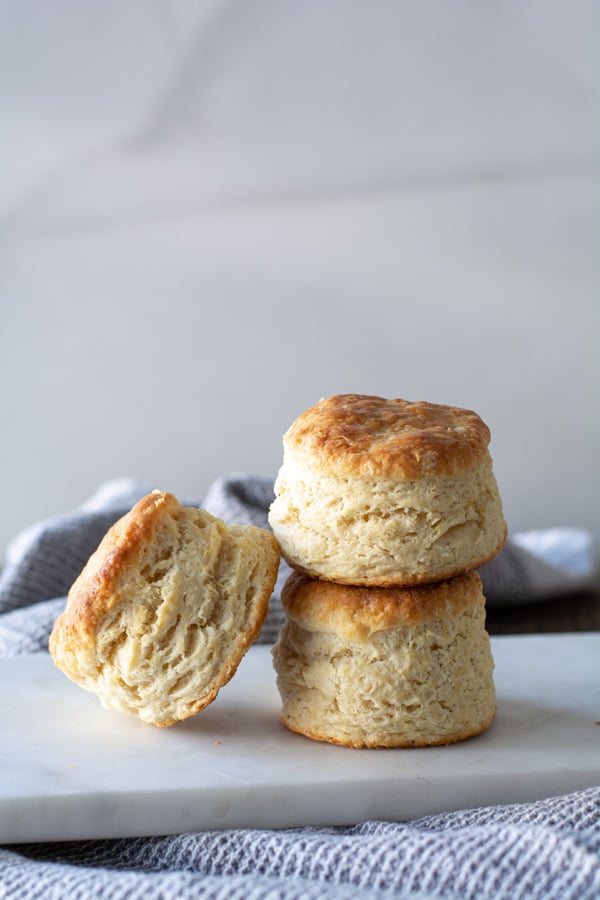
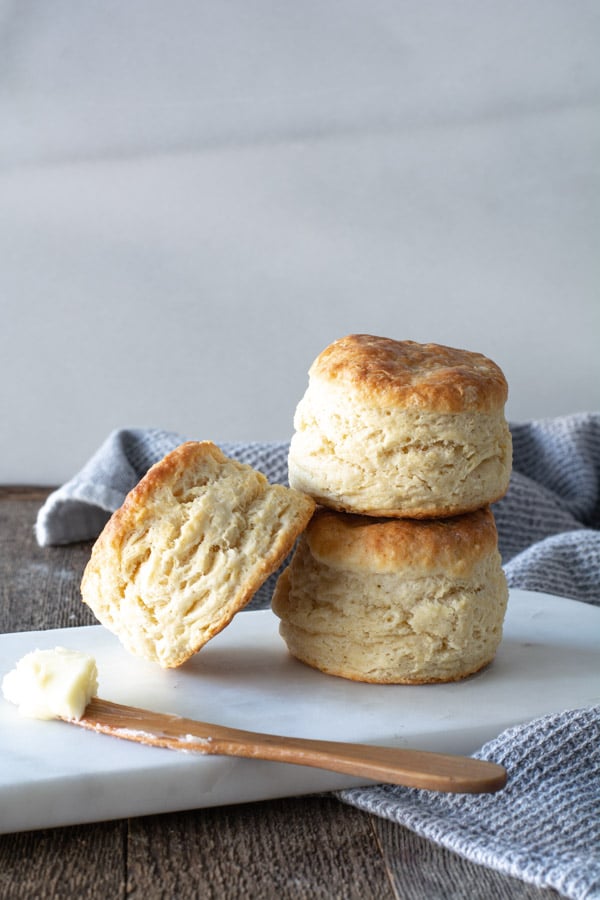
Melt-in-your-mouth buttery Skyscraper Buttermilk Biscuits that are oh so flakey. Along with freeze then bake instructions.
Four Simple Rules for Perfect Biscuits
Mixing Biscuit Dough
 2
2 2
2 3
3 4
4 5
5 6
6- In a large bowl sift together the flour, baking powder*, salt, baking soda, and sugar.
- Add the 1/2-inch cubed butter.
- Using a pastry blender, cut the butter into the flour mixture.
- Feel the mixture. The butter should be about the size of a small pea.
- Add the buttermilk to the flour/butter mixture. With a fork or a spatula, mix only until the dry ingredients are moistened. Do NOT overmix
*NOTE: For altitudes above 5,000 feet altitude ONLY USE 1 tablespoon of baking powder!!
Patting and Cutting the Biscuits
 1
1 2
2 3
3
 5
5 6
6- Preheat the oven to 450℉ and raise the oven rack to the upper third of the oven. This will help the bottoms not to over brown.
- Dump the dough onto a lightly floured surface. Gently pat into a rectangle about 1 to 1 1/2-inches thick.
- Fold the bottom half of the dough up over the top half.
- Press into a rectangle just like the first.
- Fold one half over the top of the other half going the opposite direction (side to side). Repeat this folding a total of 5 times.
- Pat into a rectangle that is 1-inch thick.
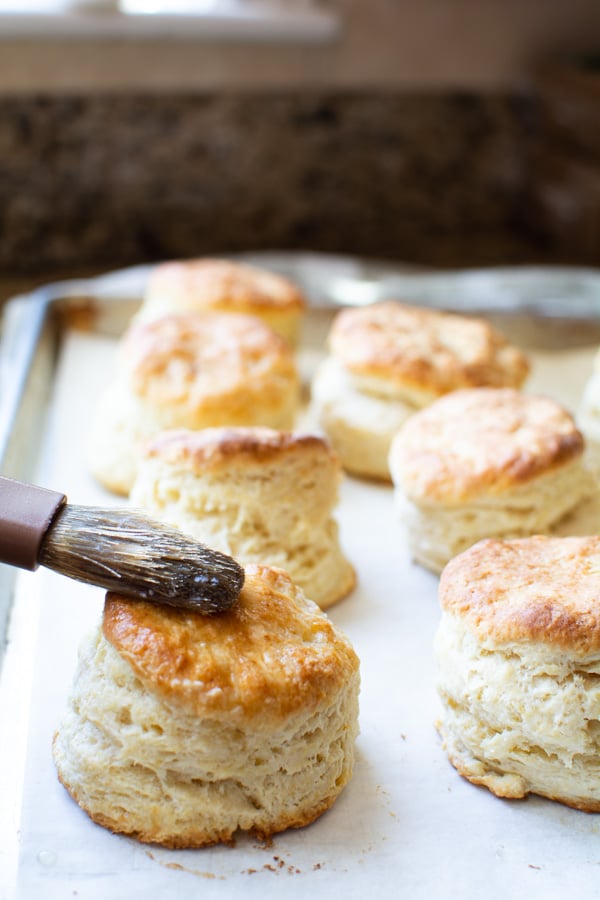
- Using a 2-inch round cutter, cut out biscuits and carefully place on a baking sheet that has been lightly greased or lined with parchment paper. Place in a preheated 450℉ oven and bake for 12-15 minutes or until golden brown. Remove from oven and brush with melted butter. Serve hot with jam or honey. Yum!
Freeze and Bake Later


Did you know that you can freeze the biscuits to be baked at a later time? Simply place all of the biscuits on a parchment-lined baking sheet. Cover tightly with plastic wrap and place in the freezer until the biscuits are completely frozen.
To bake remove the number of biscuits you’d like to bake and place them on a baking sheet that has been lined with parchment or lightly greased. Preheat the oven to 475℉. Bake in the upper third of the oven for 5 minutes. Lower the temperature to 425℉ and bake for another 12-15 minutes. Remove from the oven and brush with melted butter. Serve hot.
More Tips:
Skyscraper Buttermilk Biscuits
Melt-in-your-mouth buttery buttermilk biscuits that are oh so flakey. Along with freeze then bake later instructions.
Ingredients
- 4 cups all-purpose flour (560 g)
- 2 tablespoons baking powder* (28 g)
- 1 teaspoon baking soda (4 g)
- 1 teaspoon Kosher salt (5 g)
- 1 tablespoon plus 1 teaspoon sugar (20 g)
- 2/3 cup cold unsalted butter (148 g). cut into 1/2-inch cubes
- 2 cups buttermilk (370 g)
- 1/4 cup melted butter for brushing biscuits optional
Instructions
-
Preheat oven to 450℉ (230 C). Place oven rack in the upper third of the oven.
-
Sift the flour with the baking powder, baking soda, salt, and sugar in a large bowl. Using a pastry blender cut in the chilled butter until the texture is about the size of a pea.
-
Gently stir in the buttermilk to form a soft dough.
-
Transfer the dough onto a lightly floured surface. Pat into a rectangle that is 1 1/2-inches thick. Fold the lower half of the dough over the top half. Pat again into another rectangle about 1 1/2-inches thick. Repeat the patting and folding for a total of 5 foldovers.
-
Cut into 2-inch rounds and arrange on a baking sheet that has been lightly greased or lined with parchment paper. Bake for about 15 minutes or until golden.
-
Remove from oven and brush with melted butter. Makes about 9 skyscraper tall biscuits.
Recipe Notes
*For altitude of 5,000 feet above sea level using only 1 tablespoon baking powder.
Simple Rules for making biscuits.
More Tips:
This is a previous post from 2012. Printable recipe card, new photos, and freezing tips have been added.


I now live in a high altitude area. Until your recipe, my biscuits were just so-so. i made your recipe as is and they were amazing! My tip is to grate the butter on large holes, then freeze it until needed. Loved the folding technique! However, What baffles me is the inclusion of sugar….for a savory biscuit. Even though its a small amount, i could taste the sugar. Yes, i was born and raised in the south 🙂 Does the sugar provide a function (other than sweetness)? Just curious before i make them again without the sugar. Thank you for a lovely recipe!
I’m so glad you found my biscuit recipe. Moving to a high altitude does require adjustments in baking. I add the sugar for two reasons: 1) for a hint of sweetness and 2) I like adding a bit of sugar to aid in giving the biscuit a nice golden color from the caramelization of the sugar. No other reason. You can definitely omit the sugar. You can try my High Altitude Vanilla cake recipe as well https://www.simplysogood.com/high-altitude-vanilla-bean-cake/
Happy baking.
Thank you for your response! I will definitely try your High Altitude Vanilla Cake. I’m at 3500 ft, which doesn’t sound like I should have altitude problems, but I do with certain things. I’ll let you know how the recipe turns out at 3500 ft.
i TIRED THIS RECIPE OVER THE WEEKEND AND BISCUITS TURNED OUT FANTASTIC! sKYCRAPER INDEED!! i FOLLOWED YOUR INSTRUCTIONs and IMAGES along the way AND THESE WERE THE BEST AND EASIEST BUSCUITS I’VE EVER MADE. THIS WILL BE THE ONLY RECIPE I USE GOING FORWARD. i FROZE MOST OF THEM AND WHEN I PULLED A FEW OUT OF THE FREEZER TO BAKE UP ON MONDAY THEY WERE AS AMAZING AS THEY WERE FRESHLY BAKED. your blog is wonderful, recipes are always fabulous and images and step-by-step instrutions are several notches above the rest. I love this blog! Thank you for all the vegetarian recipes packed with texture, color and flavor. thank you for doing what you do.
I just can’t thank you enough for this comment. I greatly appreciate being appreciated!!! I’m thrilled to hear that my recipes work and are helpful. Sometimes I wonder if it’s worth my time and now I can say that is definitely is. Thank you! Thank you!
I made these again for the millionth time. Amazing as always. My family lives them. Fantastic recipe
Haven’t made these but I recently read that a pro baker keeps her flour in the freezer. She make lots of pies dough and says this helps to not overwork her dough. Known for her flaky crusts. Unfortunately a few health problems have kept me from baking the last 4 months so I have the flour in the freezer ready when the blasted cast finally comes off next Friday as the can biscuits have just not hit the spot.
Freezing the flour is such a great idea. The flour would be so nice and cold. Brilliant. Thank you for sharing this advice.