Using real butter enables the pie crust to melt in your mouth because of the lower-than-body temperature melting point. It also gives off a better flavor. You will notice that I do use some lard. Ugh…I know. Let me tell you why. Lard helps make a flaky crust. It helps create those layers we love so much in a pie crust. Lard is probably the best use for a flaky crust, but shortening can be used in place of lard. Ya ya, I know, you’ve heard me go off about this before. Baked goods just need butter for flavor and melt in your mouth appeal. Also I use a tablespoon of lemon juice. The addition of acid softened the gluten, tenderizing the crust. The addition of an egg yolk adds richness, color and flavor to the dough as well as leavening power. You don’t want to use a whole egg because the protein the the egg white will make the crust tough. Your pastry will be flaky with or without the use of the egg yolk, its presence adds richness to the dough and makes it easier to handle.
With that said, let’s make pie crust. It’s as “easy as pie”.

You will need flour, salt, sugar, baking powder, lemon juice, an egg yolk, butter (cut into chunks and frozen), shortening (cut into chunks and frozen, and ice water.

Fit a food processor bowl with a metal blade.

To the bowl of the food processor add the flour.
If you don’t have a food processor, mix in a large mixing bowl and cut in the butter with a pastry blender or a fork.

Add the sugar, salt, and baking powder.

Pulse the food processor a few times to mix the dry ingredients.
Add the cut up chunks of frozen butter and lard/shortening.


Pulse the food processor several times.

Pulse until the mixture and butter is about the size of small peas.

In a measuring cup, add the egg yolk.

Whisk in the lemon juice.

Whatever you do, do NOT pour the lemon juice oven top of the egg yolk and let it sit. The lemon juice will cook the egg yolk and you will have a scrambled egg yolk. I learned that the hard way.

To the egg yolk and lemon mixture pour in ice water.

Add enough water to measure 2/3 of a cup once it is mixed with the egg yolk and lemon juice.

Pour the water over the flour and butter mixture.

Pulse 5 or 6 times to combine the water and flour. Do NOT over process or your crust will be very tough.
This is a gentle process.

Check your dough. You want it to hold together into a ball. If it appears dry and crumbly add additional water just one tablespoon at a time then pulse 2 or 3 times.

The dough should hold together like this.

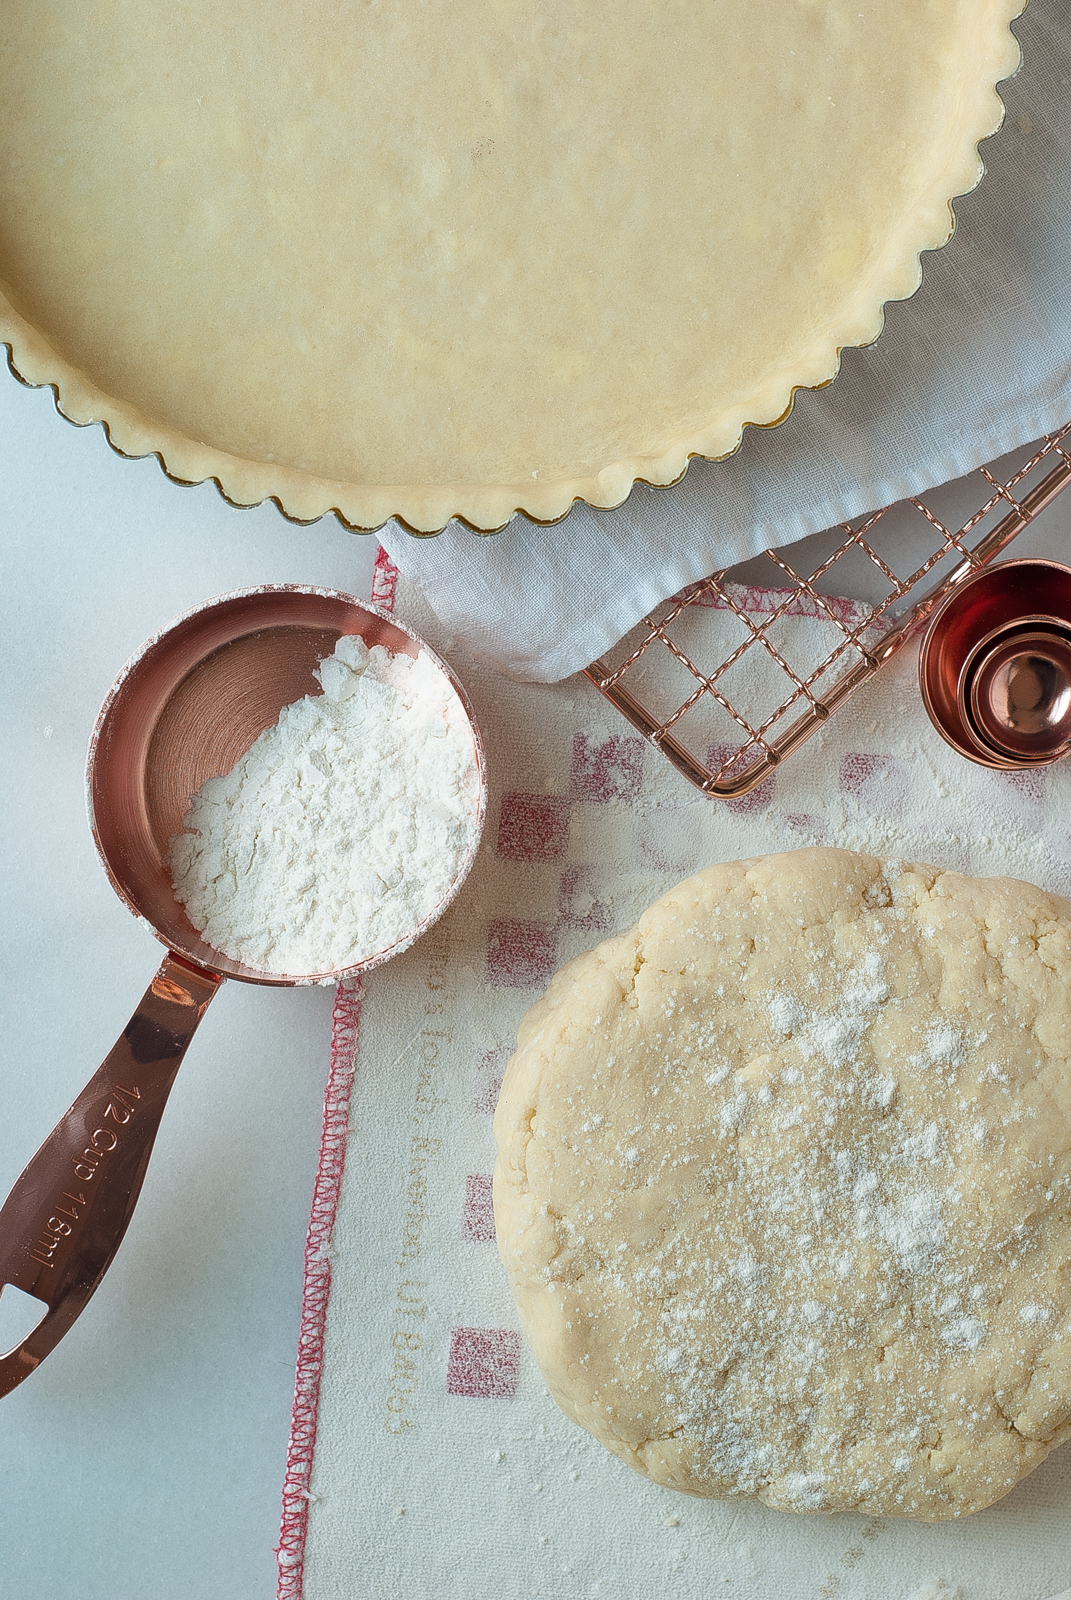
Divide the dough into two balls of dough and flatten each ball into a disk about 1-inch thick.

Wrap in plastic wrap or waxed paper.

Refrigerate dough for at least 30 minutes before rolling out. It can be made a day in advance for frozen for up to two weeks.
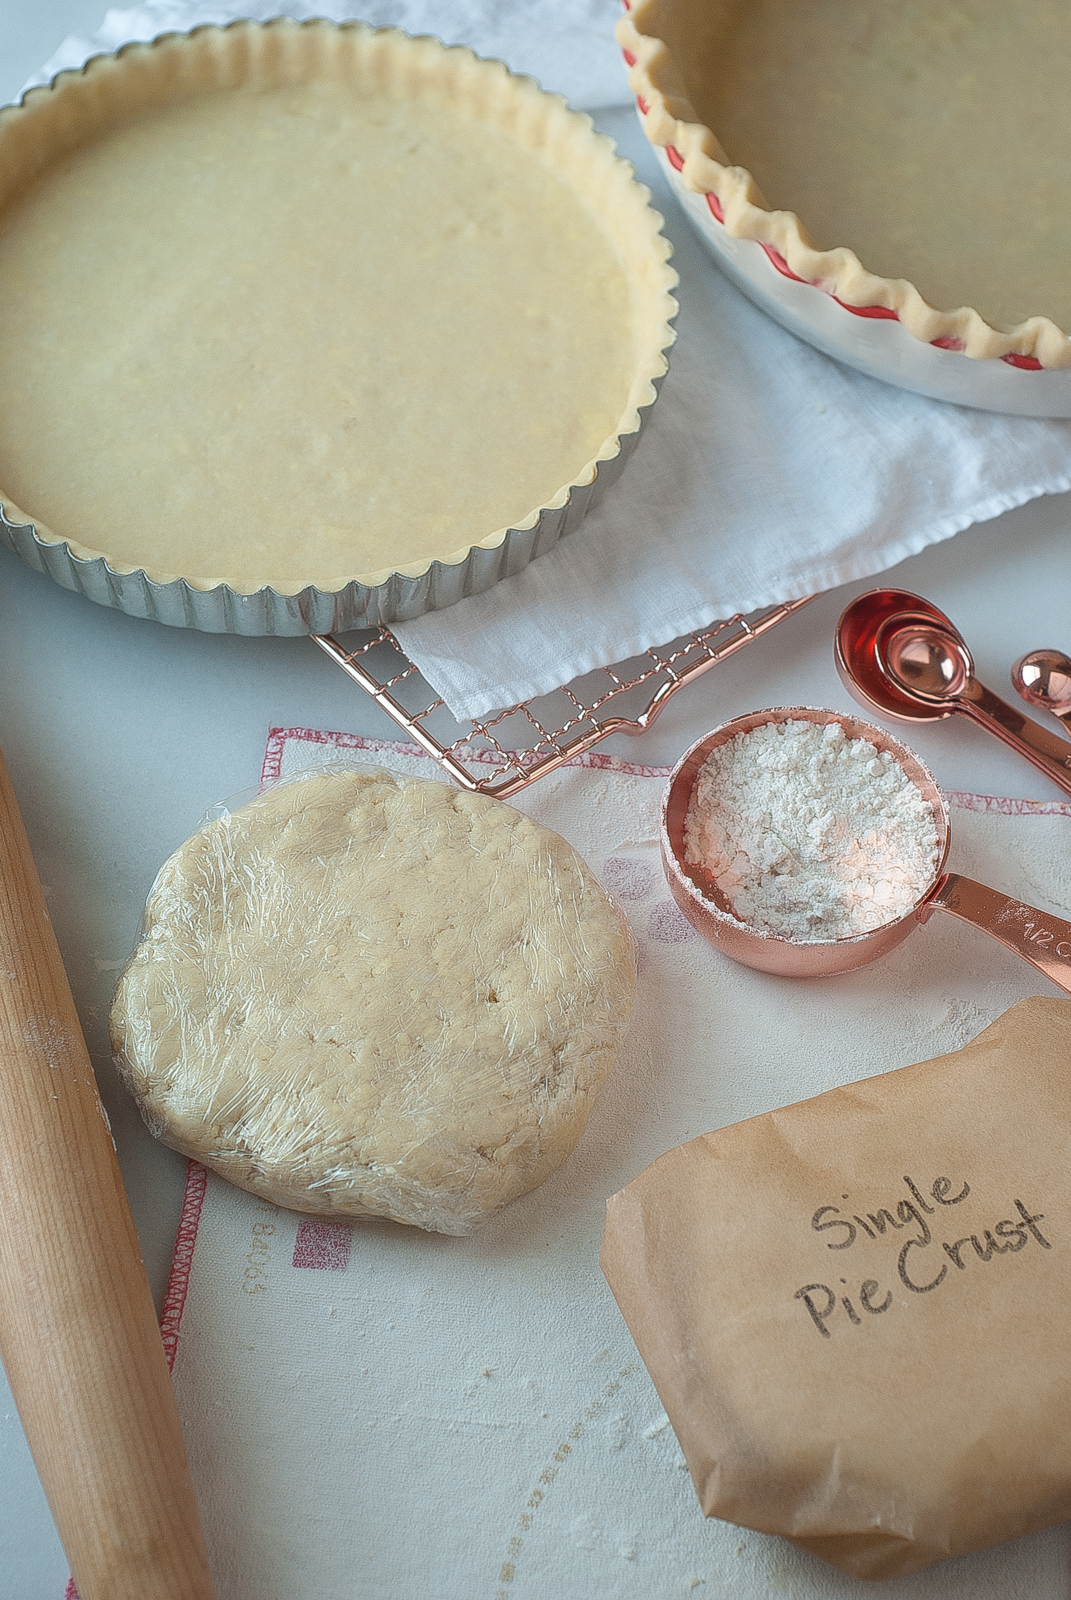
I am going to use only one of my pie dough disks today for Peach Cobbler. So I’m putting my other disk of dough in a freezer bag. I’ll put it in the freezer until I’m ready to use it for Fresh Peach Pie later this week.
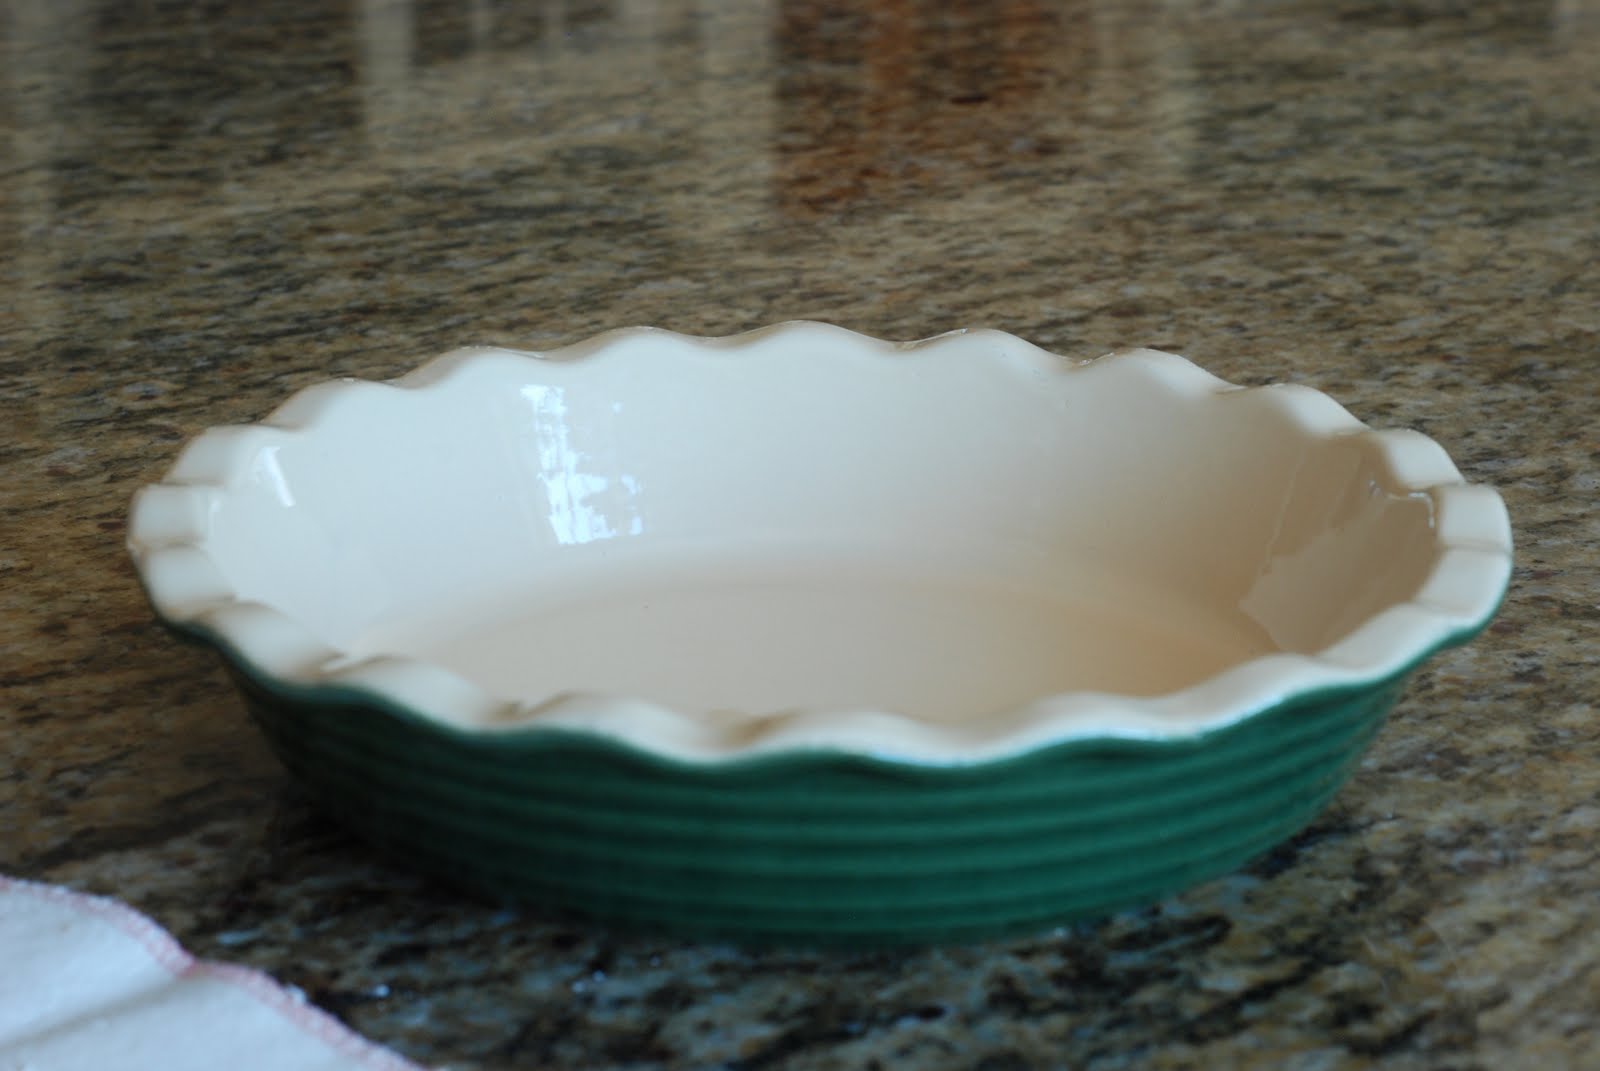
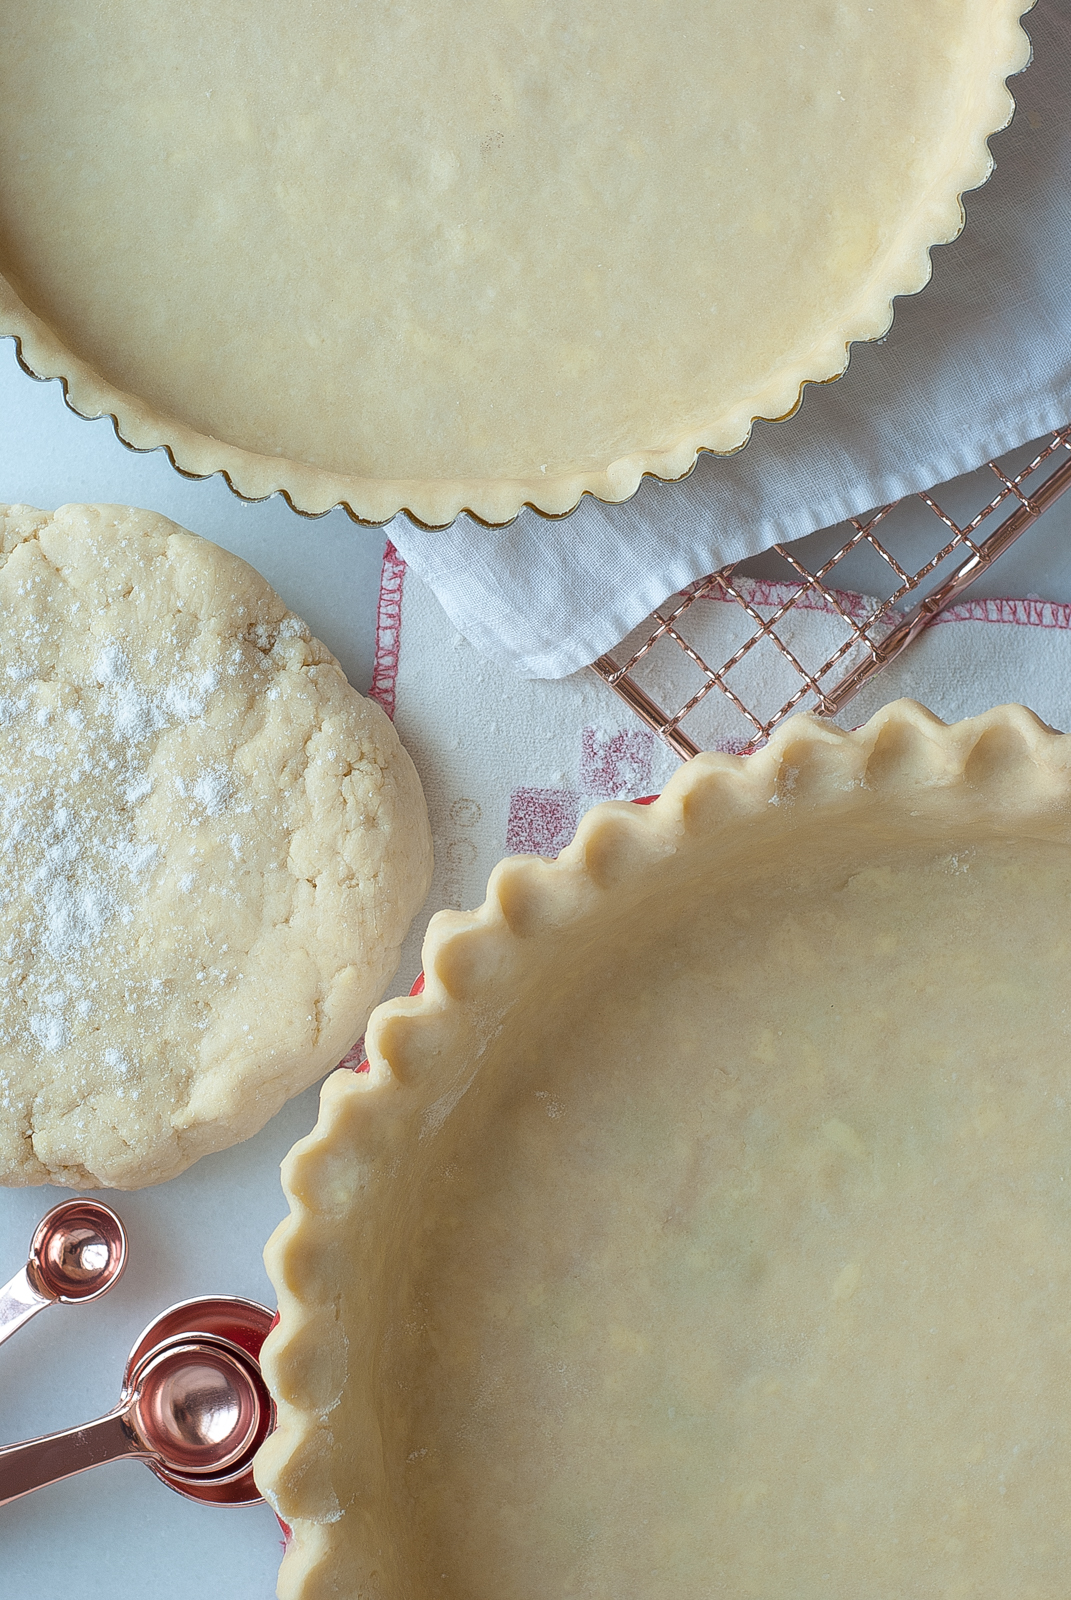
After the dough has sat in the refrigerator for at least 30 minutes, remove it from the refrigerator. It’s time to roll it out. This is one of my favorite pie dishes. I’m sure you have a favorite as well. Get it out! This is a 9-inch deep pie dish. It is made by Emille Henry. Love this cookware. If you ever see it, buy it. You will never regret owning Emille Henry. A great investment.
However, you can use what every pie dish you have.

On a floured surface begin to roll out your disk of dough. After each rolling I rotate the dough a quarter turn. This helps to keep the dough in a circle.

Roll it out into a 11- 12-inch circle.

Roll the dough back onto the rolling pin. Place the pie dish in front of the rolling pin.

Unroll the dough across the pie plate. You can easily adjust and center the dough using the rolling pin.

Ta Da.

Gently lift the dough and ease it into the bottom of the pie dish. If you smash and force it down, the dough will probably shrink…a lot!

With scissors or a sharp knife, trim the pie dough. Leave about a 1-inch hang over.

Cut all the way around the pie.

Tuck the 1-inch hang over under. Go all the way around the pie.

Crimp the edges. You can use any technique you would like. Unfortunately I can’t show you how I did my crimp because it requires two hands and I need at least one hand to take the picture. This is when children come in handy.

Poke several holes with a fork on the bottom and sides of the dough.

Return the pie crust to the refrigerator for an additional 30 minutes. You want the crust nice and cold before you bake it. This would be a good time to pre-heat your oven to 425 degrees.
You know what else you can do? You can carefully wrap the entire pie in plastic wrap and freeze it for later use. Just pull out of the freezer and bake.

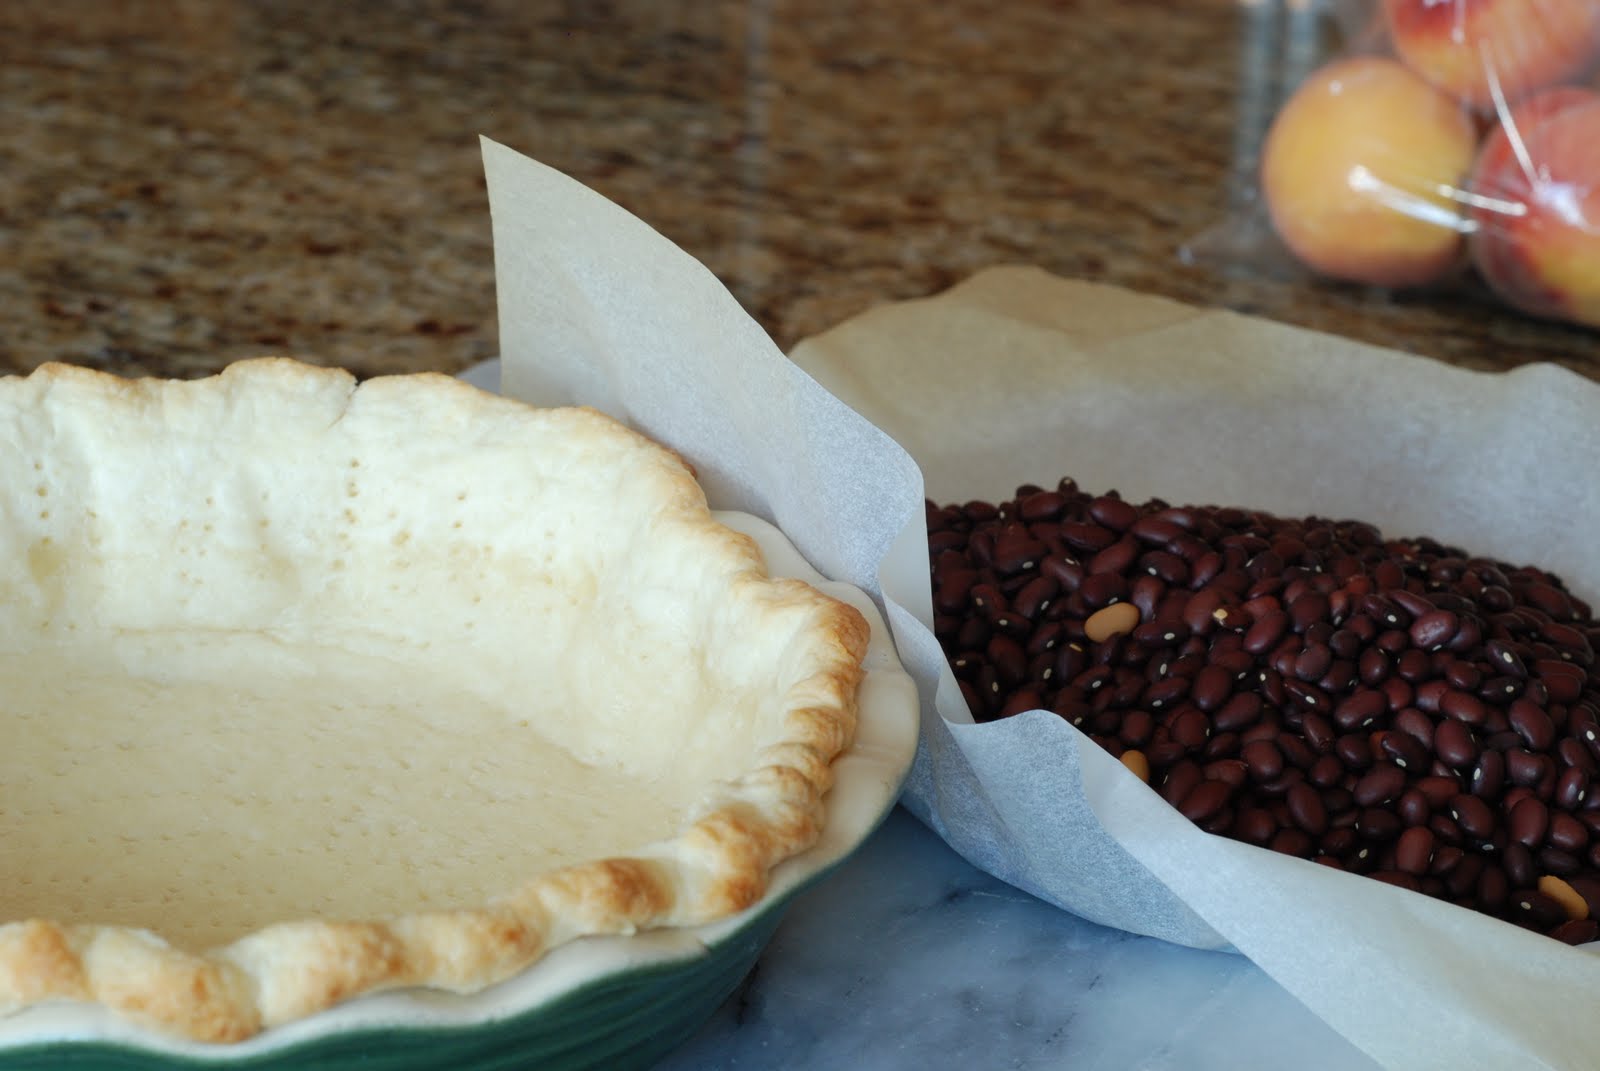
You will now need a piece of parchment, aluminium foil or waxed paper and some beans or rice for pie weights.

After the crust has been refrigerated for at least 30 minutes, place the parchment over the crust.

Pour in the beans, rice or pie weights.
I have had these beans/pie weights for several years now. I just return them to the jar when I’m finished with the pie and reuse them, but only as pie weights.
Place the pie crust into the preheated oven and bake for 10-12 minutes.

You can see the edges beginning to brown. Remove the parchment paper with the beans.
Return the crust to the oven to finish baking for 7-10 more minutes or until golden brown.

What did I say? Easy as pie! You can fill your pie crust with your favorite filling. At this point you can wrap the crust well with plastic wrap and freeze for a week for later use.

Pie Crust
1 cup butter, cut into pieces and frozen
1/3 cup lard or shortening, frozen
3 cups flour
1 tablespoon sugar
1 teaspoon salt
½ teaspoon baking powder
1 egg yolk
1 tablespoon lemon juice
Ice water
Cut the butter and lard into pieces and place in the freezer. In the bowl of a food processor add flour, sugar, baking powder and salt. Pulse a few times to combine. Add the pieces of butter and shortening. Pulse several times until the mixture is the size of small peas. In a measuring cup add the egg yolk and lemon juice. Mix together. Add water until the liquid comes to the 2/3 cup measure. Mix water in with the egg yolk lemon juice mixture. Pour the water over the flour mixture. Pulse food processor just until the dough begins to hold together. Do not over process or you will have a tough pie crust. Divide the dough into two balls. Flatten each ball into a disk, wrap in plastic wrap or waxed paper and refrigerate until cold. Can be refrigerated for 1 day or frozen for 2 weeks. Makes two (9-inch) pie crusts or 1 double.
For a single pie crust: Roll out half of the dough. Fit into a 9-inch pie plate. Prick bottom and sides with a fork. Bake at 425 for 10-12 minutes or until golden.
Option: You can line the unbaked pie shell with parchment paper then fill with beans or rice and bake for 10 minutes. This is called blind baking the crust and helps it from not shrinking. Remove the parchment paper and beans after the 10 minutes and continue baking until golden. About an additional 4-5 minutes.
I need a full size food processor, suggestions?
A full size food processor is not needed. It’s just helpful. The butter can be cut in by using to Butter knives.
Simply cut through the butter and shortening (if using) into the flour mixture. You can use a pastry blender if you have one which is easier than to butter knives. Keep cutting through the flour and fat until there are small peas size pieces of fat. Then sprinkle the liquid mixture over the top and gently toss with a fork until the liquid is absorbed. Be gentle in handling the dough. Too much liquid will make the crust tough. So just use a gentle hand.
Please let me know if you have any other questions. I’m happy to help.
HI Janet Do you have a pie dough that is for savoury meat pies ? or do you just leave out the caster sugar ?? Also do you have a homemade pastie recipe…do you have pasties over in Utah ?? Julie xx
I just use this same recipe and yes you can omit the sugar for savoury pies. No unfortunately we do not have pasties in Utah. I have never had them before, therefore I don't have a recipe. I'm sorry. Where are the best pasties found?
Janet, I made a Pumpkin Pie (with homemade roasted pumpkin) using this recipe for the crust and it was fantastic! I might add this was my first attempt at homemade pie crust, as far as I can remember, and this will be my go-to crust from now on. It was simple using the food processor and it resulted in a perfect flaky crust. Another great recipe from your site! Thanks!
Fabulous! Thank you for sharing your success story. Homemade roasted pumpkin sounds so good. Did you use a small sugar pumpkin?
Janet, I am making my way through your recipes and I have not been disappointed. You are an amazing cook. Thank you for taking the time to share. I would like to make this pie crust but I do not have food processor. Would I achieve the same results using my stand mixer?
my glass pie pan wont shatter going from the ice box to the oven?
I think it would be a good idea to let the pie plate set out to warm a bit before putting it into a hot oven. Just keep the crust cold.
Hello-I just came across your recipe for pie dough and tried it. WOW…it was easy and delicious. I have always struggled with pastry dough and now I have a winner! Thank you so much for sharing.
Thank you so much. Pie crust can be such a tricky thing. I'm glad it was a success.
Thank you for your input on Lard. I was so happy to hear that it was a healthy cooking fat. A Pie party is such a great idea. How fun! Happy Thanksgiving.
My husband and I hosted a pie party last night, and one of our guests brought your sour cream apple pie with this pie crust. It was the best pie crust I have ever had! I agree with B on the lard–whoever told us to stop using it when Crisco came out was nuts! Lard is actually a stable and healthy cooking fat.
Anyway, thank you so much for this blog and the #1 pie crust recipe!
Wow, B, thank you so much for the insight. My eyes have been opened. I am on my way to the store to purchase Lard! From now on I'll be using that in my crust it will be so much better. I have steered away from making tamales for years because of the lard in my recipe. I'm going to re-visit that recipe. Thank you once again.
Janet, I just recently watched a cooking show on making tortillas, they talked about using lard vs. shortening, I found it interesting that lard has what is considered a low amount of saturated fat, and is high in mono-unsaturated fat (which is the good one) has no trans fat and also doesn't have additives and impurities. Shortening has trans fat… they make the serving size small on the label so they can claim that it has 0 grams of trans fat per serving, but if you use more than a teaspoonful, just know that you are in fact adding trans fat to your food. Just food for thought, I was grateful for the education and decided to get brave and try the lard… you just have to be careful because a lot of store brands are hydrogenated which basically ruins all the good points! 😉 But if you are careful you can find it in the refrigerated section, try it sometime, it really is much better than shortening!
Honey… I will take one for the team ANYTIME!!! We were in total heaven. Bec said it's the best crust evaah! For me it was the peaches and "oh so prefect" syrup. For Jim… a combination of the two!! Disclaimer: May induce a "Cobbler Coma" and cause you to oversleep (Still sorry I left you standing on the street corner at 5:50 AM)