
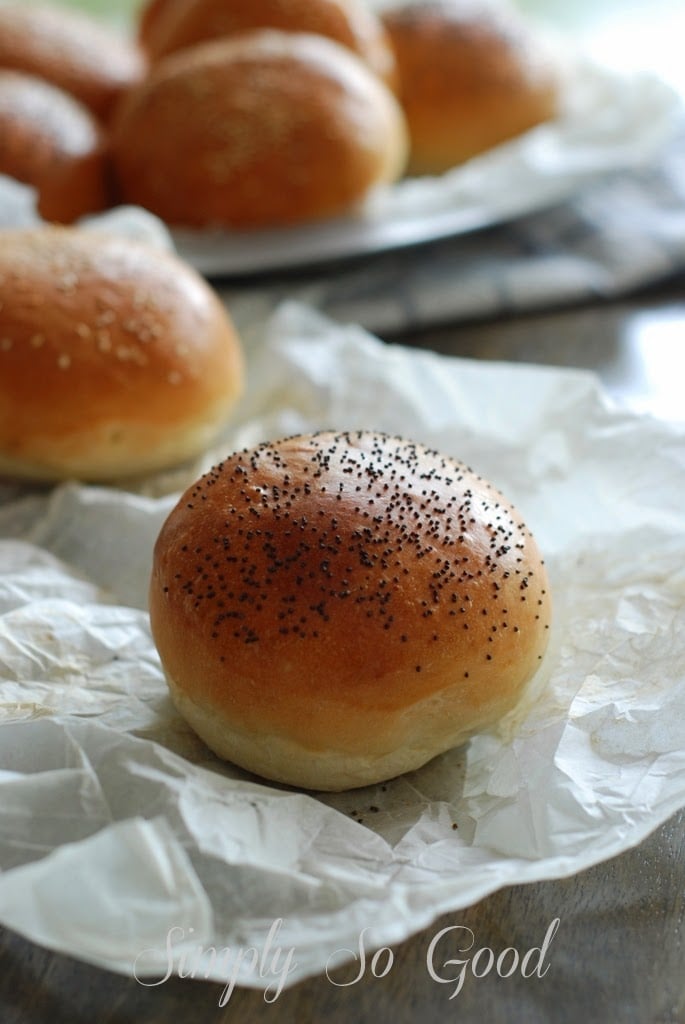
Soft, buttery brioche buns are perfect for burgers or sandwiches. A perfect burger starts with a great bun.
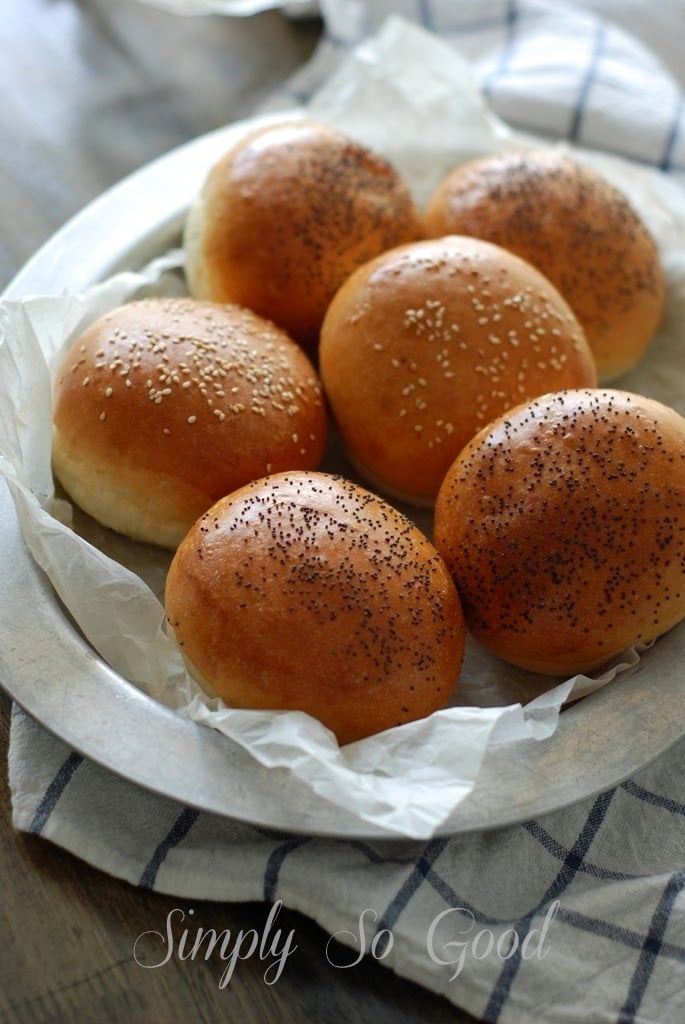
If you are serious about your burgers and you want the best burger in town, start with an amazing bun. Once you try homemade burger buns, you’ll have a hard time using purchased buns again.
MIxing and rising Brioche Burger Buns
Why use a food processor? I discovered that making the dough in a food processor is super fast and makes a beautiful dough. However, a stand mixer will work just as well.
 1
1
 3
3 4
4- Gather and measure all of the ingredients.
- Pour the 3 tablespoons of warm milk into the 1 cup warm water.
- Add 2 1/2 tablespoons sugar and 2 teaspoons of dry yeast. Stir to dissolve the sugar and yeast.
- Set aside while preparing flour.
 1
1
 5
5 2
2 4
4 6
6- Meanwhile, in the bowl of a food processor add 3 cups bread flour and 1/3 cup all-purpose flour. add 1 1/2 teaspoons salt, 1/4 cup butter that has been cut into 4 slices. Pulse several times until the flour mixture is like a sandy mixture.
- Beat 1 egg and add to the flour mixture.
- Place the lid on the processor and slowly pour in the water/yeast mixture with the machine running.
- Keep the processor running until a smooth soft dough forms. The entire process will probably take 3 minutes. How awesome is that?
- Remove dough from processor and form into a smooth ball of dough. Place in a buttered bowl.
- Cover with plastic wrap and let rise for 1-2 hours or until doubled in size
Shaping and baking burger buns
 1
1 3
3 5
5 2
2 4
4 6
6- Once the dough has doubled in size, remove the dough from the bowl.
- Cut dough into 8 equal portions. If you’re anal and want each bun to be the exact same size, you can weigh it. I found that I can make eight 4-ounce buns.
- Shape the buns into a ball.
- Then gently flatten to form a disk.
- Place on a baking sheet lined with parchment paper or lightly greased the baking sheet.
- I like to place them far apart because they will rise quite a bit. No more than 6 to a baking sheet.
 1
1 3
3 2
2 4
4- To make the glaze for the buns, add cold water to the egg. Whisk the egg and water together creating an egg wash.
- Gently brush the dough with egg wash. Make sure to brush around the sides.
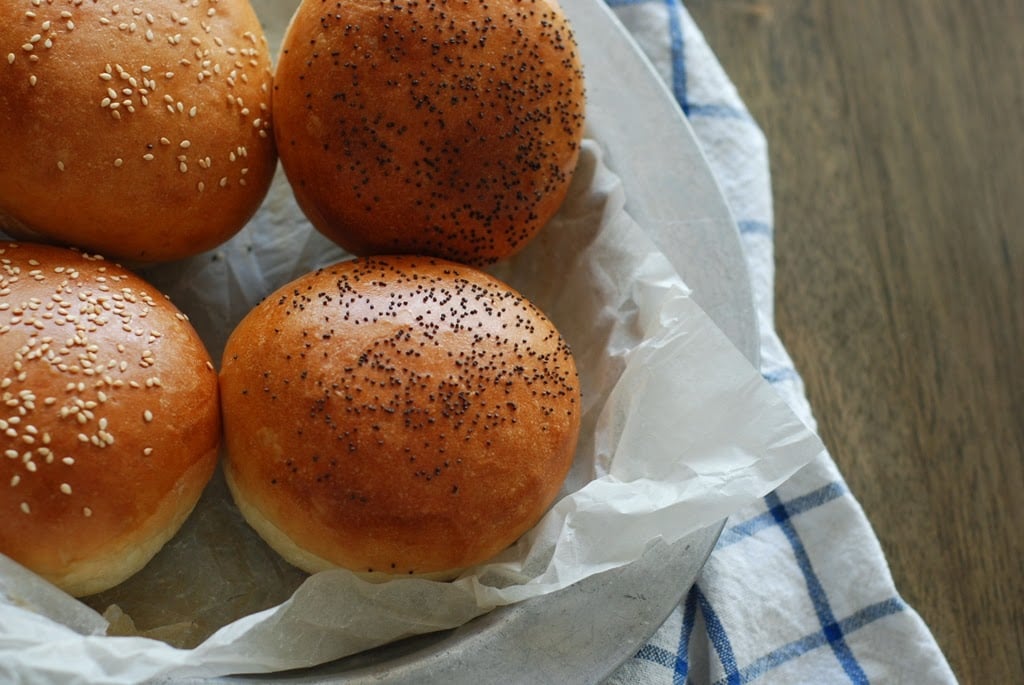
- Sprinkle with poppy seeds or sesame seeds, if you so choose. Spray a piece of plastic wrap with nonstick spray and lightly cover the buns. Allow rising for an additional 30-60 minutes. You can tell if the dough is fully risen by gently pressing on the dough. If it feels like a marshmallow, then it’s ready to bake.
- Place in a preheated 400 F (205C) degree oven. Bake for 15 minutes or until golden brown. Remove from oven and allow to cool before storing. I have made them a week in advance then placed them in the freezer. The buns will thaw perfectly.
Brioche Burger Buns
Soft, buttery brioche buns are perfect for burgers or sandwiches. A perfect burger starts with a great bun.
Prep Time 20 minutes
Cook Time 15 minutes
rise time 2 hours
Total Time 3 hours
Servings 8
Calories 276 kcal
Ingredients
- 1 cup warm water (235 ml)
- 3 tbsp warm milk (45 ml)
- 2 tsp active dry yeast (7 gr)
- 2 1/2 tbsp sugar (37 gr)
- 1 egg large
- 3 cups bread flour (390 gr)
- 1/3 cup all-purpose flour (43)
- 1 1/2 tsp salt
- 1/4 cup unsalted butter softened
Egg Glaze
- 1 egg beaten
- 1 tbsp water
- sesame seeds or poppy seeds optional
Instructions
-
In a glass measuring cup, combine one cup warm water, the milk, yeast and sugar. Let stand until foamy, about five minutes. Meanwhile, beat one egg.
-
In the bowl of a food processor fitted with a dough blade, add both flours, salt and butter. Pulse several times until the butter is blended in and the flour mixture resembles sand. Beat the egg and add to the flour mixture.
-
With the food processor running, slowly pour in water mixture and mixing until the dough forms a ball.
-
Lightly butter a large bowl. Shape dough into a ball and place it in the buttered bowl. Cover bowl with plastic wrap and let rise in a warm place until doubled in bulk, one to two hours.
-
Line a baking sheet with parchment paper. Using dough scraper, divide dough into 8 equal parts. Gently roll each into a ball, flatten slightly and shape into a disk. Arrange two to three inches apart on baking sheet. Cover loosely with a clean dish towel and allow to rise again for 1 to 1 1/2 hours or until the dough feels like a marshmallow when gently touched.
-
Preheat oven to 400 degrees with rack in center. Beat remaining egg with one tablespoon water and brush the tops and around the sides of the bun. Sprinkle with sesame seeds, if desired. Bake baking, until tops are golden brown, about 15 minutes. Transfer to a rack to cool completely. Makes 8 4 to 5-inch burger bun.
Recipe Notes
- You can tell if the dough is fully risen and ready to bake by gently pressing on the dough. If it feels like a marshmallow, then it's ready to bake.
- Directions for a stand electric mixer: In a large bowl of an electric mixer stir together flours with salt. Add butter and mix using the paddle attachment. Add the yeast mixture until the dough forms a ball and is smooth and elastic.
- This makes a large bun. The dough can easily be divided into smaller rounds for smaller buns. Diving dough into 16 small pieces of dough makes a perfect slider bun.
- Buns can be made in advance and placed in a freezer for up to 1 week. Cool completely and place in an airtight container.
Nutrition Facts
Brioche Burger Buns
Amount Per Serving (1 bun)
Calories 276
Calories from Fat 72
% Daily Value*
Fat 8g12%
Saturated Fat 4g20%
Cholesterol 57mg19%
Sodium 69mg3%
Potassium 85mg2%
Carbohydrates 42g14%
Fiber 2g8%
Sugar 4g4%
Protein 8g16%
Vitamin A 245IU5%
Calcium 21mg2%
Iron 0.9mg5%
* Percent Daily Values are based on a 2000 calorie diet.
This post was previously published in 2014. Updates have been made along with nutritional information and recipe card.


I made this recipe using aluminum-foil ring molds and it came out beautifully. I forgot to beat the egg in until after adding the yeast mixture, but had no problems adding it at that point. I have seen other recipes include the egg with the yeast mixture itself. I will likely try that approach in the future as it seems easiest to add all liquids at once. The resulting buns seemed almost too high-class to use for an oklahoma onion burger, but that didn’t stop me!
Thanks for this keeper, Janet.
Thank you so much for your comment and a 5-star rating. I thrilled you loved the buns. They are so delicious!
Hi, I used all purpose flour and followed all the steps but my dough was sticky. I added one more 1/3 cup flour and it’s still sticky but letting it rise now. What did I do wrong?
I’m not sure. It’s hard for me to know. Brands of flour and measurements just vary. Two things could cause a result in a sticky dough. 1) Maybe you just needed more flour? 2) Maybe you could have mixed it a bit longer. It’s very possible it may stiffen up during the rise time. If it is too sticky to handle, just use a bit more flour to form the balls into buns. Please let me know how they turn out or if you have any other questions.
Inexperienced baker here. I found your recipe after a failed attempt (with another recipe) and Am so pleased With the results that i Had to leave a 5* reView! used AP flour only and it turned out greaT.
Bravo!!! You are a fabulous baker. Thank you so much for the 5-star review. Thank you so much for sharing your baking experience.
Hi! would it be possible to add the ingredients in grams as well? i don’t feel comfortable baking with cups etc because of accuracy, maybe you could post the metric and cups etc so the different types of bakers can access the recipes. 🙂 sorry about the all caps, cant seem to turn them off.
It’s ok if it appears in all caps. Once posted it’s normal. I don’t know why. I’ll check into it. I added the measurements in weight to the recipe. I hope that helps.
THIS RECIPE IS EXCELLENT. I DIDN’T MAKE BUNS. I DIVIDED THE DOUGH INTO 3 EQUALLY-SIZED LARGE BALLS, PUT THEM ALL SIDE BY SIDE IN AN 8X5” LOAF PAN, LET IT RISE FOR AN HOUR. THEN, 25 MINS AT 375 DEGREES. IT WAS AMAZING.
I’VE BEEN DOING NO-KNEAD RUSTIC LOAVES FOR 15 YEARS, BUT HAVE HARDLY EVER ATTEMPTED SANDWICH LOAVES OR BURGER BUNS – AND WHEN I HAVE, I WAS NEVER HAPPY WITH THEM. NO MORE. (FYI, IN THE RECIPE ITSELF, IT SEEMS TO BE MISSING THE WORD “TEASPOONS” FOR THE SALT, BUT IT’S THERE IN THE ARTICLE).
Thank you so much. Once you start making your own buns it’s hard to go back to store-bought. I love your idea of baking the recipe into loaves. Brilliant! Thanks for the heads up on the recipe error. I corrected that error. Happy baking!
Is it necessary to use bread flour..Can I make it with all purpose flour alone…And can I use salted butter instead of using unsalted butter…
Of course…to all of the above.
It's 1/4 cup. The dough should be soft and satiny. Let me know if I can help you trouble shoot.
Is it 1/4 cup or 1/4 stick? Just wondering because some of the pictures look like 1/4 stick. I attempted these a couple days ago and the consistency of the dough seemed a bit weird with 1/4 cup. I probably messed something else up though. Thanks!
Let me start off by saying I LOVE your recipes! I am working through your breads (I am very new to bread making) and everything I make tastes amazing, I especially love the banana nut bread. I had a hard time with these, I was excited that you listed the conversions so that I could use my nifty scale for baking instead of my boyfriend steeling it to weigh car parts. Unfortunately I clearly don't know how to use the conversions you provided. Say for flour, 360gr=23gm and I know that's not right, so I assumed that the 360gr was meant to be 360gm… also wrong, proved by almost pancake batter buns. I ended up saving them, by figuring out the required weight and just subtracting what I already put in. Unfortunately because everything was already mixed the buns ended up not raising correctly. They may not look like buns but they still taste really good, I will defiantly be trying this one again! If you have some time, I would love to know how to work through your weight conversions. Also, are you not supposed to add egg if you use an electric mixer?
Thank you for sharing these great recpies!
Sorry for the mix up on conversion. I use a metric conversion chart that was requested from a few European followers. This is the chart that I use to convert. http://www.jsward.com/cooking/conversion.shtml I'm sorry to mess up your recipe for brioche buns. Maybe I should just stick to the U.S. standard measurements. 🙁
I can't wait to try these. I already make your crusty bread at least once a week! Thanks for this 😉
I hope you give them a try. They are a little more work than the crusty bread, but so worth the extra time. I hope you love them.
These buns are marvelous! Simple and very easy directions. Thanks.
Thank you for commenting.
Hi Janet. I just came across your blog yesterday (better late than never) in search of a good burger. I think I spent my entire night just scrolling through, saving recipes, and just marveling at how awesome you are! Thank you for this blog and all the amazing food. You have one lucky family. I hope I can cook half as good as you when I have a family! Anyway just wanted to say you have a new fan, lol, I don't know if that's the right word? Stay marvelous Janet!
p.s I'm going to take a shot at those pot stickers, so mouth watering, well see what happens!
Why thank you for making my day. Pot stickers are amazing. I hope you come back often.
Go and make the chicken pot pie!!!!!
Ditto
Gah! I just saw the answer to my own question in your printable recipe! You think of everything! Can't wait to try these, my husband will LOVE them!
Ha ha. You can even knead by hand. I hope you try these buns in your stand mixer and it's just as easy.
Definitely a labor of love! They look delicious. Do you think it would work in a stand mixer? I don't actually have a food processor. Thanks!
Can not wait to try
I hope you do.
A few weeks ago I read about the thing with the dough and the food processor and I was so mad that I almost cry. The flour here has barely 4% protein, so to make the gluten window you have to a) knead FOREVER b) buy gluten, make some math and mix it up yourself.
But with the food processor it came out perfect in, just like you said, 3 minutes. I have been kneading until my arms almost fell for YEARS!! I'm now converted to the food processor method.
Those buns look great, I hope that you are enjoying the grill!!
Have a lovely weekend!
I have a great weekend planting my garden, thank you. I can't believe your protein content is only 4%. I like to use a flour that is 12% protein content. You must be in great shape with all that kneading. Thank heaven for the food processor.
My arms have more muscle than my brother's…
Ha ha ha. Better get your brother kneading dough.
I feel the same way about kneading! Have you tried the recipe on here for crusty bread. NO KNEADING. And it looks like you bought it at a bakery 🙂
Yes, I did, I cook a loaf every week! It's great. Have you tried using half flour, half semolina?