• Skip to primary navigation
  • Skip to main content
  • Skip to primary sidebar
  • Skip to footer

Simply So Good

  • Home
  • About
  • Recipes
  • Contact
You are here: Home / Uncategorized / Glitter Play Dough

Glitter Play Dough

April 7, 2013 Updated April 4, 2023 18 Comments

16 shares
  • Share
  • Tweet
Jump to Recipe Print Recipe


When my oldest daughter was just a toddler, my mother-in-law gave me this recipe for play dough.  Thanks to Pinterest the play dough sparkles with the addition of glitter.
My daughter will be turning 33 years old soon.  I now make the play dough for her children.  This recipe has stood the test of time and many little hands shaping and forming dough into whatever their imagination creates.


Emi and Cosette will help me demonstrate how to make glitter play dough.  It’s that easy.

You will need to following:

4 cups all-purpose flour
1 cup salt
1/2 cup cream of tartar
4 cups water
1/4 cup oil
food coloring
colored glitter


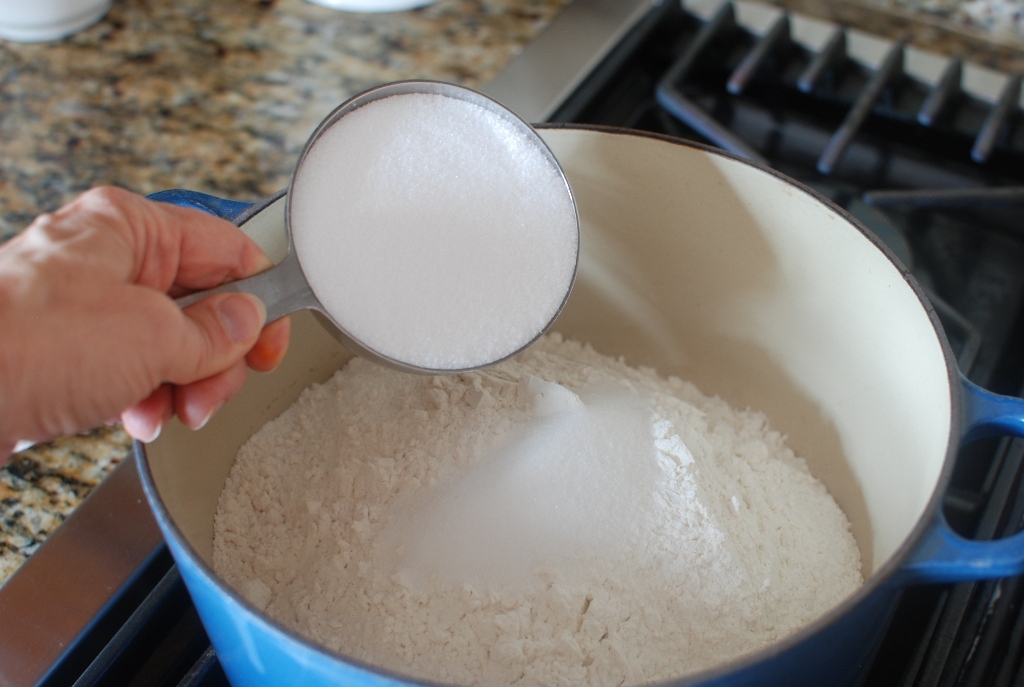
In a large heavy pan mix the flour, salt,


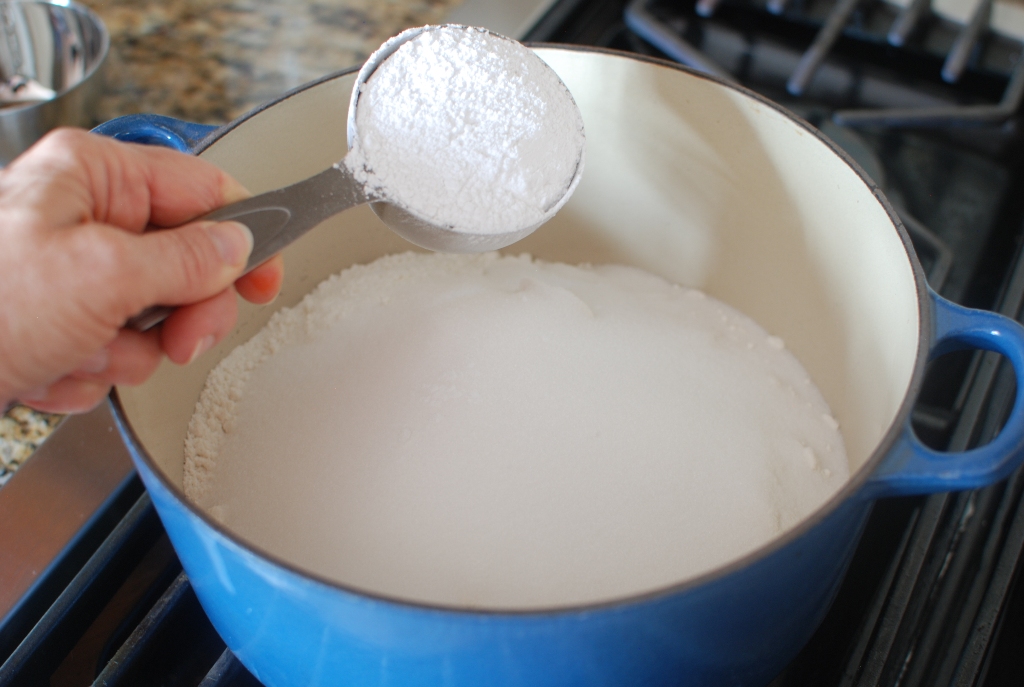
and cream of tartar.  That’s a lot of cream of tartar and it can be expensive.  A great source for cream of tartar is from San Francisco Herb Co.  A pound of cream of tartar sells for $5.85.
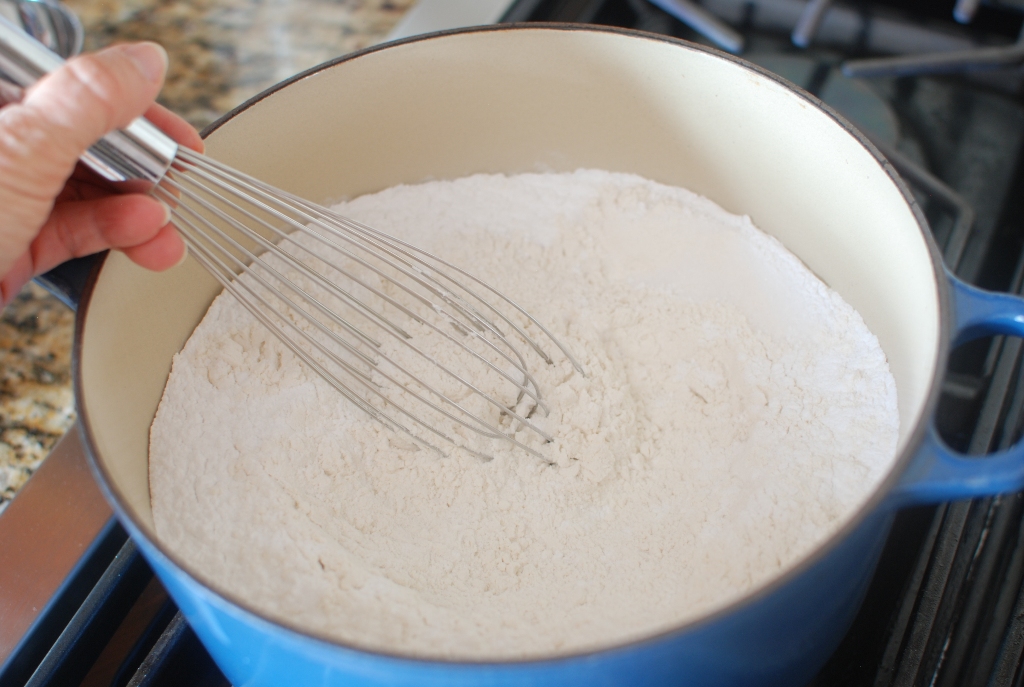
 

Whisk together.


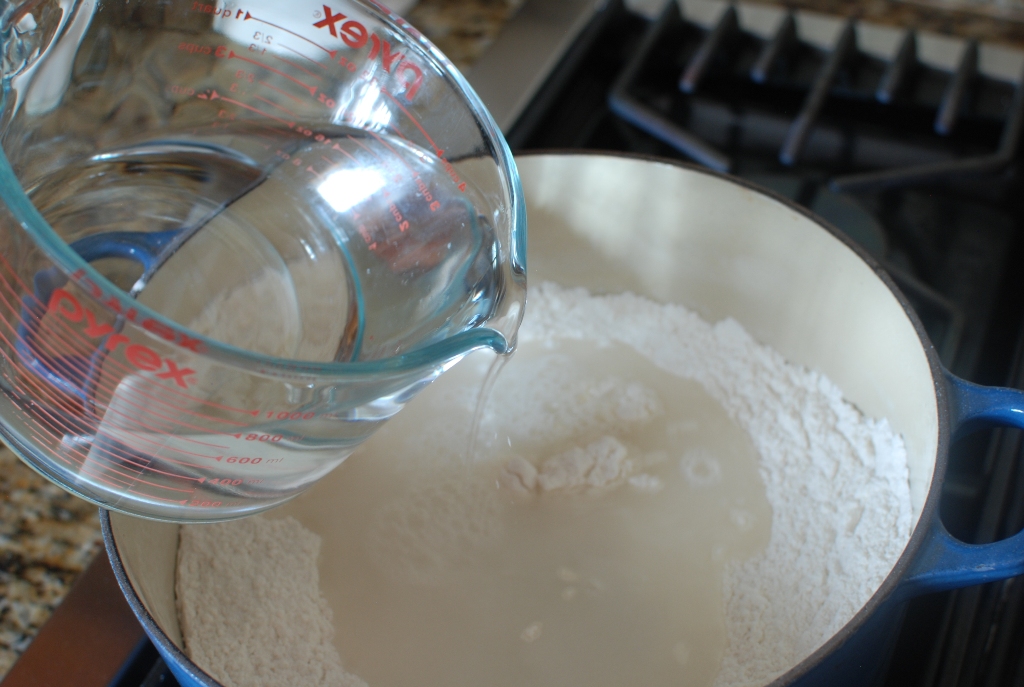
Add the four cups water.


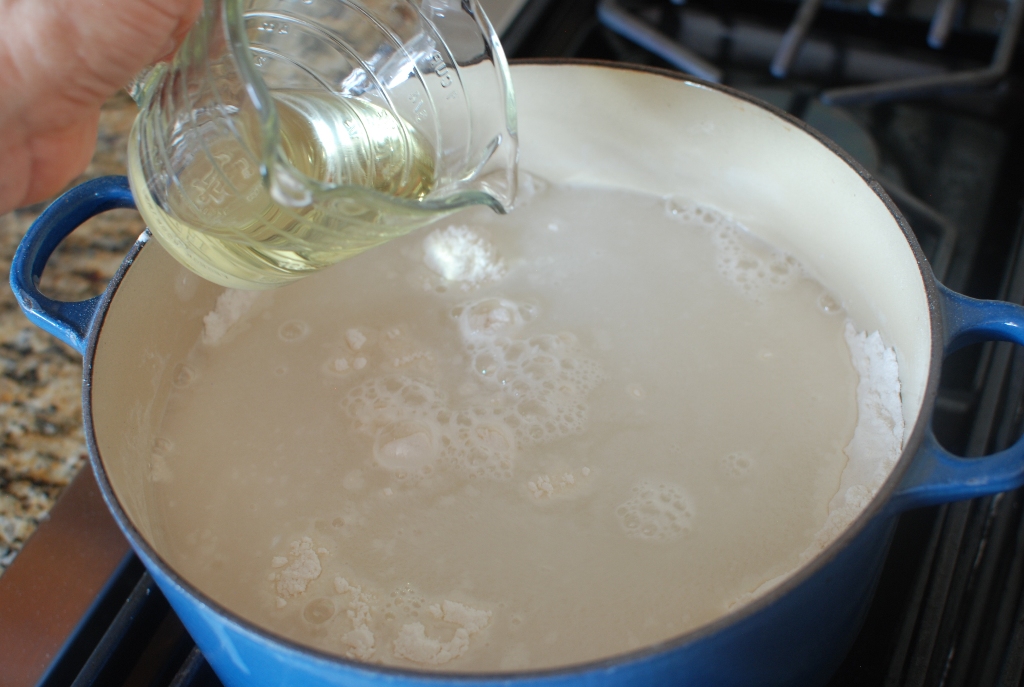
Add 1/4 cup oil.  I’m using canola oil because that’s what I have.


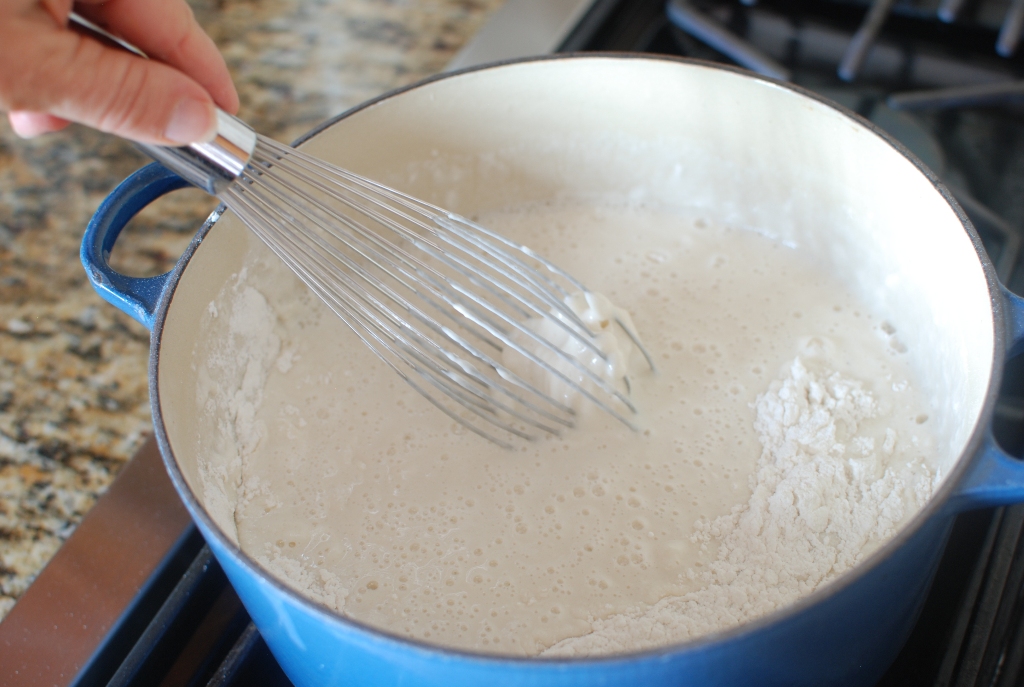
Whisk the ingredients until smooth and free of lumps.


Don’t worry if there are a few remaining lumps.  They will go away.  Trust me.

Place the pan over medium heat and cook the mixture.


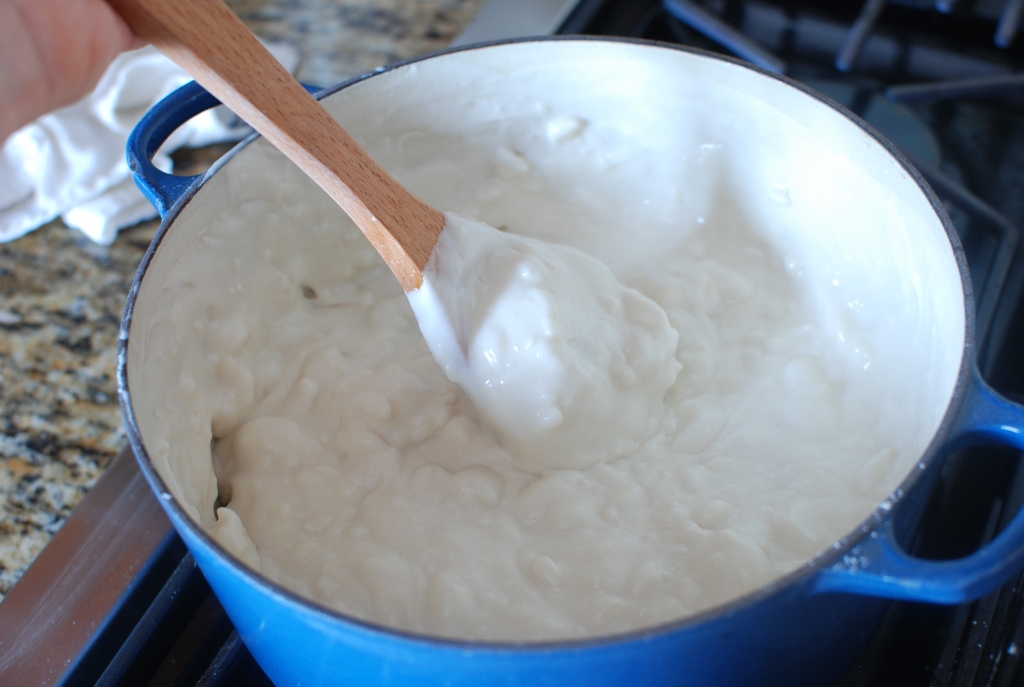
Stir constantly while cooking.  You will notice that the mixture will begin to thicken and it will start to look really lumpy.  Don’t fret.  Just keep on stirring.


Keep cooking and stirring.


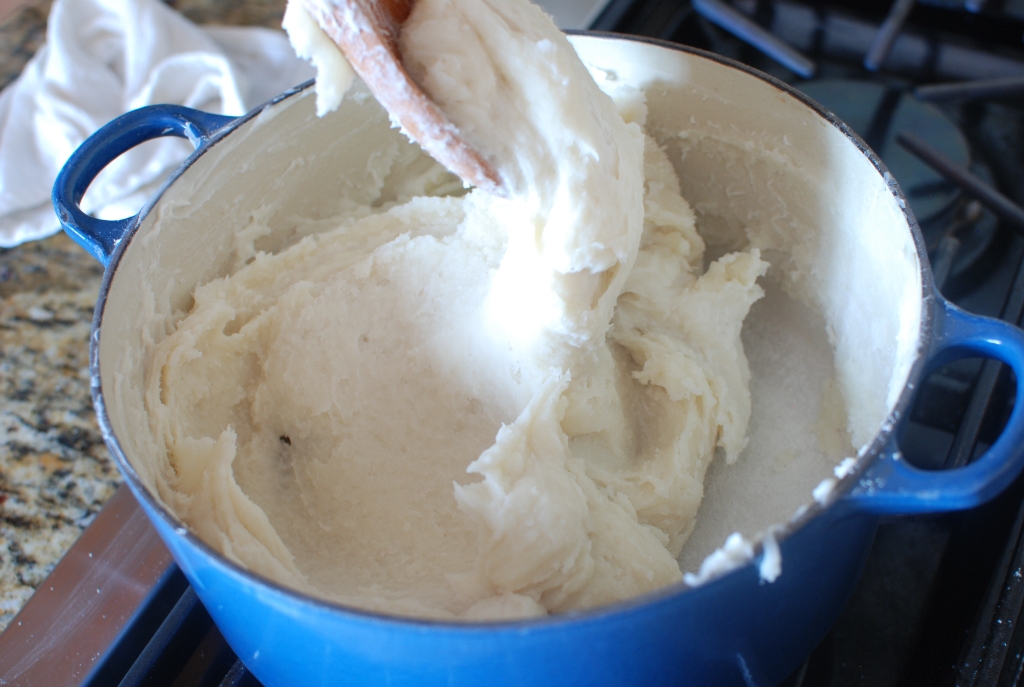
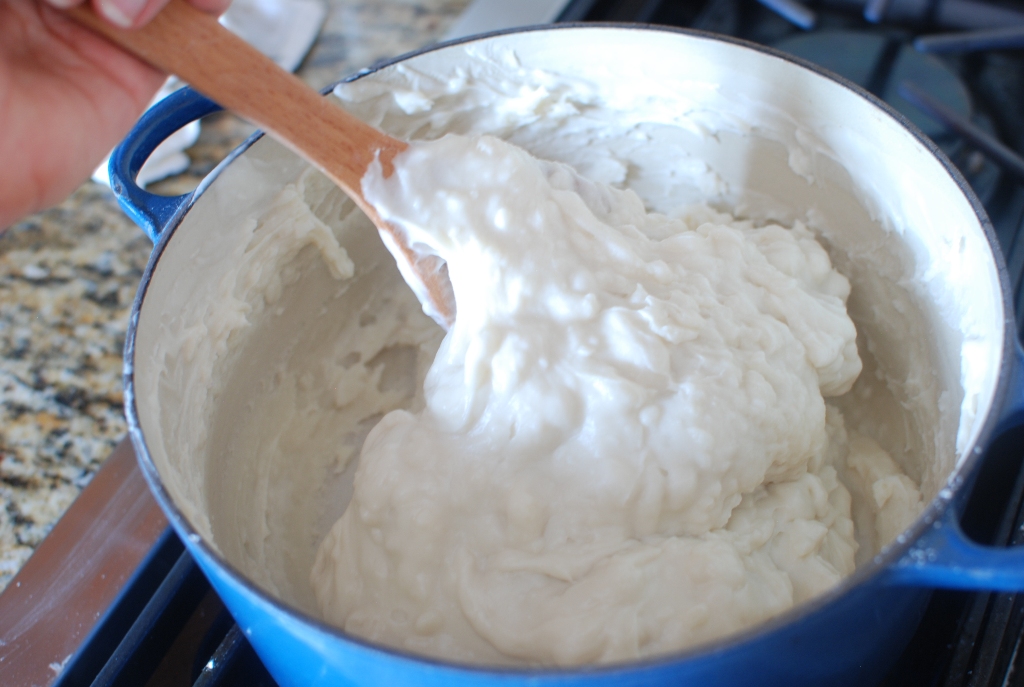
Once the mixture is extremely thick, remove from the heat.


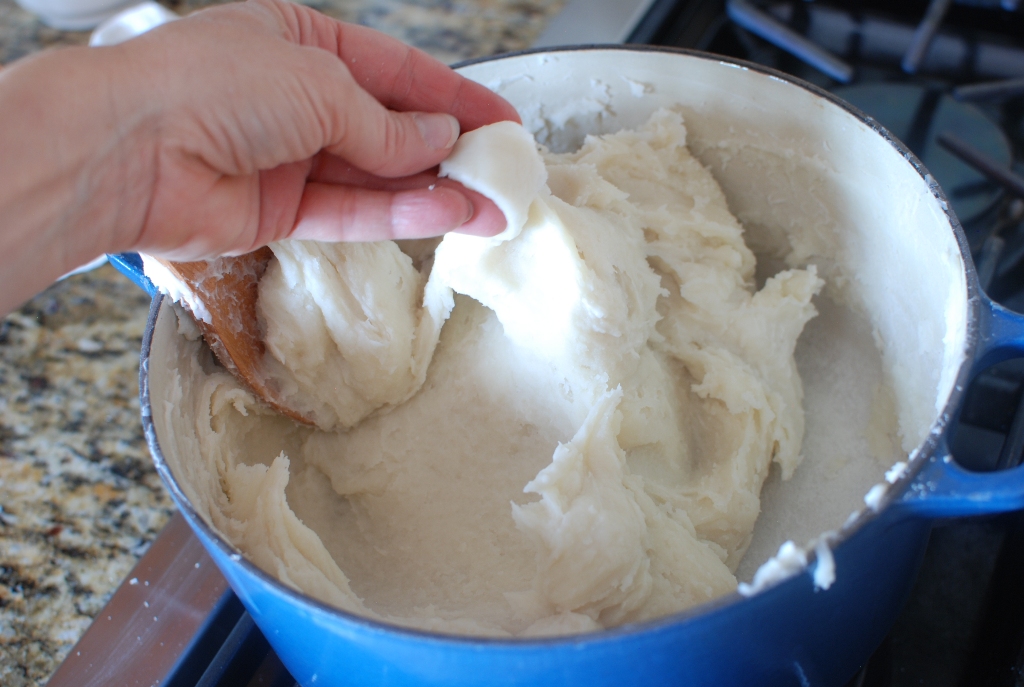
Pinch a piece of the dough.  You will notice that the dough will be soft and pliable.


Stir the dough a few times once removed from the heat.  You will notice that the lumps will begin to disappear or will be gone completely.


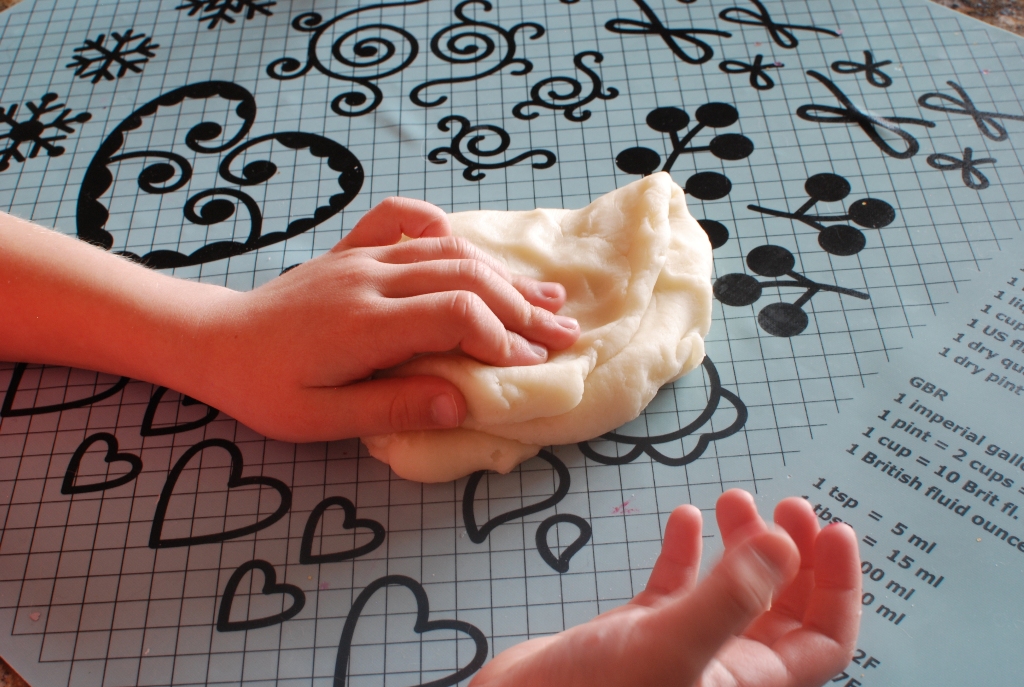
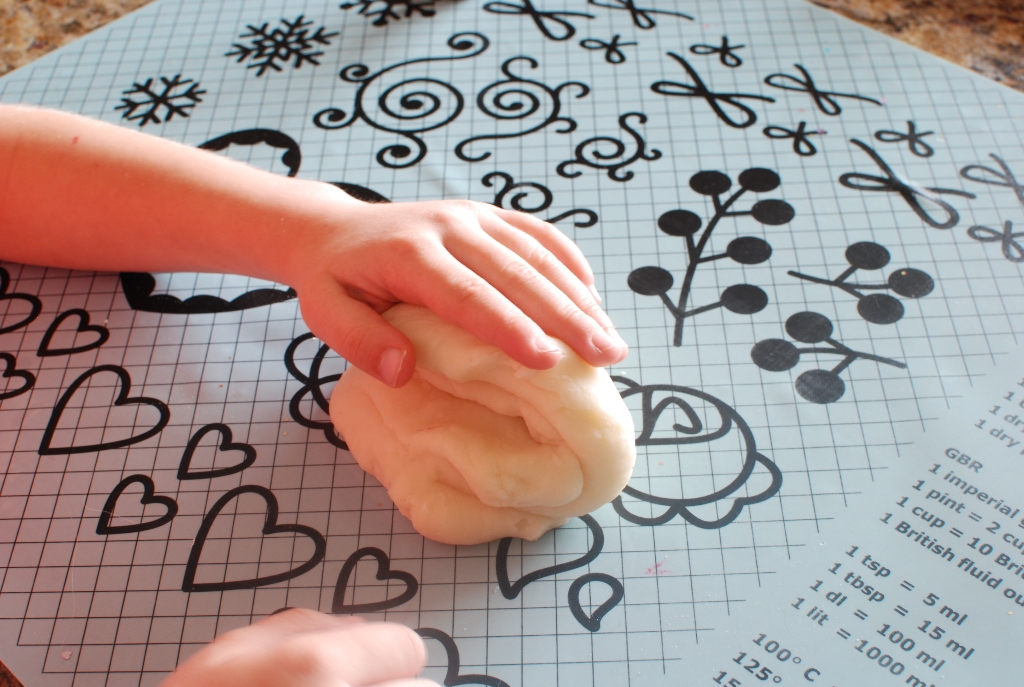
Turn the dough out onto a non-stick mat or cutting board.  The dough is very warm at this point.  Begin to knead the dough.  I love how the dough feels.  It’s hot and soft.  It’s a fabulous dough.  Because of the oil, it doesn’t stick to your hands.

This is a great mat.  I purchased it at Ikea last year.  It’s very large and the kids use it for their play dough or painting pictures for me to post on my refrigerator.


I am dividing the dough into 6 pieces.

This way we can make 6 different colors of play dough.


Emi will demonstrate how to mix the colors into the dough.


I’m adding gel food color to Emi’s dough.


Pink, of course.


Emi is folding the dough over the food color and will begin to knead the color into the dough.


Fold the dough over itself several times to incorporate the color.


Yes Emi eventually gets the food color all over her hands.

Not to worry.  It’s an amazing thing.  As Emi continues to work the play dough, the food color on her hands begins to disappear.


Now Emi is taking our fabulous Martha Stewart glitter stars and hearts and sprinkling them onto her dough.

Repeat the folding and kneading motion to the dough to incorporate the glitter into the dough.


Now it sparkles.


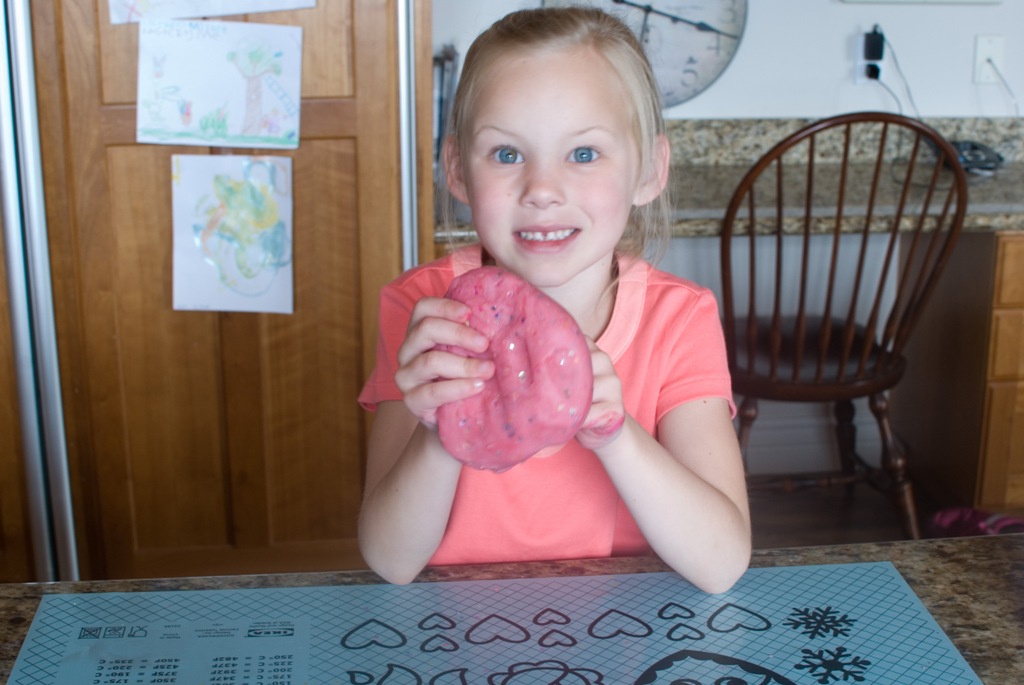
Just like Emi, who is trying to hide the pink dye on her hands.

Really is comes off as she plays with the dough.


This is Cosette.  She is putting her pink and blue glitter on her purple play dough.


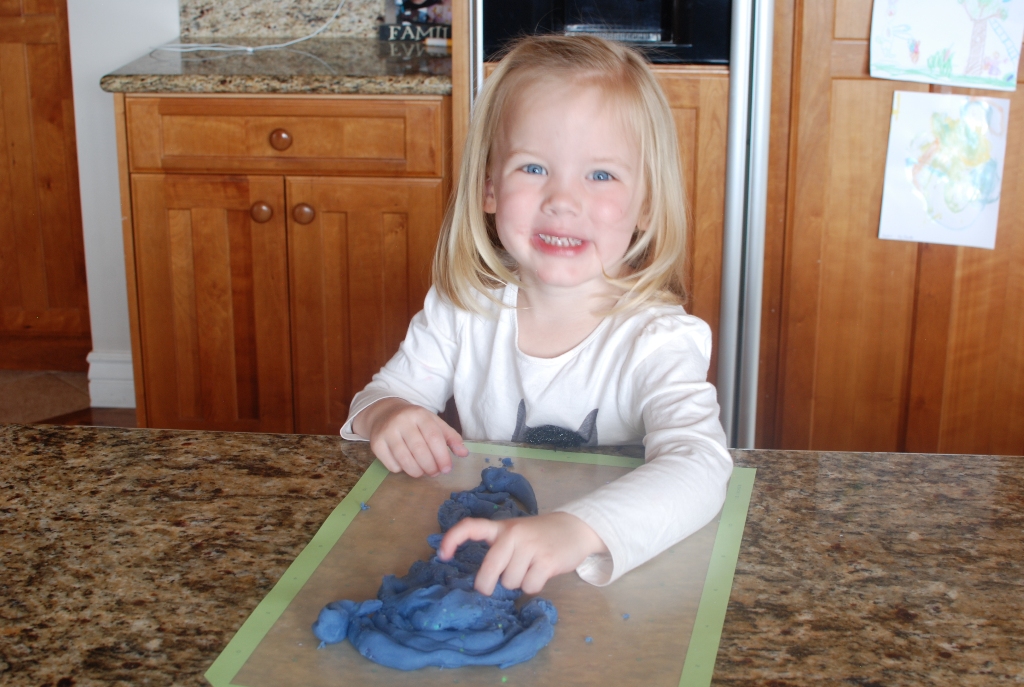
Cosette just sculpted a little girl jumping on a trampoline.

You knew that.  Right?


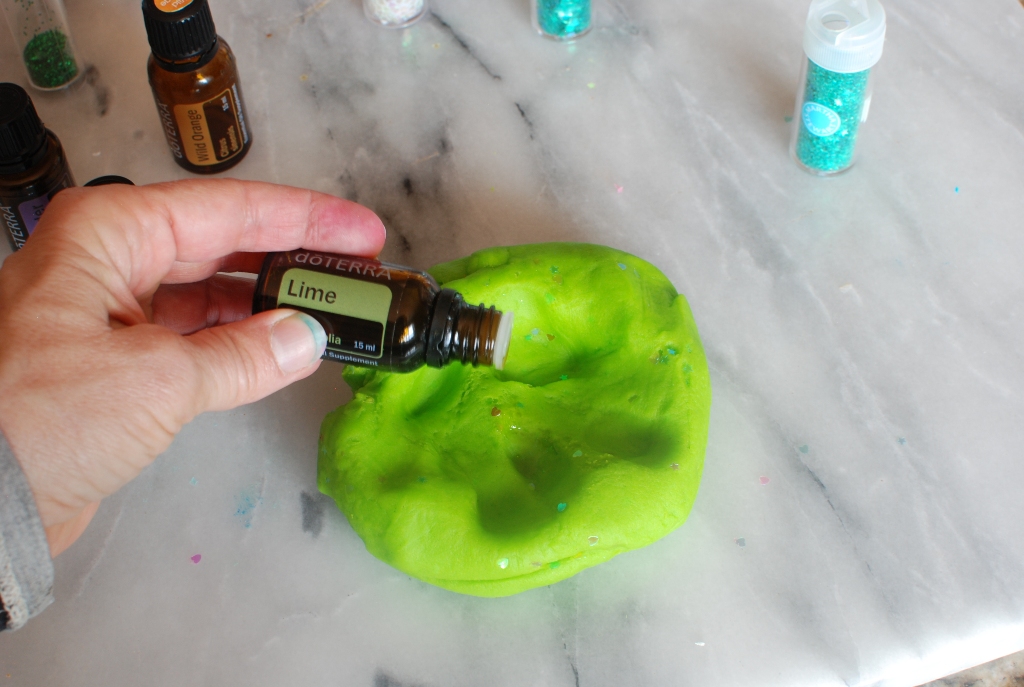
Just for kicks and giggles, we decided to add a little aroma to our play dough.

I reminded the girls that this was NOT flavoring, just for smell.  I would hope it doesn’t smell good enough to eat.


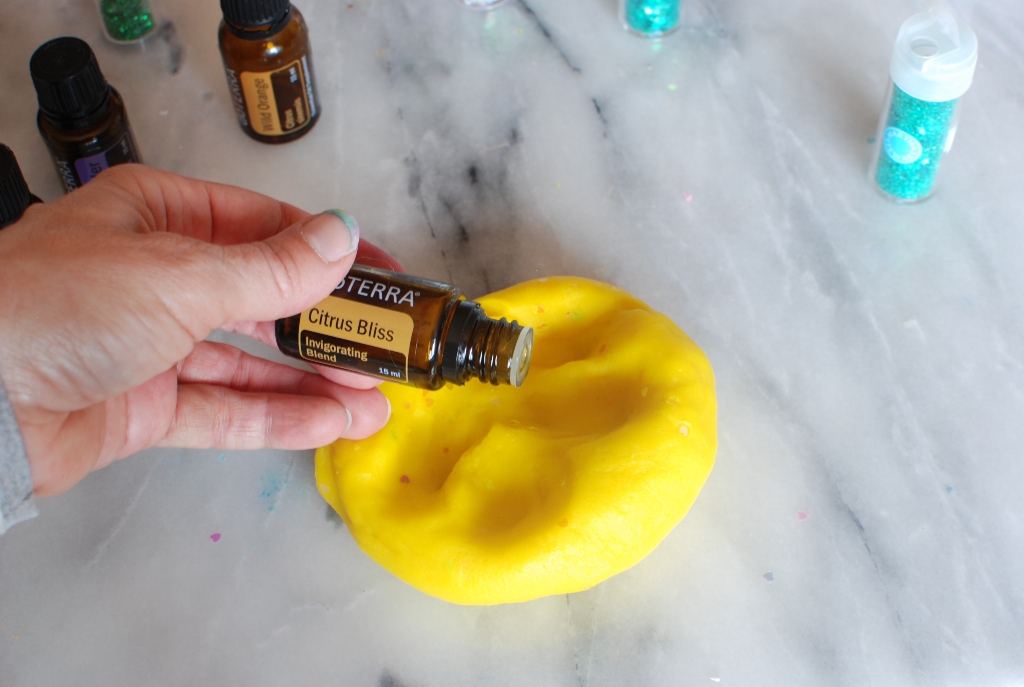
We’re adding a little Orange Vanilla scent to the yellow.


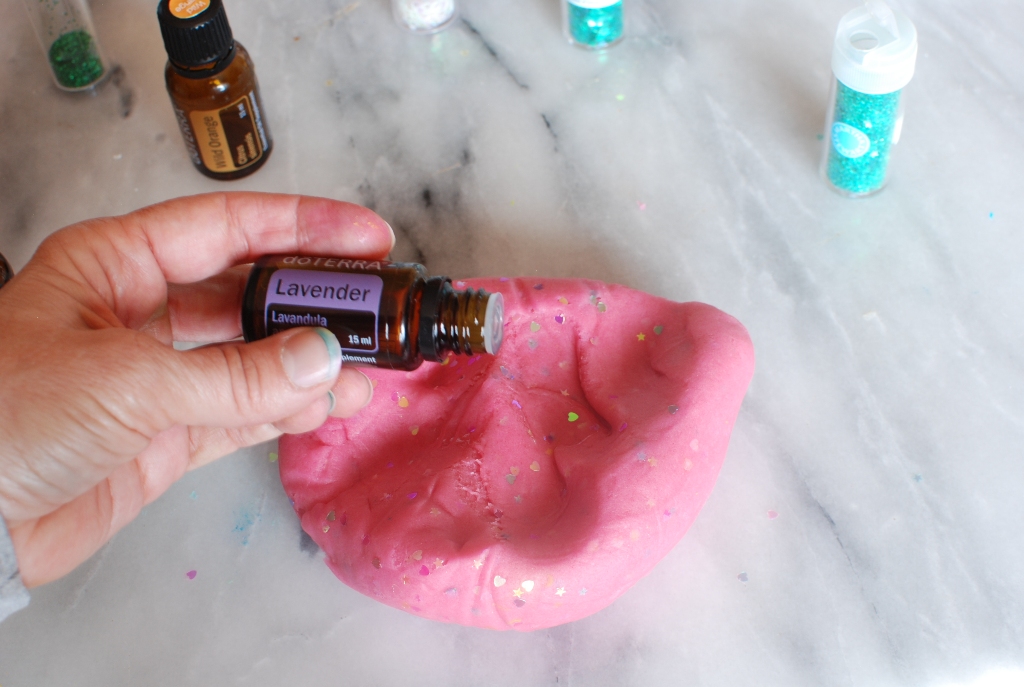
I added Lavender to the pink in hopes that it will calm the girls down enough to take a nap.

Nope.


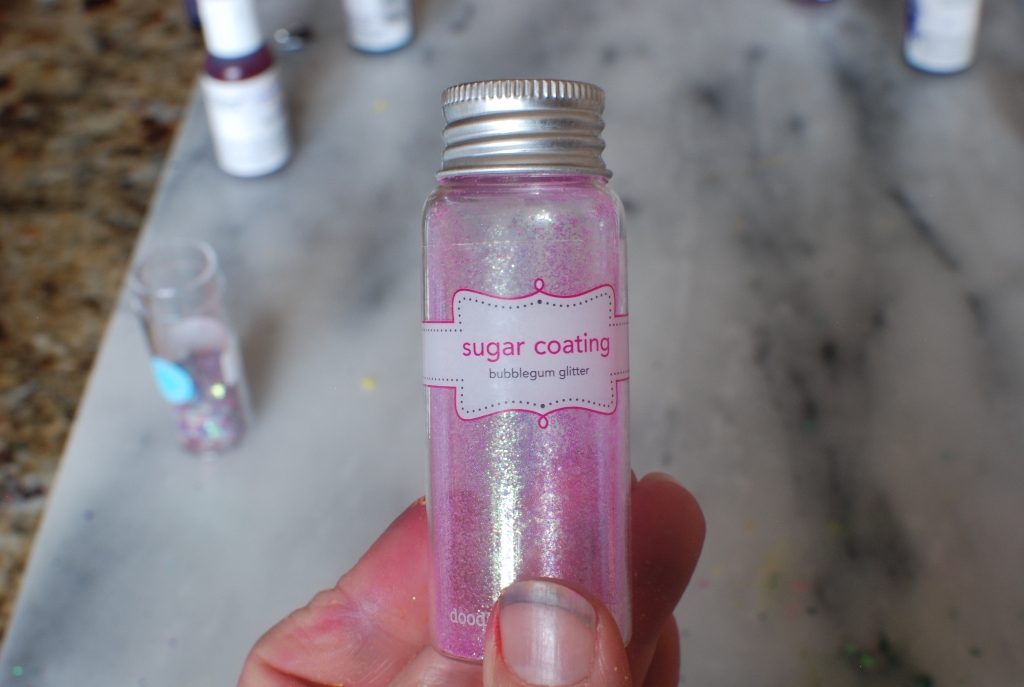
This particular glitter was a favorite for the girls to add. I think we added it to every color.  It’s more like a fine sparkling sand than a coarse glitter.  The pink actually looked great in every color, especially the black.

We used the entire bottle.


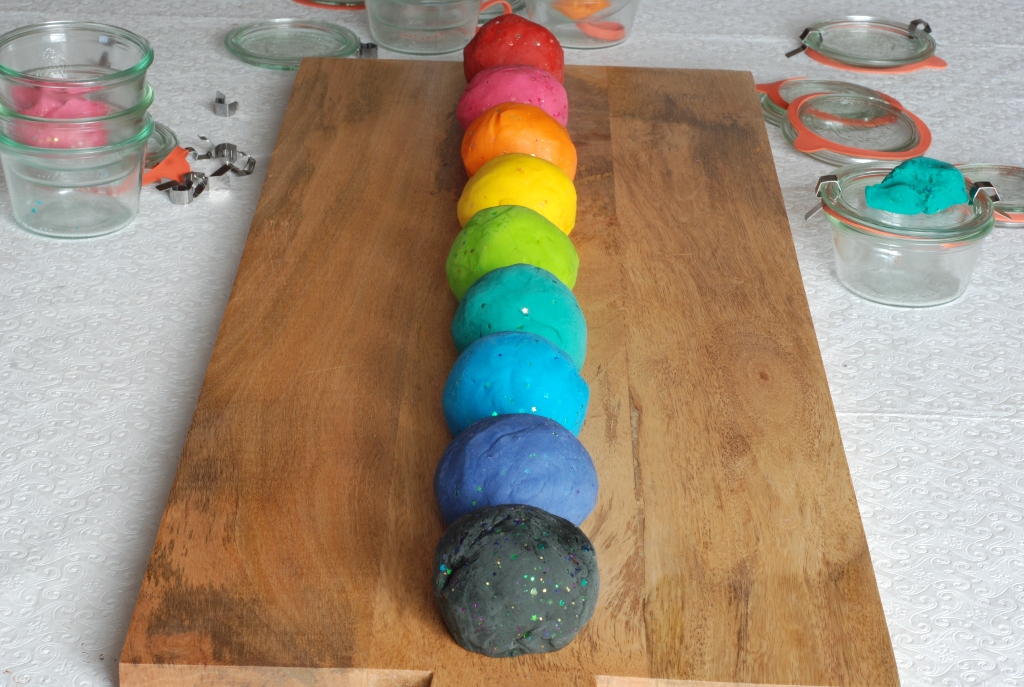
I made 1 1/2 batches of the play dough (yes, you can half the recipe easily) for 9 balls of play dough that weigh about 10.5 ounces each.

What I love about this play dough is how soft and pliable it is.  Such fun and bright colors.

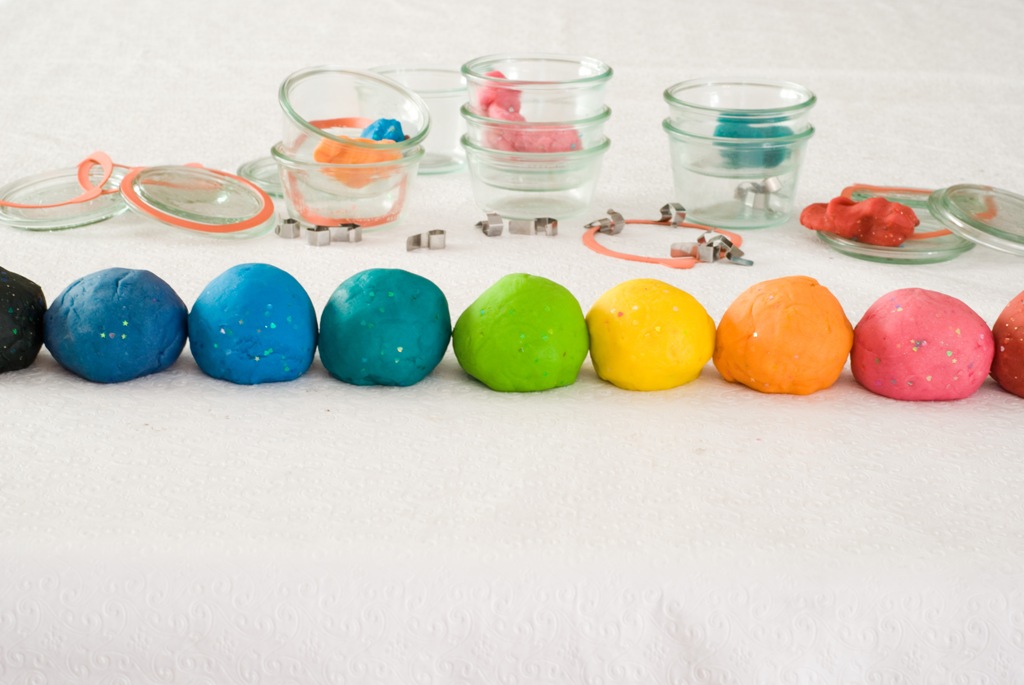
This morning I gave hugs and kisses good-bye to Emi, Luke and Cosette.  They began their journey to their new home in Denver, Colorado.  We packed the play dough into plastic bags and tucked it into their filled mini van.  One last little memento from Grandma.

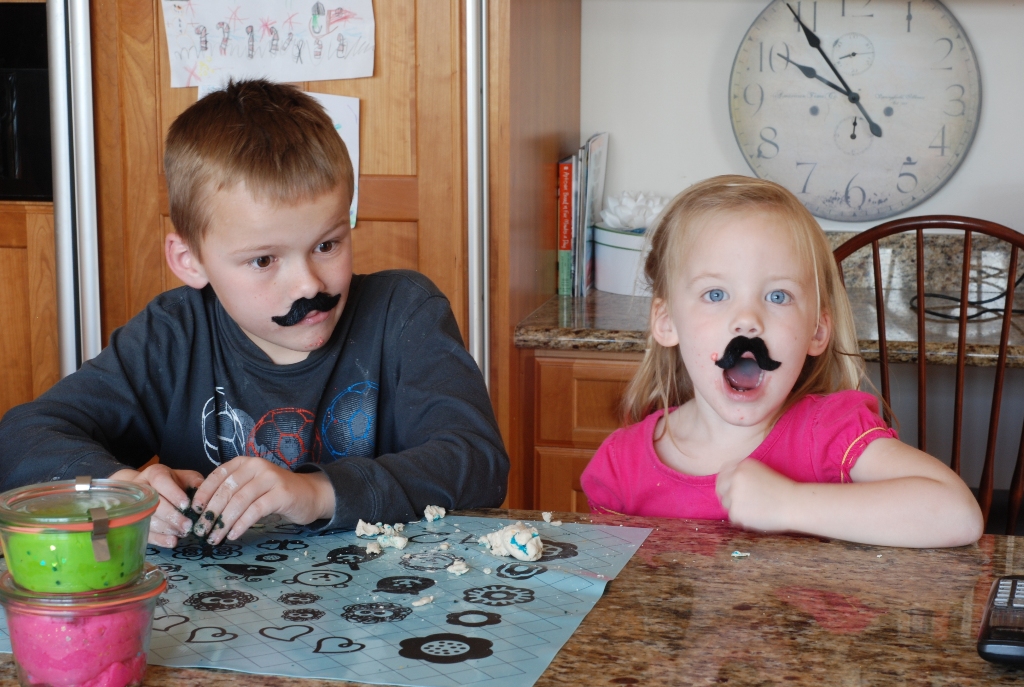
Note:  Cosette doesn’t have play dough on her cheek.  She has pop rocks on her cheek.  I poured the pop rocks into a bowl and gave her a spoon to eat them with.  That makes me a good grandma…right?


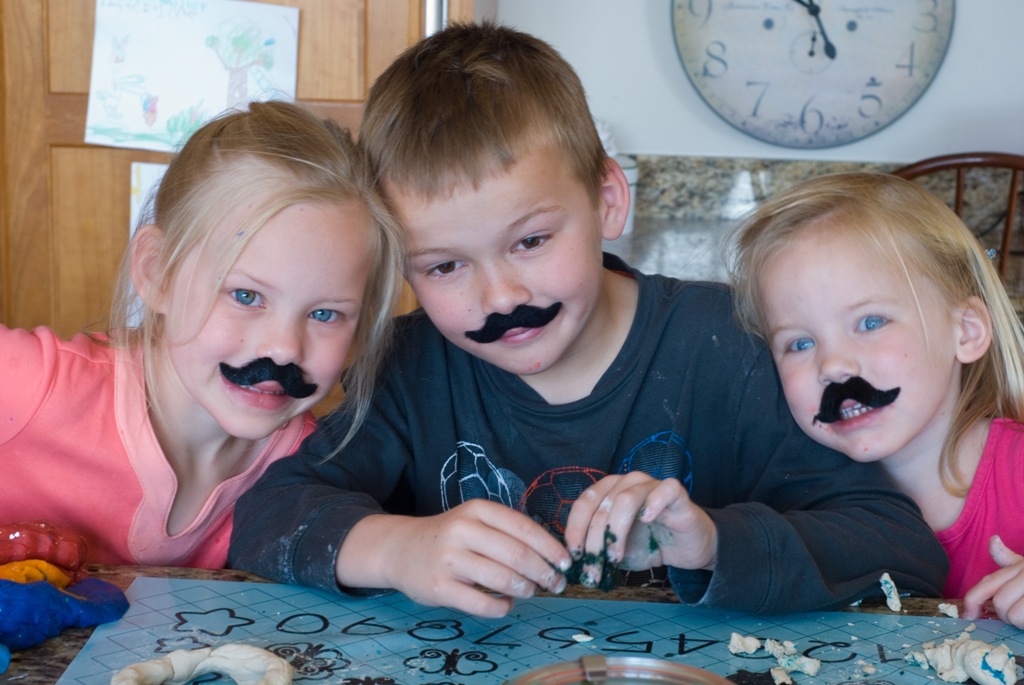
‘Stauching with Grandma.


I can’t tell you how my heart  broke as the tail lights of that white mini van drove away.  I walked back into my house and put away the high chair, picked up Cheerio’s, wiped off finger prints and washed sippy cups.

The candy jars are completely empty.  The cats have come out from their hiding places.  The house is quiet.

All I have left is the urine from an 8 year old boy with a bad aim.  I followed it from the toilet bowl to the back of the toilet tank.   From the toilet tank to the wall behind it.  From the wall up to… the MIRROR???

LUKE!!!!!!!

Look out Colorado.  These three little kids are going to rock your world just like they have rocked mine.

Luke, Emi, Cosette and Lettie Jane YOU ROCK!!
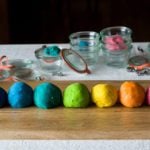
3.58 from 14 votes
Print

Glitter Play Dough

Glitter doesn't seem so messy when it's encased in play dough.

Author Janet Barton

Ingredients

  • 4 cups all-purpose flour
  • 1 cup salt
  • 1/2 cup cream of tartar
  • 4 cups water
  • 1/4 cup oil
  • food coloring
  • colored glitter

Instructions

  1. In a large pan mix flour, salt, cream of tartar, water, and oil until no lumps remain.  Heat over medium heat until the mixture is very thick.  Remove the mixture and knead until very soft and pliable.  Add food coloring and glitter and knead until thoroughly mixed.  Keeps for weeks in a airtight container.  Makes about 4 cups of play dough.

Share this:

  • Click to share on X (Opens in new window) X
  • Click to share on Facebook (Opens in new window) Facebook

Related

Filed Under: Uncategorized Tagged With: activities with grandkids, crafts for kids, glitter, glitter play dough, play dough

Previous Post: « Southern Pecan Glazed Ham
Next Post: Lighthouse Lemon Squares »

Reader Interactions

Comments

  1. Alona y says

    June 1, 2025 at 9:39 pm

    I just wanted to say (12 years later) I found your recipe and it has worked out perfectly! It’s been made many times, and I use it for playdough kits in my etsy shop! Thank you so much! At some point I started using glycerine as well, and have figured out that making it a little extra wet helps keep the texture nice longer. customers have said it is like butter slime and the kids love it. (also, distilled water only!)

    Reply
    • Janet Barton says

      June 13, 2025 at 8:01 pm

      It’s a great recipe and kids just love it. Thank you for your recommendations and tips.

      Reply
  2. Amanda says

    November 8, 2013 at 9:36 pm

    hi i was wondering if there is a way to use less cream of tartar. its so expensive and they only sell it in small jars.

    Reply
    • Janet Barton says

      November 9, 2013 at 3:20 pm

      The small jars are too expensive. I would never make this playdough if I had to buy those. I purchase my cream of tartar in bulk the San Francisco Herb Co. You can buy 1 lb for $5.85 here is the link:

      http://www.sfherb.com/store/SearchStoreResults.asp

      Reply
  3. Sarah says

    April 12, 2013 at 6:52 pm

    I really enjoy your blog and appreciate all your very detailed instructions (and photographs)! My kids are too old for play doh now, but perhaps in 10-15 years or so when they've got kids I can be the grandma making it with them! I hope your daughter and her family's relocation goes smoothly and that you get to see them often. Greetings from Canada, Sarah

    Reply
    • Janet@simplysogood says

      April 12, 2013 at 8:21 pm

      Thank you for your comment, Sarah. Hang on to the recipe those days will be here before you know it! So far so good on the relocation. I'm still sad and miss the kids terribly. You are so kind to comment all the way from Canada. Thanks for making my day 🙂

      Reply
  4. Rachel @ Twin Tough says

    April 12, 2013 at 3:11 pm

    I love making play dough with my girls, and adding the glitter would be icing on the cake! Thanks for the great recipe and the beautiful photos of your family! Have a nice weekend!

    Reply
    • Janet@simplysogood says

      April 13, 2013 at 8:48 pm

      Thanks Rachel. I'm assuming you have twin daughters? If that's the case, bless your heart. I love little girls and all the glitz that comes with them.

      Reply
  5. Tracey Glass says

    April 8, 2013 at 8:03 pm

    I've never made play dough before. Everyone I know has…does that make me a bad nanny? 🙂 I'm going to have to make this with the girls this summer. Adding glitter would be perfect for those crazy girls. And I have to say, I love the colors! They are so vivid.

    Thanks for sharing.

    Tracey

    Reply
    • Janet@simplysogood says

      April 8, 2013 at 8:42 pm

      Girls just love glitter and sparkle. I hope you get the chance to make the play dough and NO that does not make you a bad Nanny. But glitter play dough would push you right over the top! Thanks for your comment.

      Reply
  6. Suburban Correspondent says

    April 8, 2013 at 1:41 am

    Love this recipe, also – I've used it for at least 15 years now. But a friend gave me a great idea – DON'T color the dough. Give the kids markers (we use the washable kind) and let them color it as they play. Just a few dots from a marker is enough ink – they just have to smoosh it around and mix it in. They experiment with color combinations, etc.

    Reply
    • Janet@simplysogood says

      April 8, 2013 at 1:57 am

      Great idea. Then there is no explaining about why there may be red and blue dye under the kids fingernails 🙂

      Reply
  7. acorn hollow says

    April 8, 2013 at 12:08 am

    I know just the grandbaby that I will make it for.
    cathy

    Reply
    • Janet@simplysogood says

      April 8, 2013 at 1:56 am

      So cute.

      Reply
    • Janet Walters says

      September 6, 2020 at 9:29 pm

      4 stars
      Any tips for what to do if it turbs out too sticky? I tried adding oil Which helped but fidnt entirely fix it. Thanks!

      Reply
      • Janet Barton says

        September 8, 2020 at 12:47 am

        Try cooking the play dough longer until the dough seems to dry out a bit. That should do the trick.

        Reply
  8. Allie Dickson says

    April 7, 2013 at 11:56 pm

    my husband just informed me that I am not allowed to make this…he had 5 sisters who put glitter in play dough and he says that it made a huge mess. Does the glitter come out eventually?
    And, yes, you are an awesome grandma 🙂

    Reply
    • Janet@simplysogood says

      April 8, 2013 at 1:55 am

      I haven't had any trouble with glitter getting all over. Seriously! I always have the kids use the rubber mats that I have. Yes, I do notice some glitter stuck to the mat. I run the mat under water in the sink and the bits of glitter just run down the drain. Even with just using the counter top I just wipe off the counter and rinse the towel underwater. I haven't noticed glitter anywhere. Oh there is one phrase my husband has learned to NEVER use around me and that is "not allowed". Seriously…he's afraid of me. Hahaha. If you are concerned, just skip the glitter. Good luck.

      Reply
3.58 from 14 votes (13 ratings without comment)

Leave a Reply Cancel reply

Your email address will not be published. Required fields are marked *

Recipe Rating


This site uses Akismet to reduce spam. Learn how your comment data is processed.

Primary Sidebar

About Me

Janet Barton

Hi I'm Janet and this is where I share my delicious made-from-scratch seasonal recipes that I make at home for my family every day.

I believe cooking from scratch, using unprocessed and whole foods is an important part of healthy eating. My goal is to help you create amazing recipes by providing easy step-by-step photos and instructions.

Read More »

Trending Recipes

  • No-knead Crusty Bread in a Dutch oven No-knead Crusty Bread

  • Lemonade and raspberry lemonade in tall glasses Old Fashioned Lemonade

  • pan of frozen lemon curd ice cream with ice cream scoop No-Churn Lemon Curd Ice Cream

  • Glass of almond milk with 2 gray striped straws on wood board with container of almond milk in background Quick Homemade Almond Milk

  • Several chocolate drop cookies on white background Chocolate Drop Cookies

  • Wooden board with chocolate cookies with half chocolate icing and half vanilla icing Chocolate Half Moon Cookies

  • Lemon Curd Ice Cream in bread pan with spoon Lemon Curd Ice Cream

  • Cherry Cola Glazed Ribs

  • Fresh peach pie topped with whipped cream. Fresh Peach Pie

  • chocolate glazed and glazed spudnuts stacked on cutting board with donut holes Spudnuts (Potato Doughnuts with Glaze)

Latest on Instagram

simplysogood

🍋 I teach you how to cook from scratch
🍒 Follow simple step-by-step recipes
🫐 A lover of fresh, seasonal, & local ingredients

Fresh Herb Crockpot Turkey Breast with Brown Butte Fresh Herb Crockpot Turkey Breast with Brown Butter Pears is perfect for a smaller but still impressive Thanksgiving dinner. This easy recipe features a boneless turkey breast coated in homemade herb butter and "roasted" in a slow cooker, then served with a creamy cider herb gravy and sautéed browned butter pears....

https://www.simplysogood.com/fresh-herb-crockpot-turkey-breast-with-brown-butter-pears/
These strawberry rhubarb crumble bars will take yo These strawberry rhubarb crumble bars will take you straight to dessert paradise! 🥰⁠🍓
.⁠
Sweet-tart love in every bite, they’re the perfect treat for sunny days and cozy nights. Grab a bar and let’s indulge in this fruity delight!⁠
.⁠
Give this recipe a try by clicking the link in my Instagram bio, where I post step-by-step photo instructions!
⁠
#rhubarbseason #homemadewithlove #dessertclub #strawberryrhubarb #strawberryrhubarbpie #strawberrycrumble #strawberryrhubarbcrumble
Baking up some homemade magic with my no-knead Lem Baking up some homemade magic with my no-knead Lemon Rosemary Gruyere bread!
•
This recipe is as easy as pie (or should I say bread?), bringing the flavors of tangy lemon, fragrant rosemary, and oh-so-melty Gruyere to life. 🍋🍞🌱
•
Click the link in my bio to read through these helpful tips that will make your homemade bread a melt-in-your-mouth success!

#homemadebread #nokneadbread #gruyerebread #lemoncheesebread #cheesebread #homemadecheesebread
Starting the day off right with these indulgent no Starting the day off right with these indulgent no-knead brioche morning buns! 🤎 There’s just something about the buttery, flaky brioche and the sweet cinnamon swirl that makes mornings extra special.
•
The base dough recipe for no-knead brioche morning buns is a buttery no-knead dough that is refrigerated overnight. The chilled dough is very easy to roll, fill, slice, and bake.
•
So go ahead, treat yourself to something delicious and let these buns brighten up your day! 

The recipe link is in my Instagram bio!

#MorningTreats #BriocheLove #SweetIndulgence #cinnamonsugar #cinnamonandsugar #morningbuns
No fancy Ice Cream Maker — no problem! 🍦🍨 No fancy Ice Cream Maker — no problem! 🍦🍨 This no churn Strawberry Raspberry Ice Cream recipe is quick and easy to make without an ice cream maker in only 10 minutes.
•
Simply blend together a mix of frozen strawberries and raspberries with vanilla ice cream and raspberry sherbet for a rich, fruity, and creamy dessert that tastes homemade! 🍓
•
Give this recipe a try by clicking the link in my Instagram bio, where I post step-by-step photo instructions!

#nochurnicecream #homemadeicecream #strawberryicecream #raspberryicecream #kidfriendlyrecipes #simplerecipes
These chewy peanut butter bars have been a family These chewy peanut butter bars have been a family favorite for decades! Peanut butter cookies layered with chocolate and a delicious peanut butter glaze! 🥜🍫
•
Trust me, your family will LOVE them!
•
Click the link in my bio to read through these helpful tips that will make your peanut butter bars a melt-in-your-mouth success!

#peanutbutterbars #peanutbuttercookies #pbbars #peanutbutterchocolate #peanutbutterlover #pbandchocolate
Start your day off on a flaky note with these skys Start your day off on a flaky note with these skyscraper buttermilk biscuits!
These melt-in-your-mouth treats are the perfect indulgence for breakfast, brunch, or anytime you’re craving something buttery and delicious.
•
So go ahead, treat yourself to these heavenly delights and savor every flakey, buttery bite with me!
•
The recipe link is in my Instagram bio!

#butterybiscuits #homemadeisbest #breakfastindulgence #brunchgoals
Sharing my famous Lemon Curd Recipe! 🍋🌼💛 Sharing my famous Lemon Curd Recipe! 🍋🌼💛 The one that everyone says I should sell at farmers markets — nah! I’ll just share the recipe with you all instead!
•
I love lemon curd, and use it for so many things!!
🍰 Layered in a cake
🍦 Swirled into ice cream
🍪 Smashed between cookies
☀️ Filled inside scones

The possibilities are endless!! Give this recipe a try by clicking the link in my Instagram bio! And if you’d like the recipes for my other lemon curd inspired goodies, they’re all linked in my Instagram stories!

#lemoncurd #lemoncurdcake #lemoncurdicecream #lemonicecream #lemondessert #lemoncurdrecipe
Have you ever tried an olive oil cake!? 🍰 They Have you ever tried an olive oil cake!? 🍰 They are incredibly soft and moist — you gotta give it a try!
•
This citrus olive oil cake recipe features a tart lemon curd filling and a rich mascarpone frosting. Then we gently add flowers for beautiful decoration. It is an impressive looking and mouth-watering dessert that’s perfect for any special occasion! 🍋🤍🌼

Recipe is linked in my Instagram bio!

#oliveoilcake #oliveoilcakes #lemoncurdcake #mascarponefrosting #mascarponeicing
Follow on Instagram
  • No-knead Crusty Bread in a Dutch oven No-knead Crusty Bread posted on September 19, 2018

  • Lemonade and raspberry lemonade in tall glasses Old Fashioned Lemonade posted on June 22, 2018

  • pan of frozen lemon curd ice cream with ice cream scoop No-Churn Lemon Curd Ice Cream posted on April 10, 2020

  • Glass of almond milk with 2 gray striped straws on wood board with container of almond milk in background Quick Homemade Almond Milk posted on June 3, 2020

  • Several chocolate drop cookies on white background Chocolate Drop Cookies posted on May 20, 2024

  • Wooden board with chocolate cookies with half chocolate icing and half vanilla icing Chocolate Half Moon Cookies posted on April 5, 2024

  • Lemon Curd Ice Cream in bread pan with spoon Lemon Curd Ice Cream posted on May 25, 2023

  • Cherry Cola Glazed Ribs posted on June 8, 2023

  • Fresh peach pie topped with whipped cream. Fresh Peach Pie posted on July 17, 2024

  • chocolate glazed and glazed spudnuts stacked on cutting board with donut holes Spudnuts (Potato Doughnuts with Glaze) posted on October 21, 2019

Footer

Featured on

The Daily Meal Logo The foodgawker-logo reddit Logo BuzzFeed Logo halfbaked Harvest Logo Browneyed Baker Logo FOOD52 Logo University of Washington Logo sheknows Logo

Copyright © 2025 Janet Barton
Privacy Policy

Rate This Recipe

Your vote:


A rating is required
A name is required
An email is required

Recipe Ratings without Comment

Something went wrong. Please try again.