
The Christmas chocolate dipping is finally complete.
Hold on…I need to stretch…oh my back…oh my feet…
I’m in need of a massage.
I am now revealing my secret for my gingerbread truffles. Time-consuming? Yes, but so worth it.

This is my secret. Truffle shells. I purchase my truffle shells through Hauser Chocolates in Rhode Island. Yes, I have them shipped to Utah. I make sure the temperatures have cooled down before I order. I don’t want them melting during shipping. I order pecans from Georgia (they are amazing). Belgium Callebaut chocolate, Tahitian Vanilla bean, etc.
I purchase the milk chocolate 26 mm shells. I first ordered the dark chocolate shells because I’m a dark chocolate lover, but I thought it was just too much dark flavor going on. The center is filled with a dark chocolate ganache and they are dipped in dark chocolate. That’s why I use milk chocolate shells.
The shells are packaged very well and rarely do I have a broken shell.

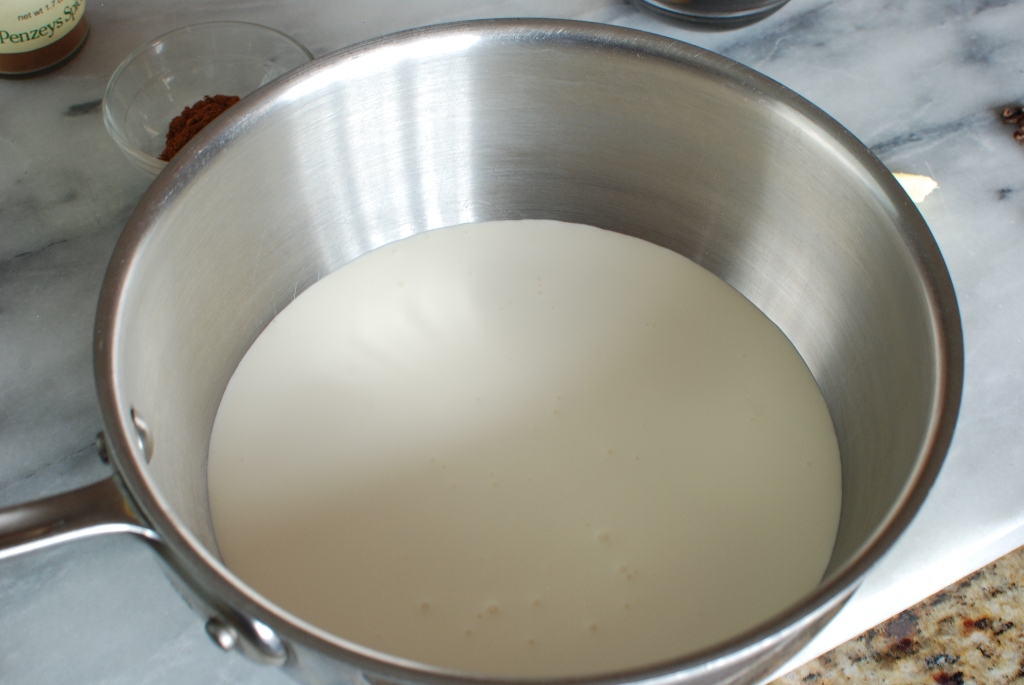
For the Gingerbread ganache you will need:
2 1/4 cups heavy cream
15 whole allspice berries
15 whole cloves
2 tablespoons mild-flavored (light) molasses
1/2 teaspoon ground cinnamon
1 tablespoon fresh ginger, chopped

AND 16 ounces of chopped semi-sweet chocolate.

Add the molasses,

Cinnamon,

Allspice berries,
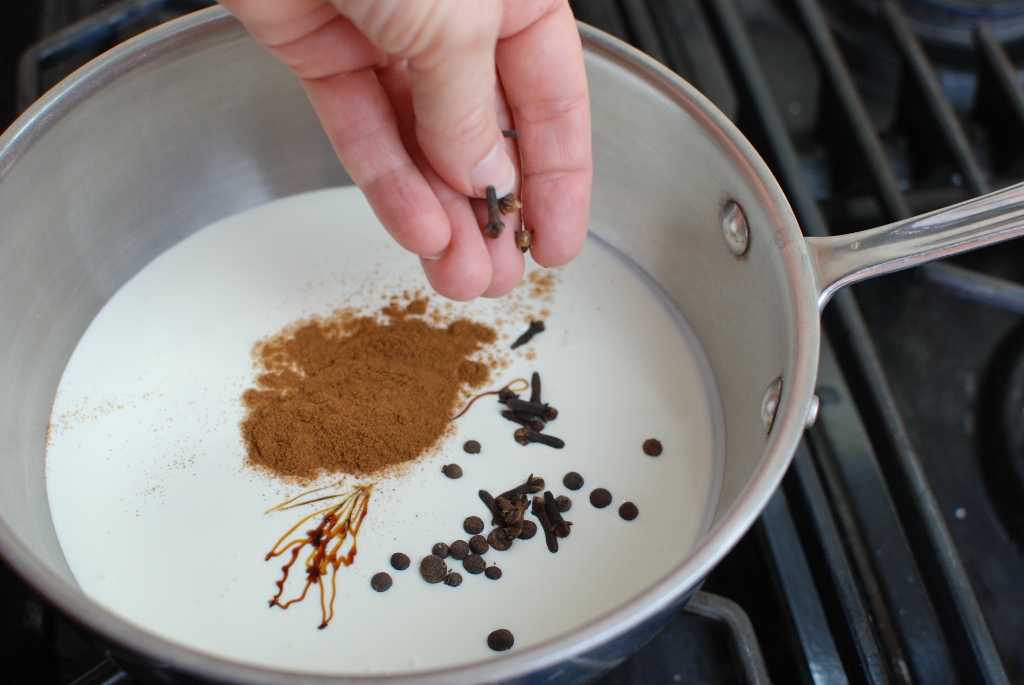
Whole cloves,

and fresh ginger.
Stir.
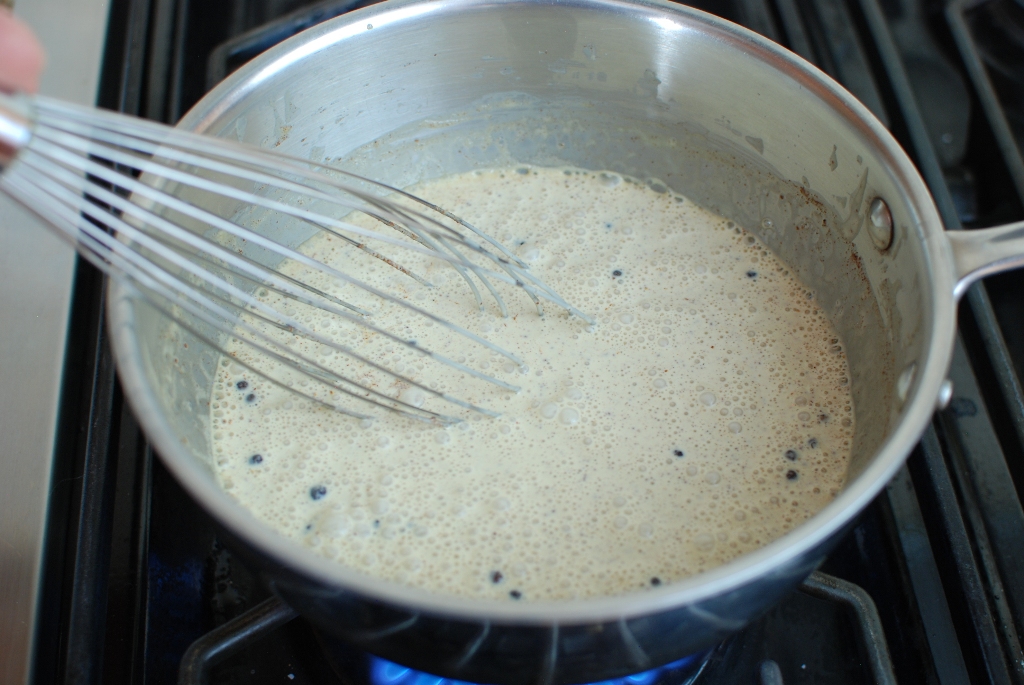
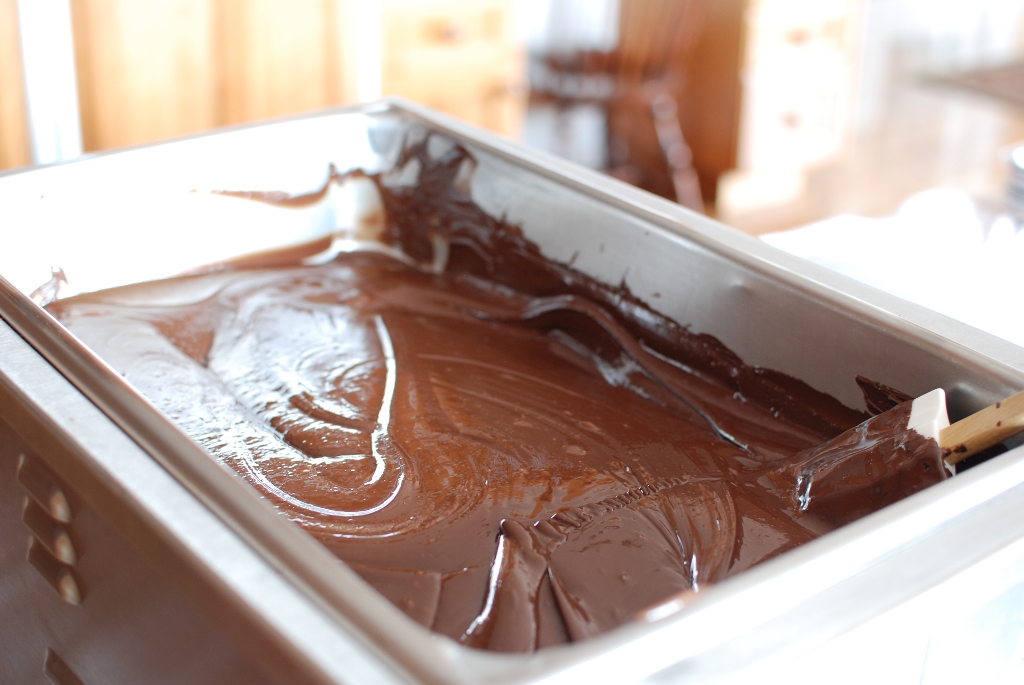
Bring the cream mixture to a very slow simmer. Cover. Remove from the heat and let stand 30 minutes.
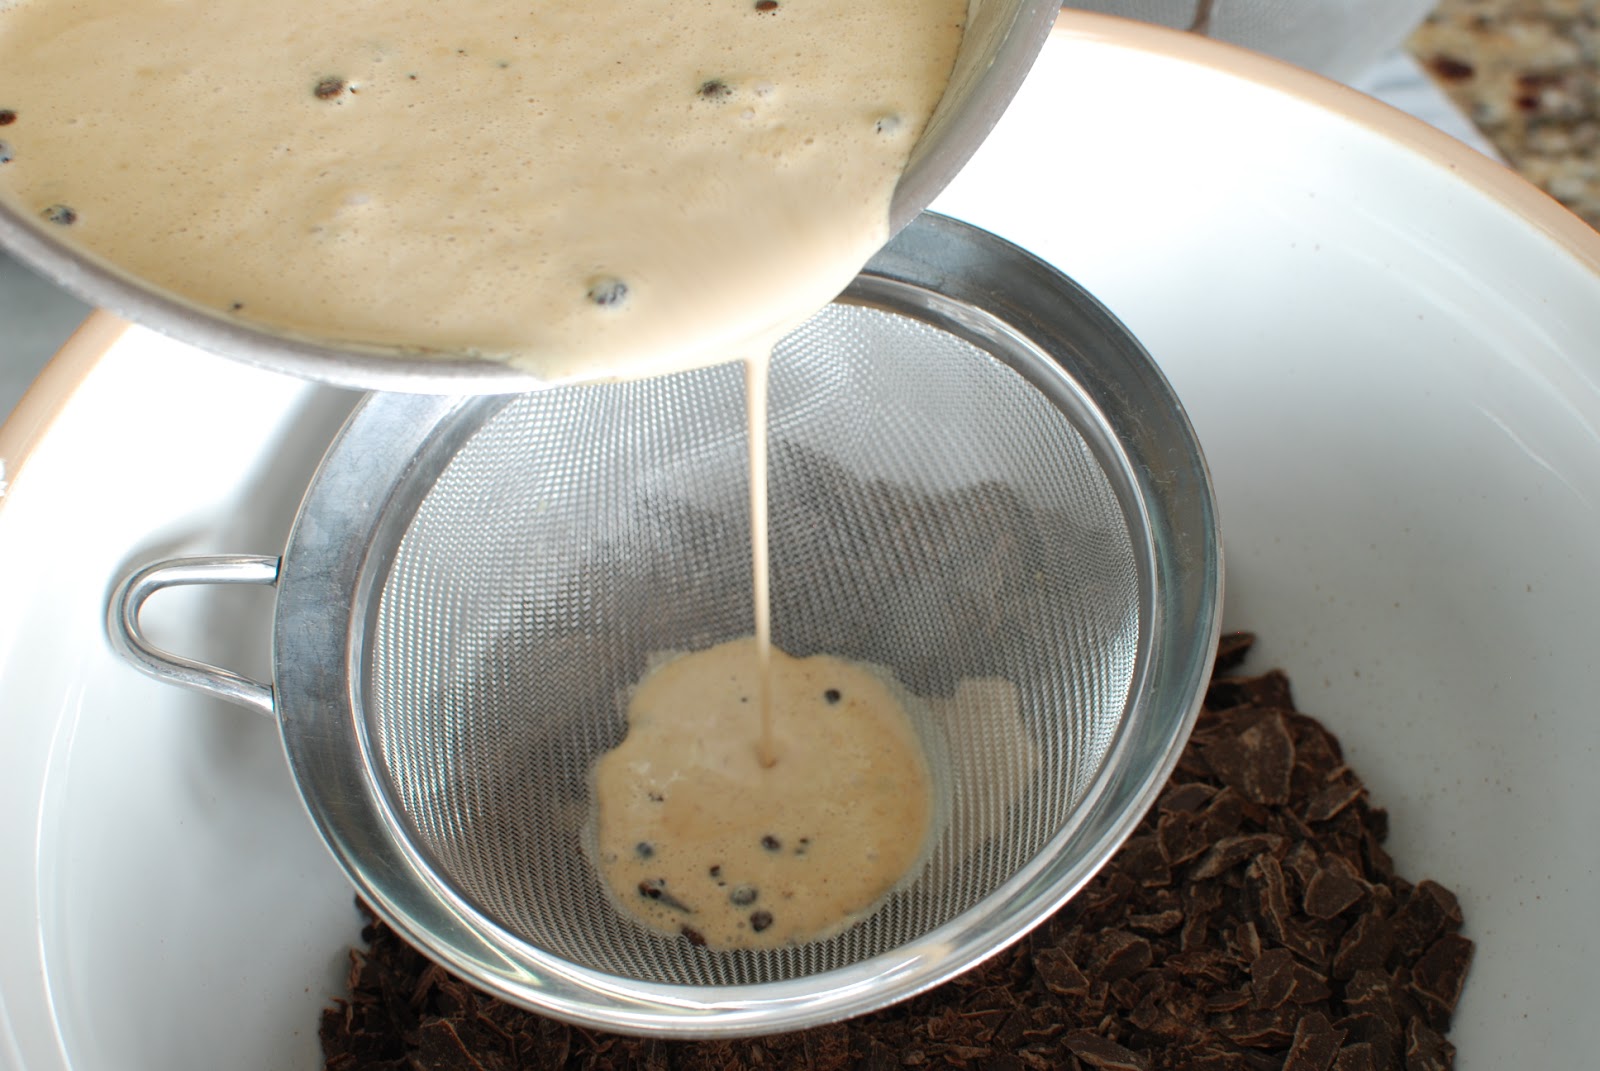
Reheat the cream to a low simmer again. They pour through a strainer over the chopped chocolate.
(yes, I know, the handle broke off my strainer. Santa…hint, hint)

Strain out the solids and throw them out.

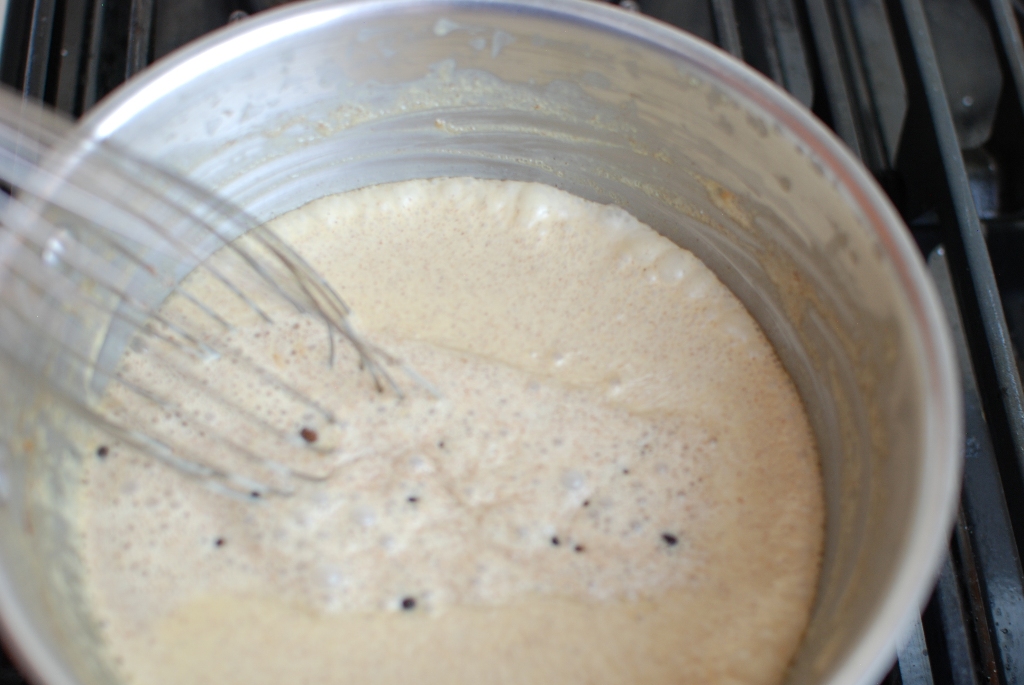
Let the mixture stand for at least 5 minutes. Don’t rush this. Just allow the hot cream to melt the chocolate.

Beginning in the center, stir.

Slowly moving out toward the edges of the bowl.
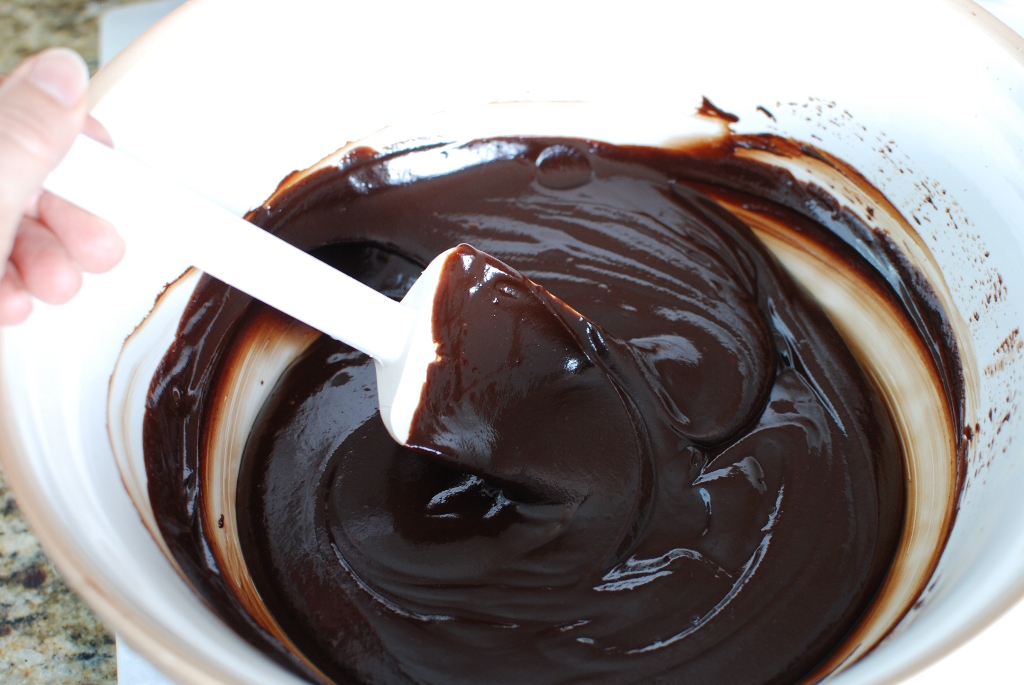
You ganache is complete.
Stick your finger in a take a taste. Don’t use a spoon or you’ll eat the entire bowl. It’s that good.
This is important:
Allow the ganache to cool completely. Do I need to repeat myself?
Completely!


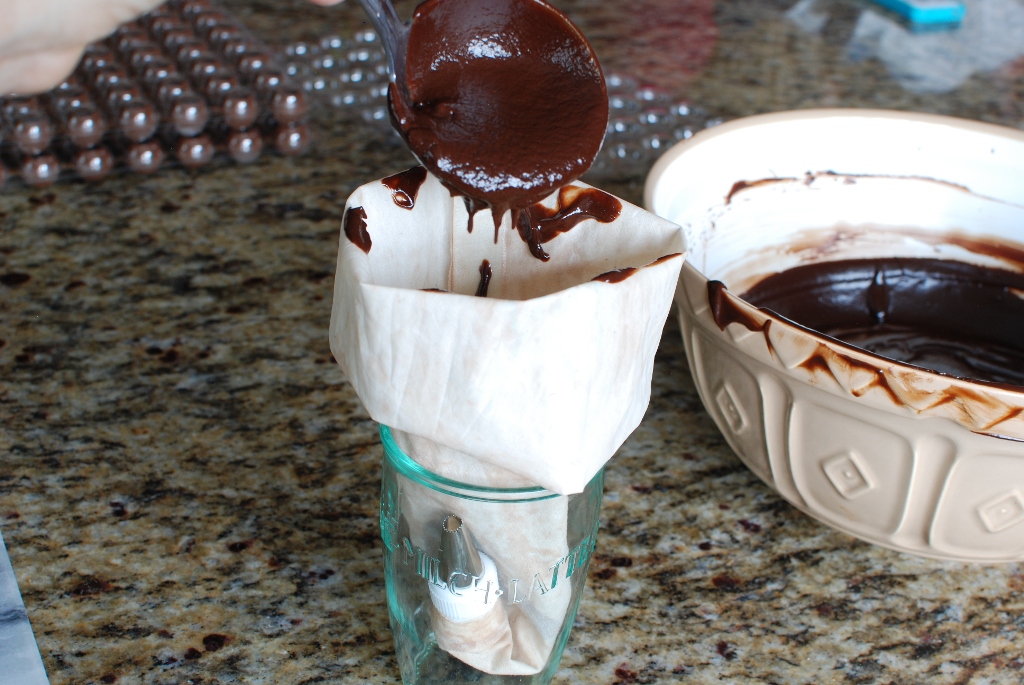
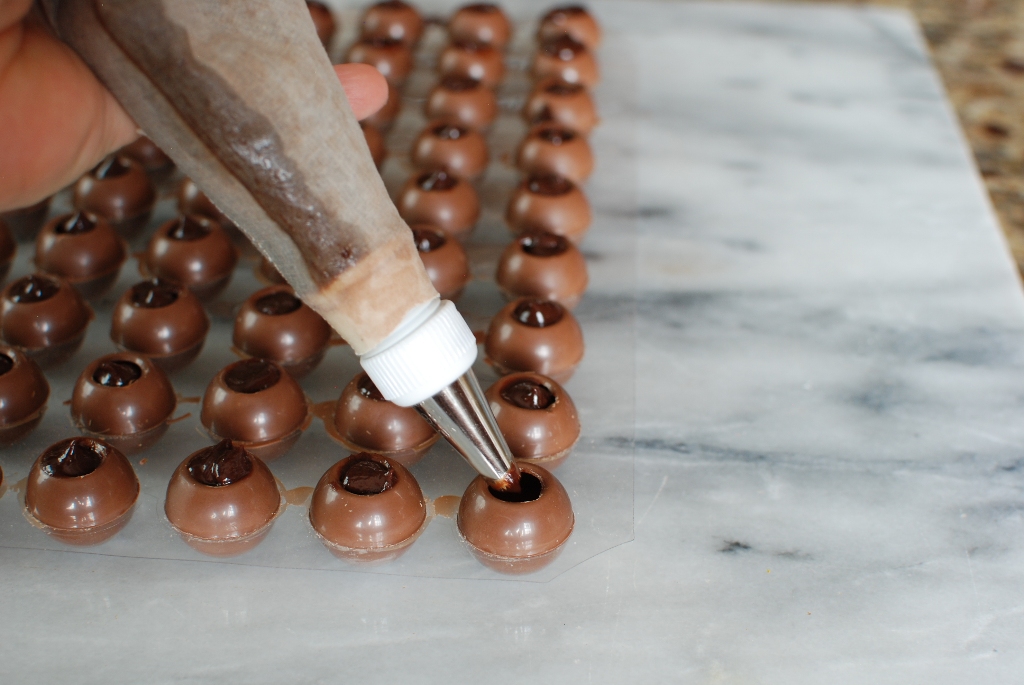
Slowly fill the little shells with the ganache.
You will have about 1/4-1/2 cup of the filling left over. That’s a good thing because it makes the most amazing hot chocolate. To die for hot chocolate. It will keep for about 2-3 weeks in the refrigerator and freezes well.
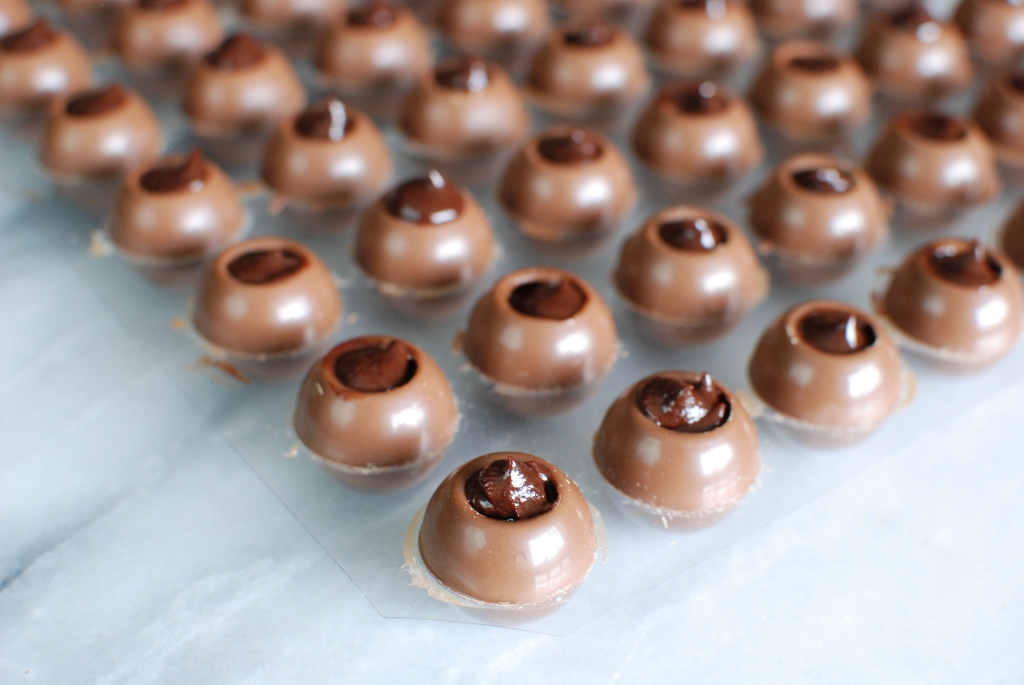
Gently tap the shells so the filling settles and fills the shell completely.
Cover with plastic wrap and let set in a cool place, NOT the refrigerator, for 24 hours.
I allow all chocolate centers to sit for 24 hours before dipping. It just makes life easier.
I thought I would be smart and reuse the plastic cover that comes with the shells. You will notice in some of the following photos, that it’s a bad idea because it sticks to the ganache and then they become extremely difficult to remove.
What was I thinking. I knew that. Ugh! Menopause!

Now it’s time for tempering 101.
Once you have melted chocolate you MUST, MUST temper it. If you don’t you will have those nasty white streaks in your chocolate and it will crumble and will not have the “snap” that you want when you take a bit.
Whether you are dipping truffles, strawberries, pretzels, whatever. You must temper melted chocolate.
Chocolate is very temperamental. It needs love and care. It needs to be handled perfectly.
Here is a very good link for tempering and here for more technical instructions.
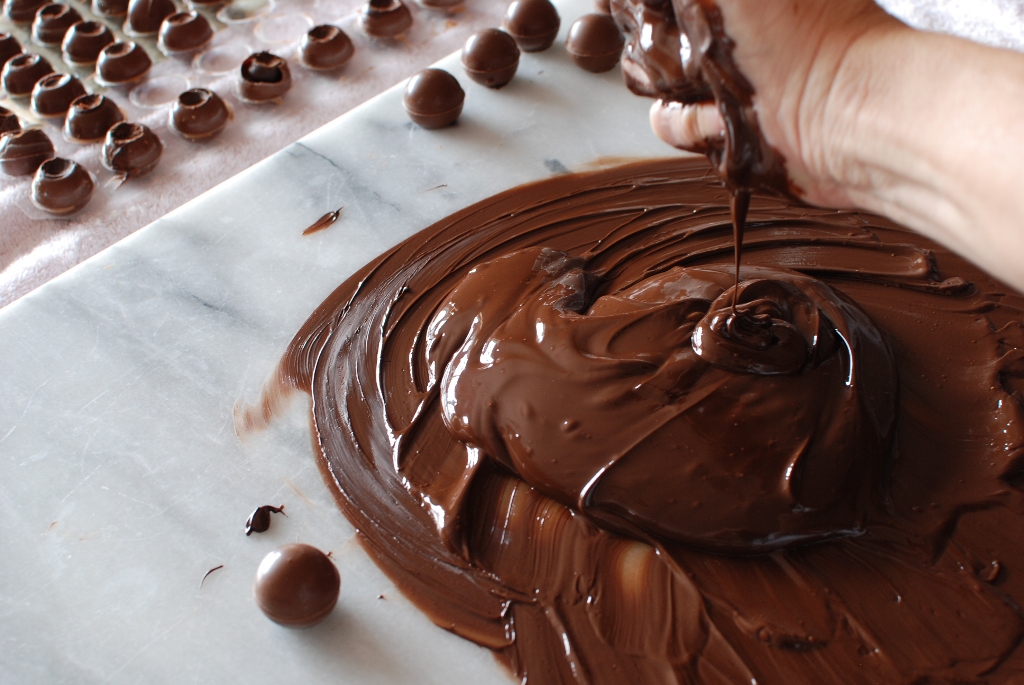
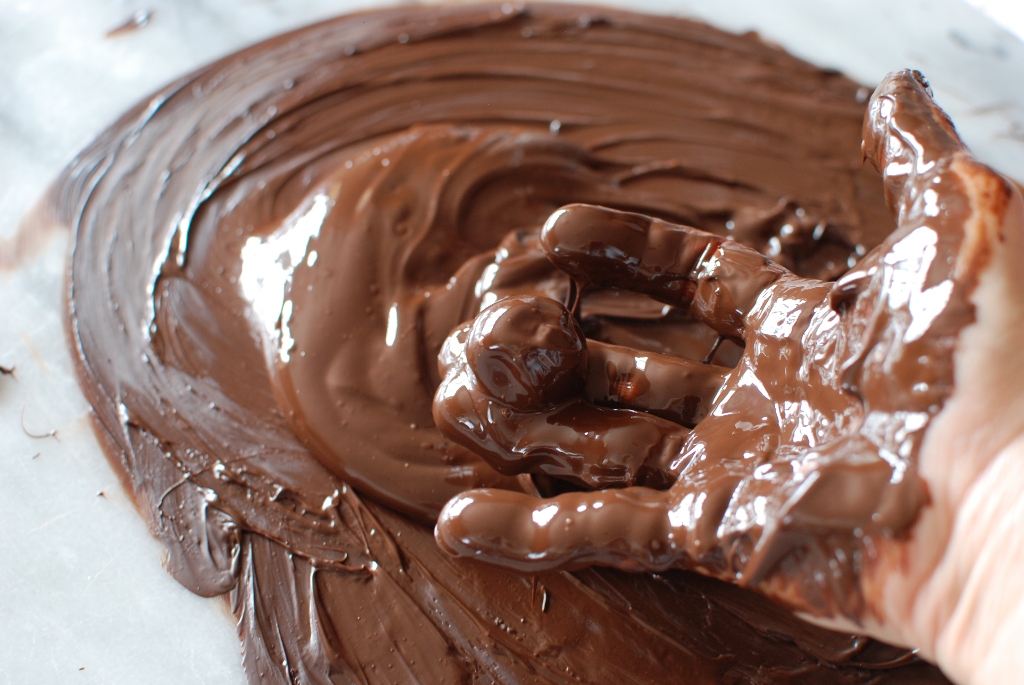
My explanation: Melt the chocolate over warm NOT EVEN simmering water. It feels quite warm to the touch. Once the chocolate is melted I pour out about 1 cup onto a marble slab. This is when I get messy. I Begin to stir it with my hands until the chocolate is very cool to the touch. If I were to smear some of the chocolate onto a piece of waxed paper, it should set up quickly. It should maintain it’s sheen and snap.
Did I mention that I have my kitchen COLD. I turn off the heat and open windows and doors and freeze for about 12 hours.
I would like to you pause for just a moment, notice the filled truffle shells in the back ground. Can you see the broken shells? Ugh. This is because I put the plastic cover back on instead of using plastic wrap. I was really hoping to hide this from you. Dang camera captured the boo boo.

Keep stirring that chocolate.

The chocolate will be give to thicken a bit as it cools.
Can I just tell you how hard this is to do while taking pictures.
I work with my right hand and keep my left have clean.

Drop the truffle into the tempered chocolate.
Cover with chocolate. I like to keep the hole of the truffle shell on the bottom. This will give me a great flat bottom for the finished truffle.
Pick it up in your fingers.
Tap off any excess chocolate. At this point the flat part of the truffle shell is pointed up.

Just turn the truffle over so the flat part sits on the waxed paper. Have several baking sheets lined with waxed paper ready to go before you start the dipping process?

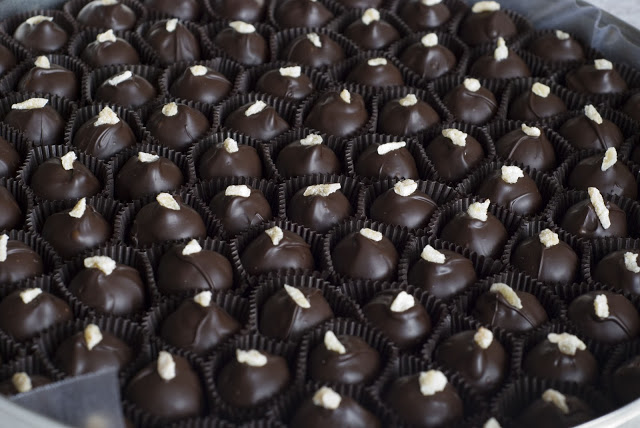
I like to top the truffles with a piece of candied ginger. This way I can tell which truffle is which.

Just let the truffles hang out until they are completely set and the chocolate is firm.
I store my candy in tins. My husband’s grandmother just happens to have tins from large reels of film from the olden days. They work perfectly because I don’t like to stack the truffles.

This is a one pound box of chocolates ready to be wrapped and delivered.
Don’t you just love this waxed paper lining? Williams-Sonoma used to carry this every year. I just loved it. Last year they stopped. What the heck? I want it back. I’ve already complained. Didn’t work.

Amazing! I can't wait to try these. Thank you for sharing your recipe!
I truly don't mean to overstate this–but your chocolates are truly awe-inspiring! I'm just blown away. The people who are lucky enough to receive such an amazing labor of love from you each year must feel incredibly loved. I am SO hoping I win a box of your amazingness this year.
Those chocolates look delicious! Your dedication to the craft is amazing. I hope you are able to relax now that your candy making days are finished!
My mother used to make candy and baked fruitcakes for Christmas when I was a little girl. I had gotten out of the habit as my children grew older but after reading your post, I'm going to take it back up. You've reminded me that there is something wonderful about receiving and giving homemade gifts for Christmas. The time it takes is part of the gift and the care it takes makes it so personal, so precious. Thank you for the reminder and Merry Christmas to you and yours.
Cassandra from Renaissance Women
Gorgeous! I'm absolutely in awe of all the chocolate you dip. I will never forget going into your kitchen and seeing rows of dipped chocolates waiting to be stored. The candied lavender topped truffles still make my mouth water just thinking of them. 🙂
Oh my god! My eyes can't believe this work. You have put lots of efforts and love here. Chocolates looks nothing less than professional ones. Good job Janet! Your children and grandchildren are lucky to have you in their life 🙂
Wow! They are perfect!